Well it is 2014! A lot has happened, I’ve just been a slacker and not updated the blog (go figure). So I’ll just start from where I left off last time.
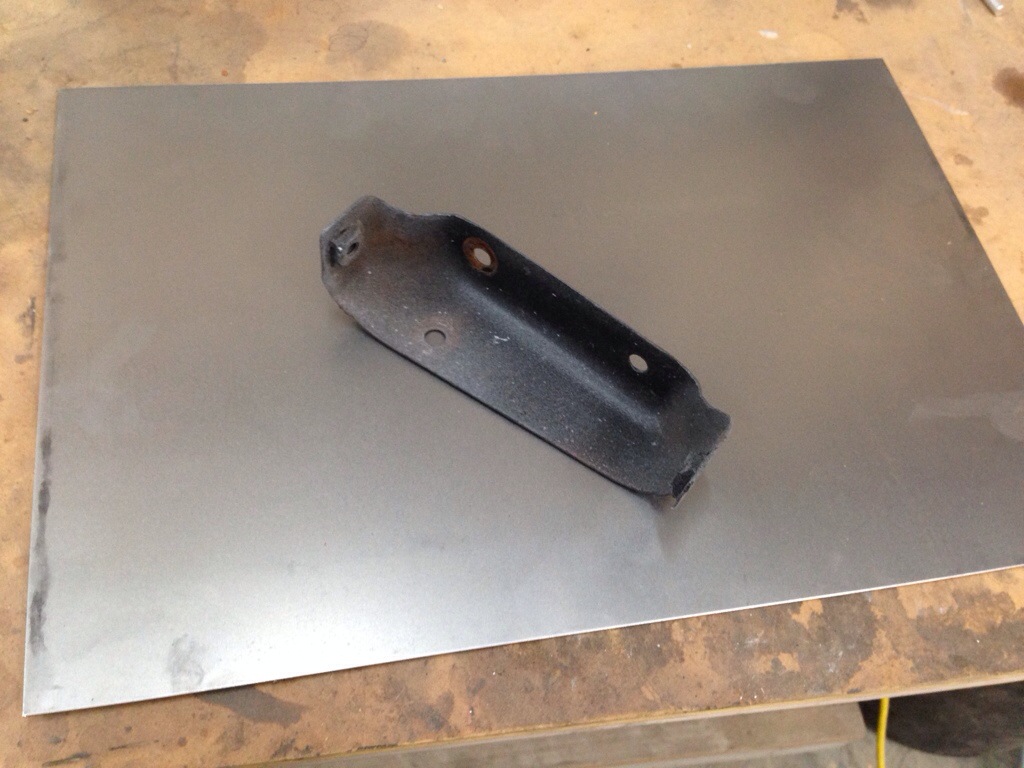
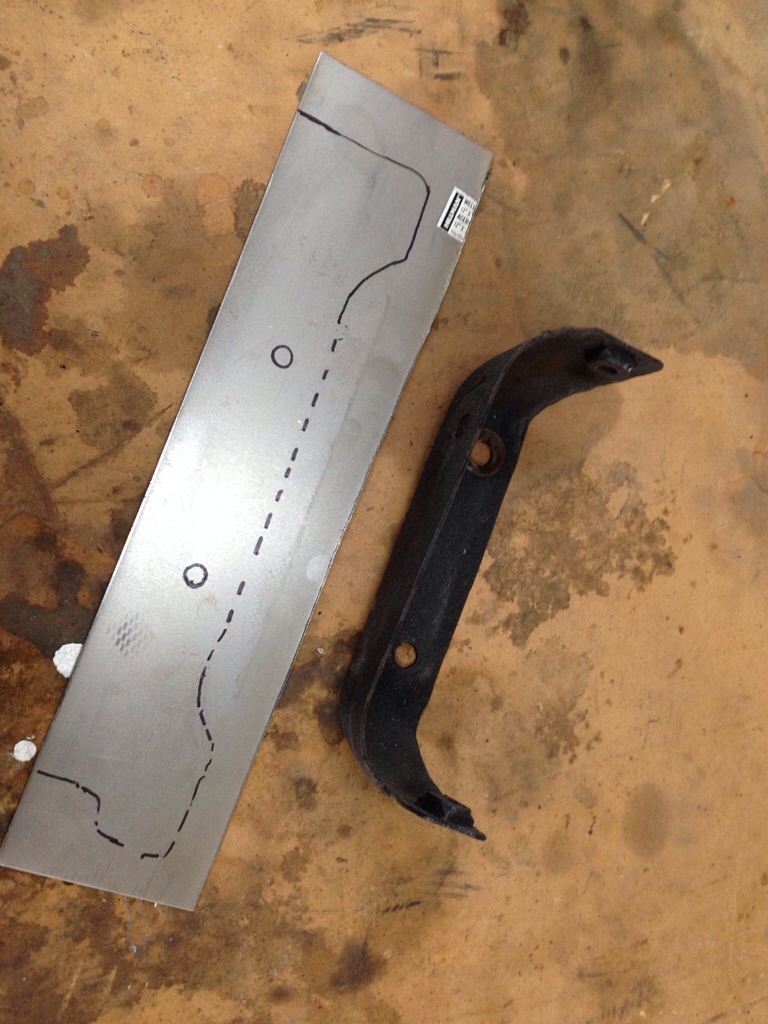
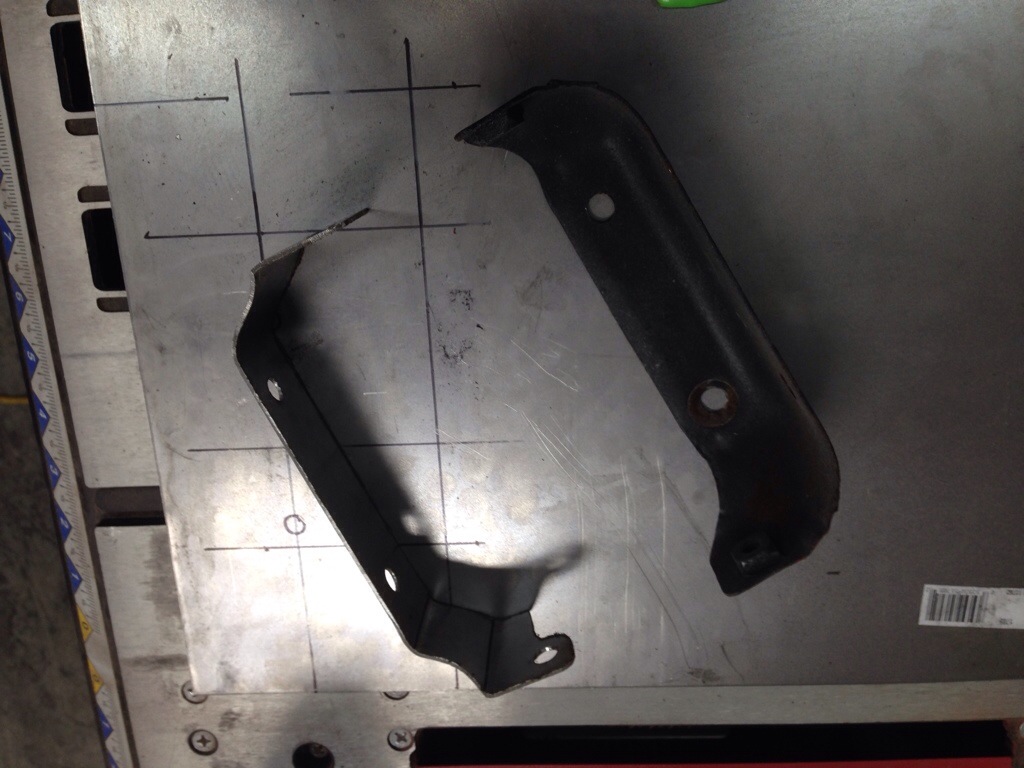
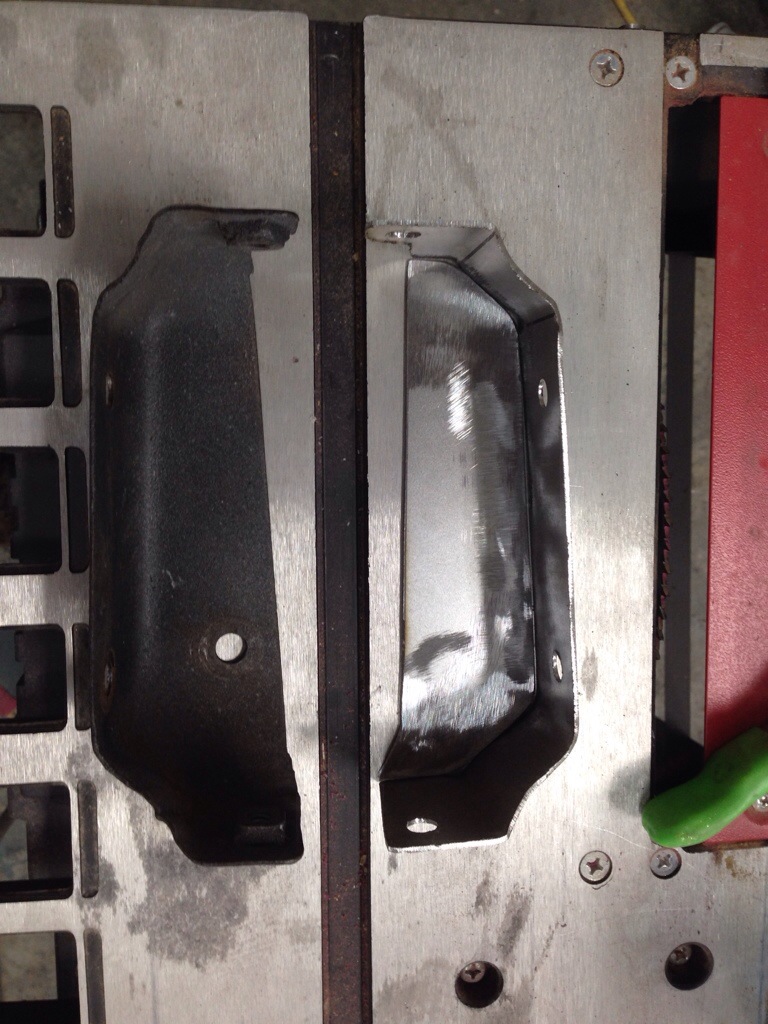
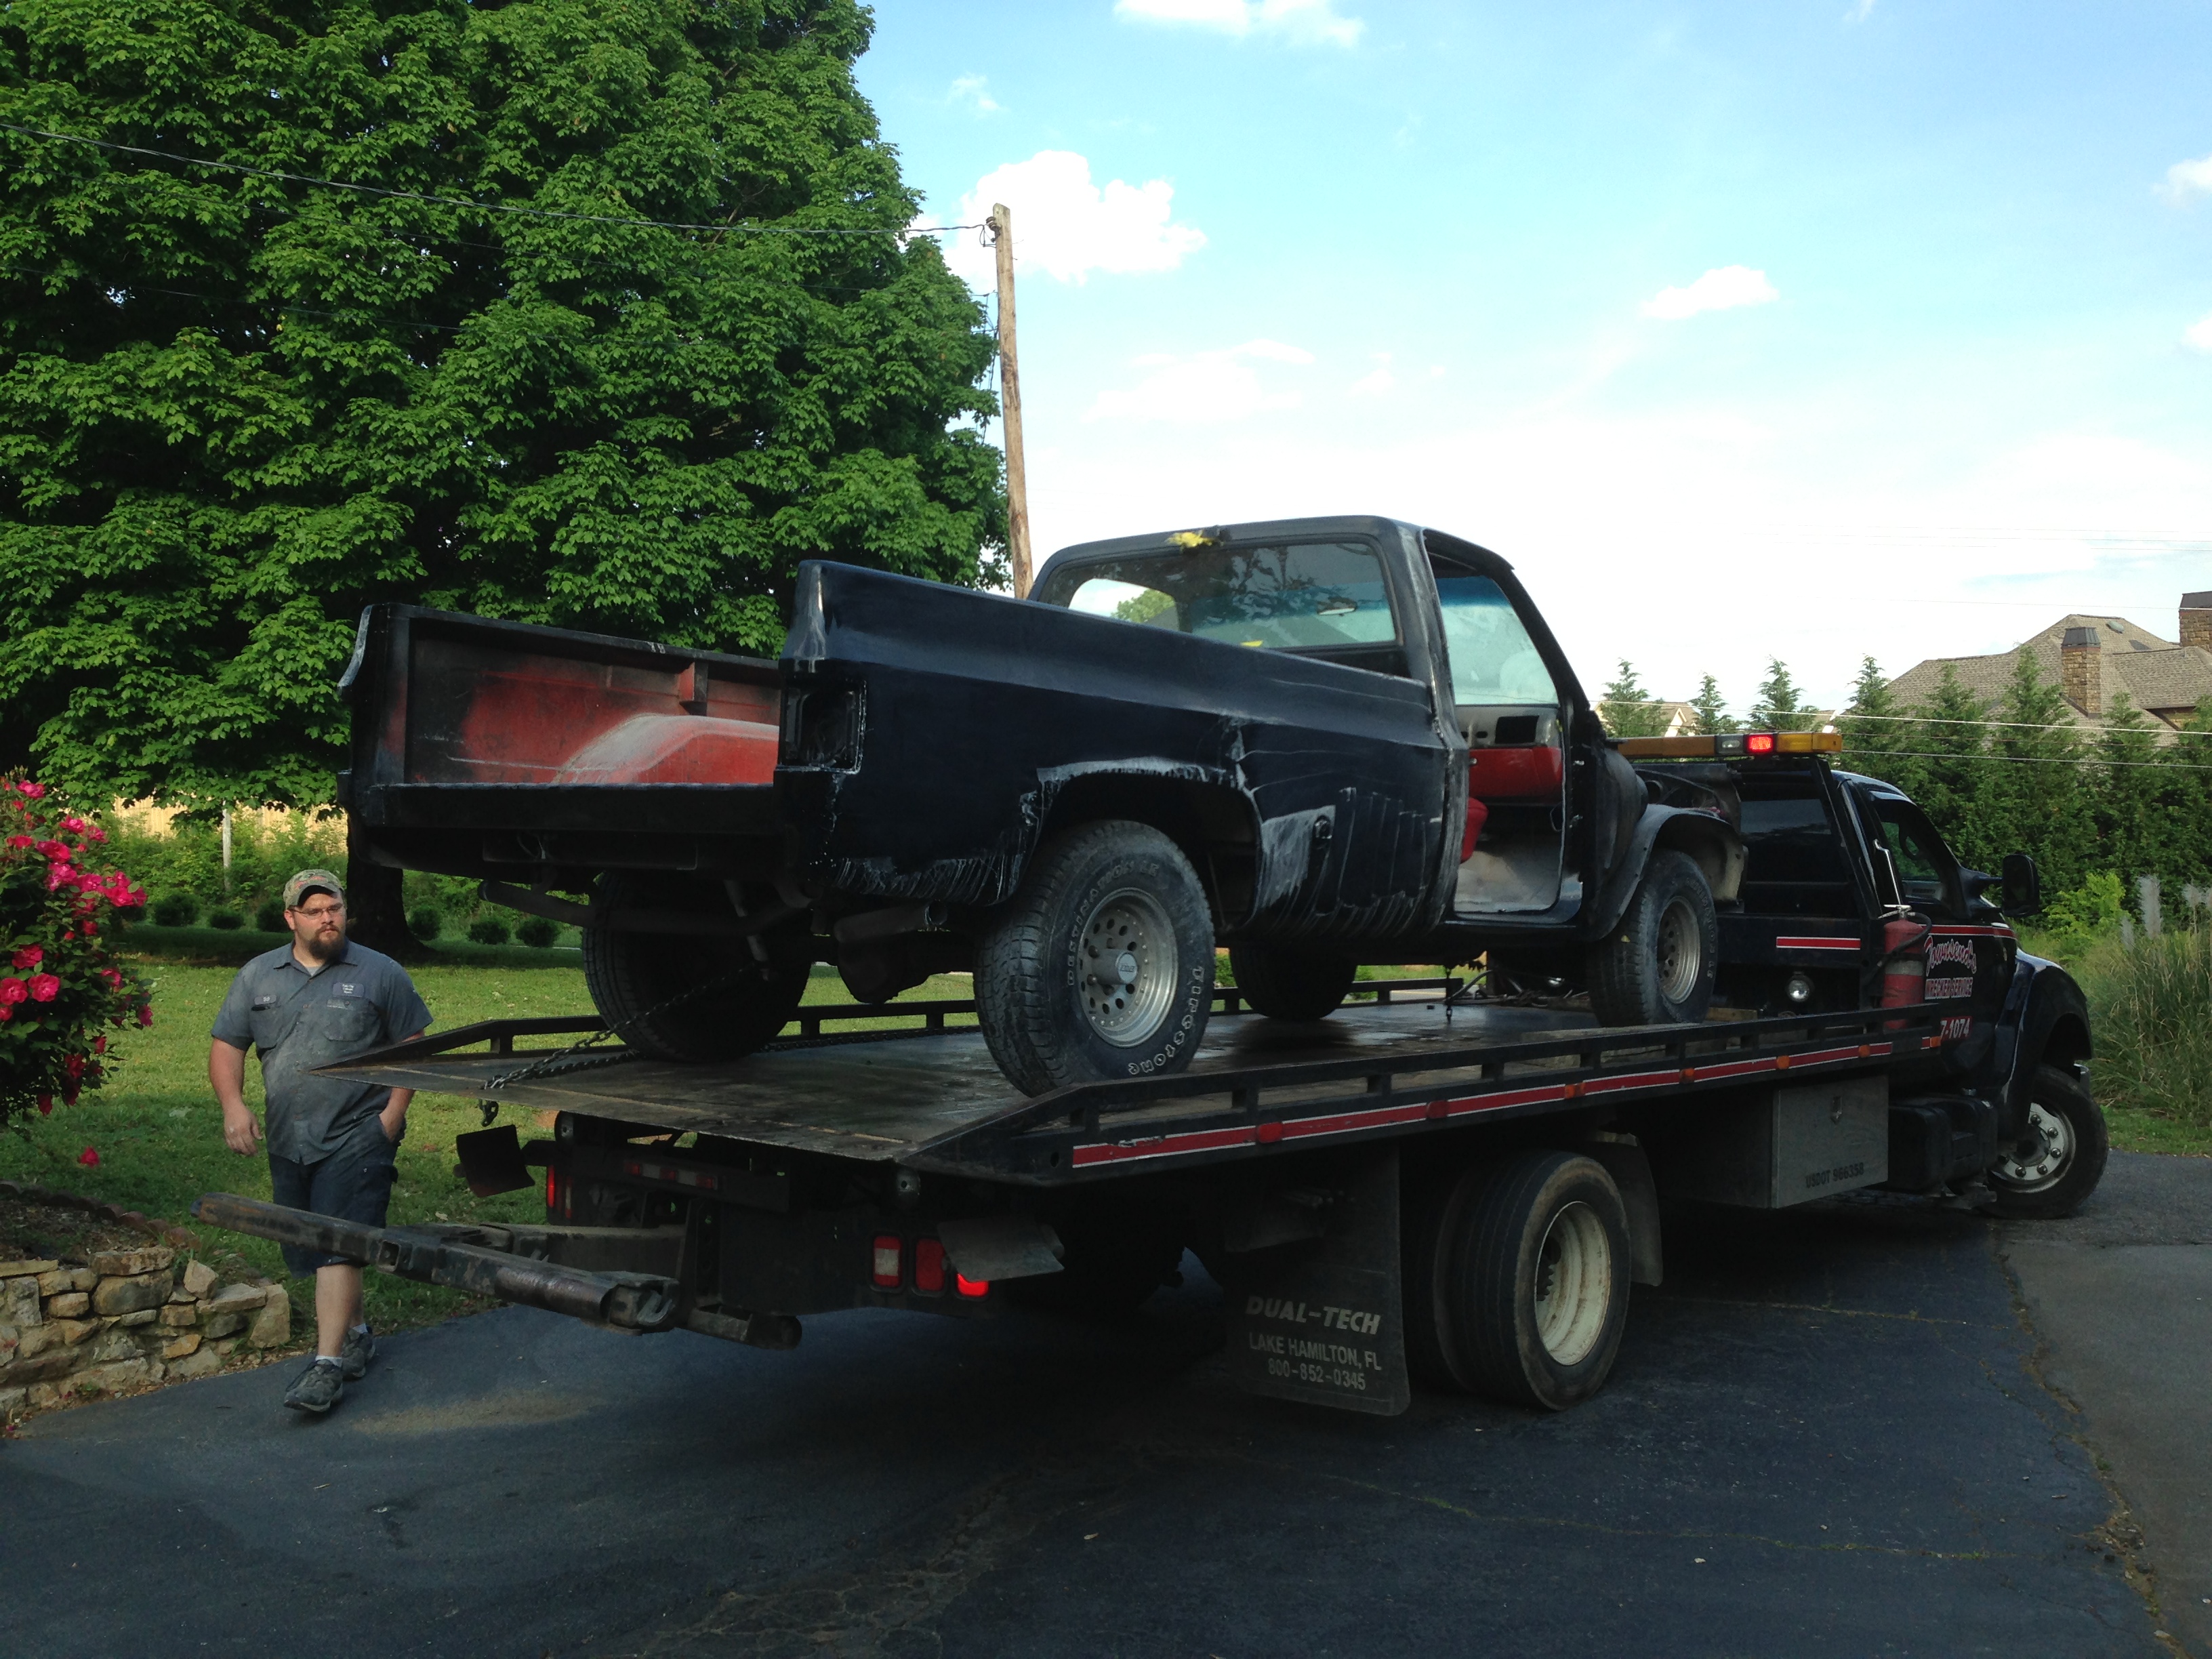
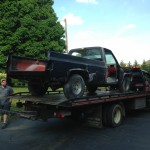
I got the truck back from the painter, but he was unable to complete the work due to a lot of various factors. He ended up getting really busy, so we just went ahead and had the truck towed back to my house as-is. He offered to finish out the work, but knowing his schedule I didn’t think it would be likely that that it would be completed in time for me to continue with the project. So instead I just said we should close out the deal and I’ll finish up the remainder of the project on my own. Sadly I’m also out that money, but sometimes that is the way life goes so I’m not going to dwell on it. Lesson learned. I was disappointed, but I do not believe he did it maliciously, I think he just got stuck between a rock and a hard place. The doors, hood, fenders, and various other parts were left at the shop. About a month after towing the truck, the shop the parts were stored in was shut down and I had to go rescue them. Long story short, I still don’t have the dash and I’m missing a bracket from the grill support (pull-a-part trip in my future).
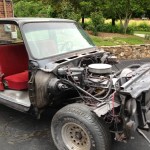
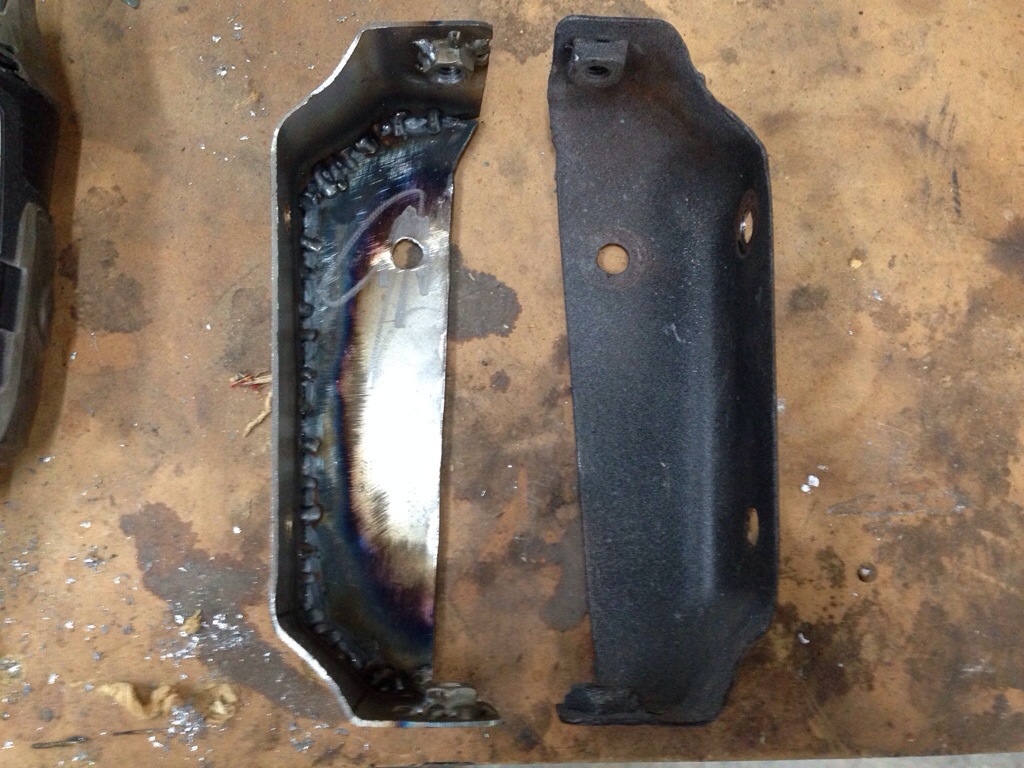
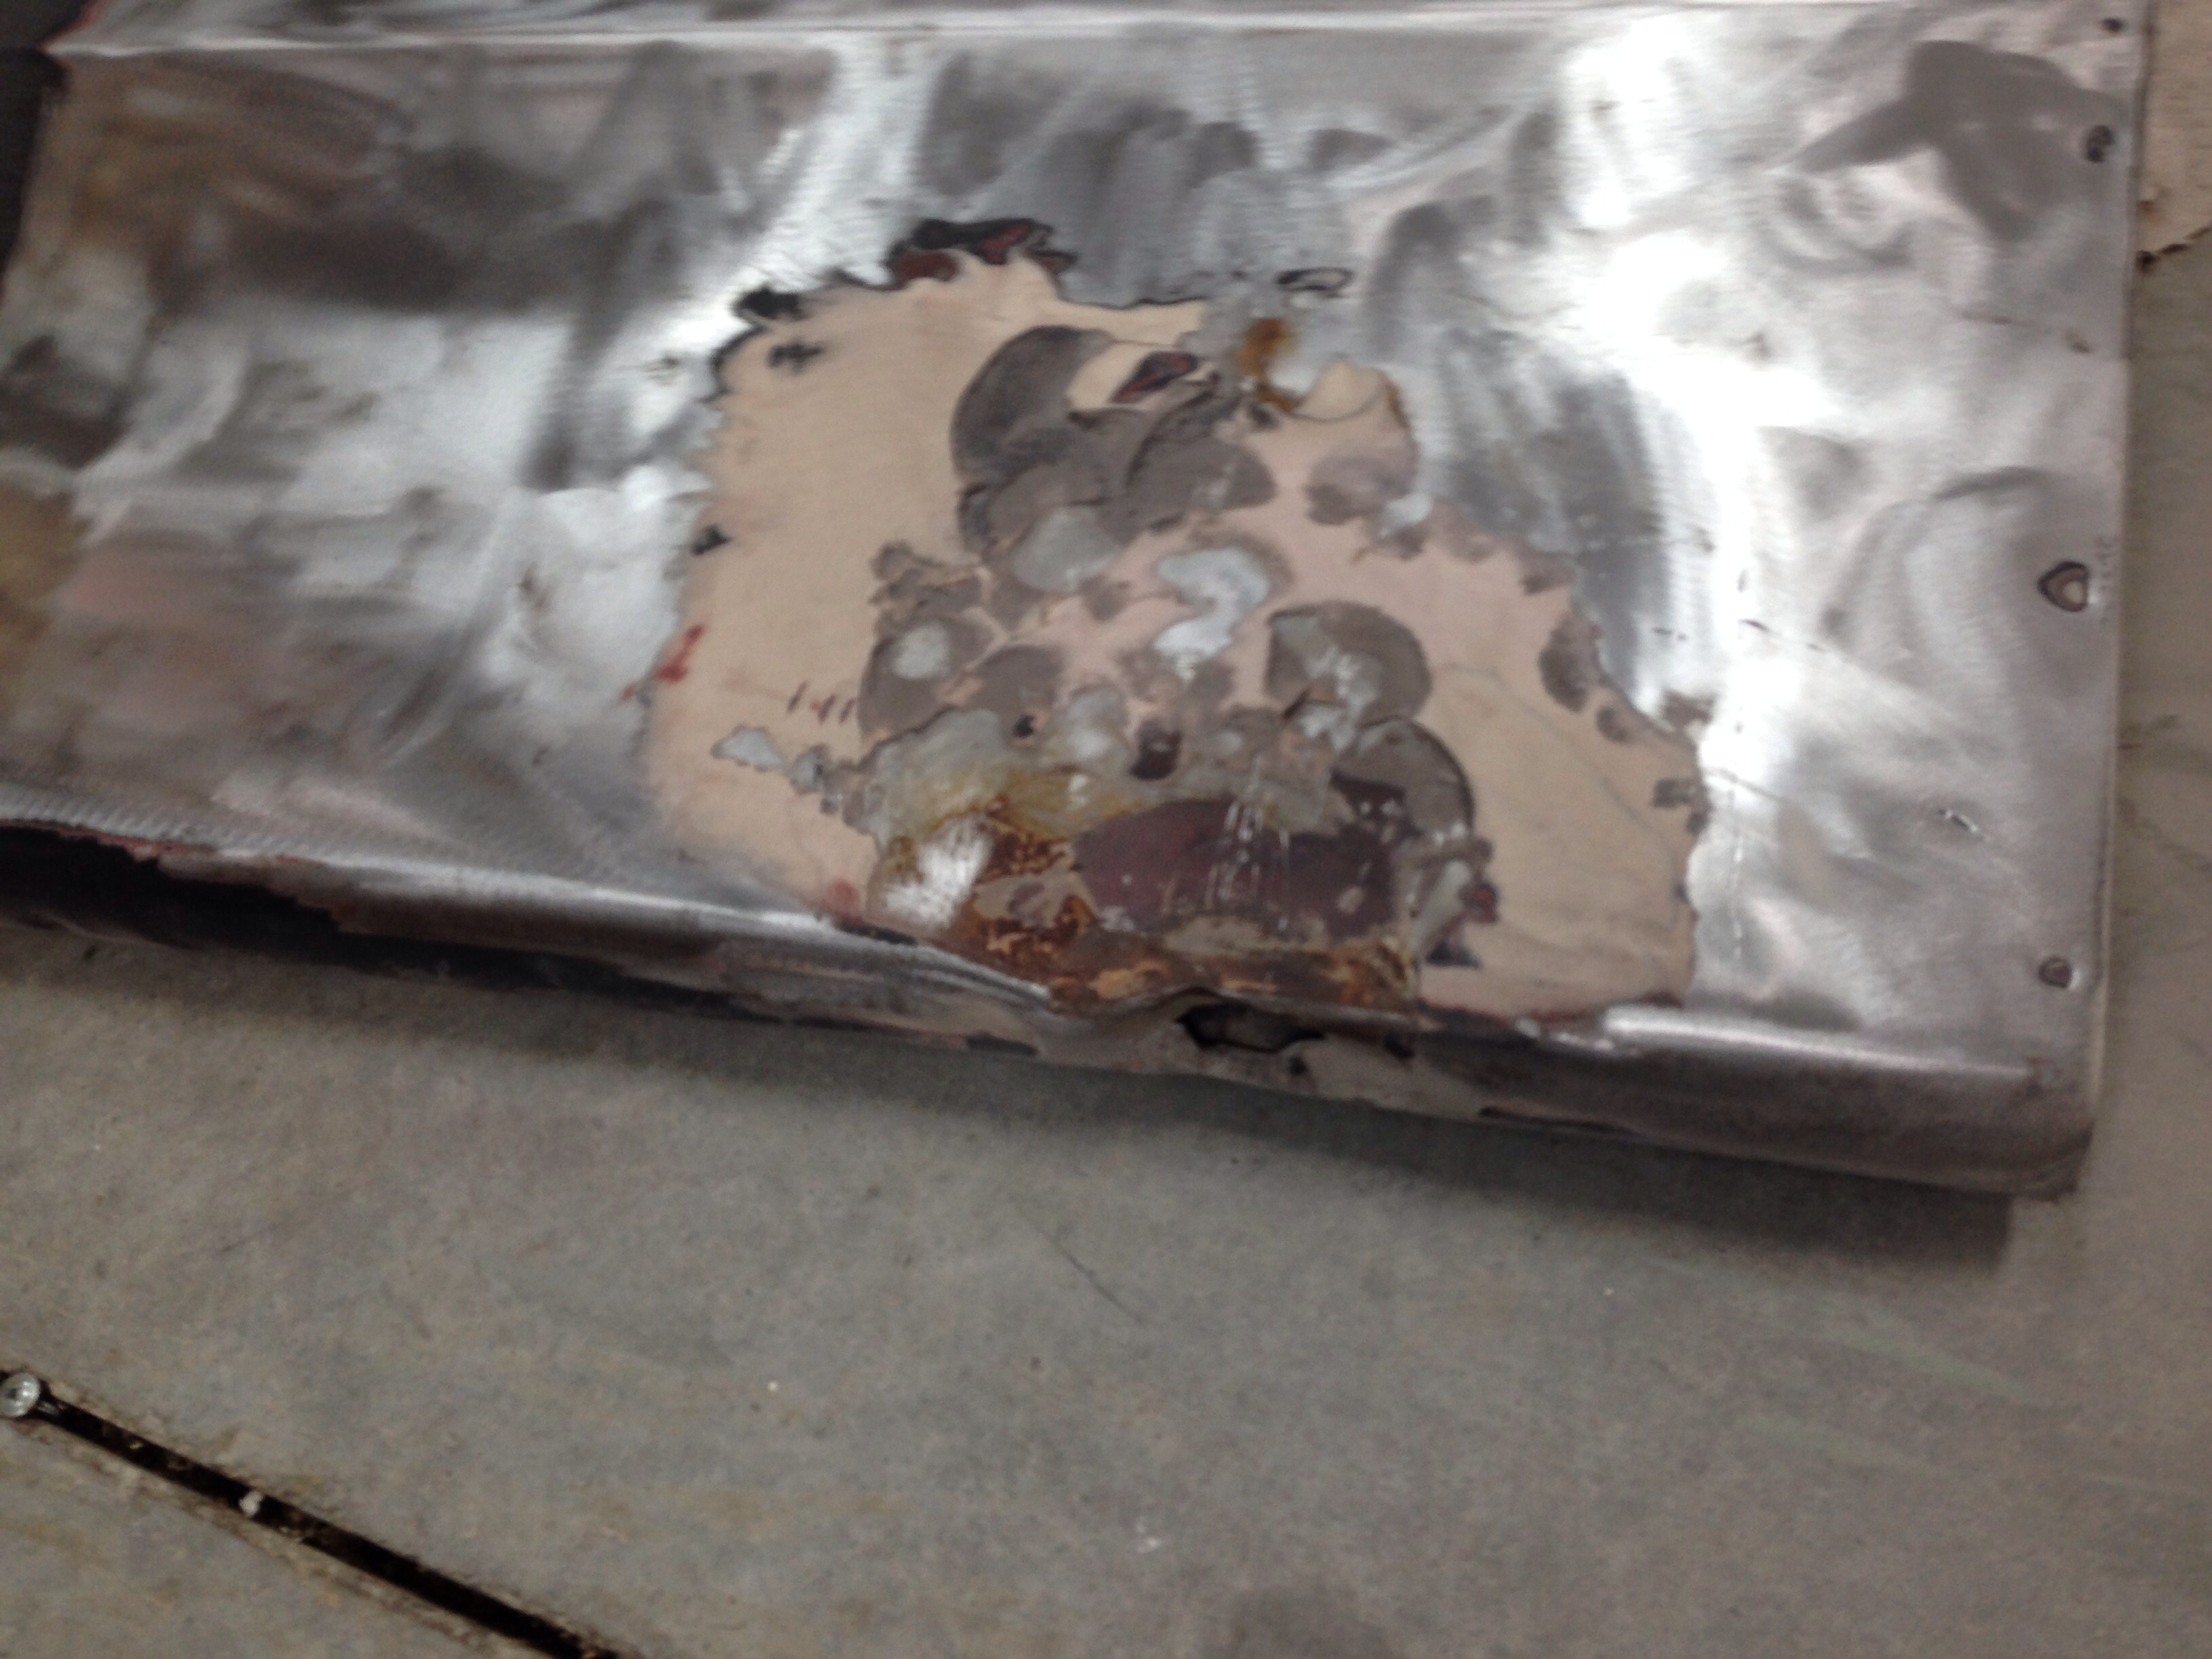
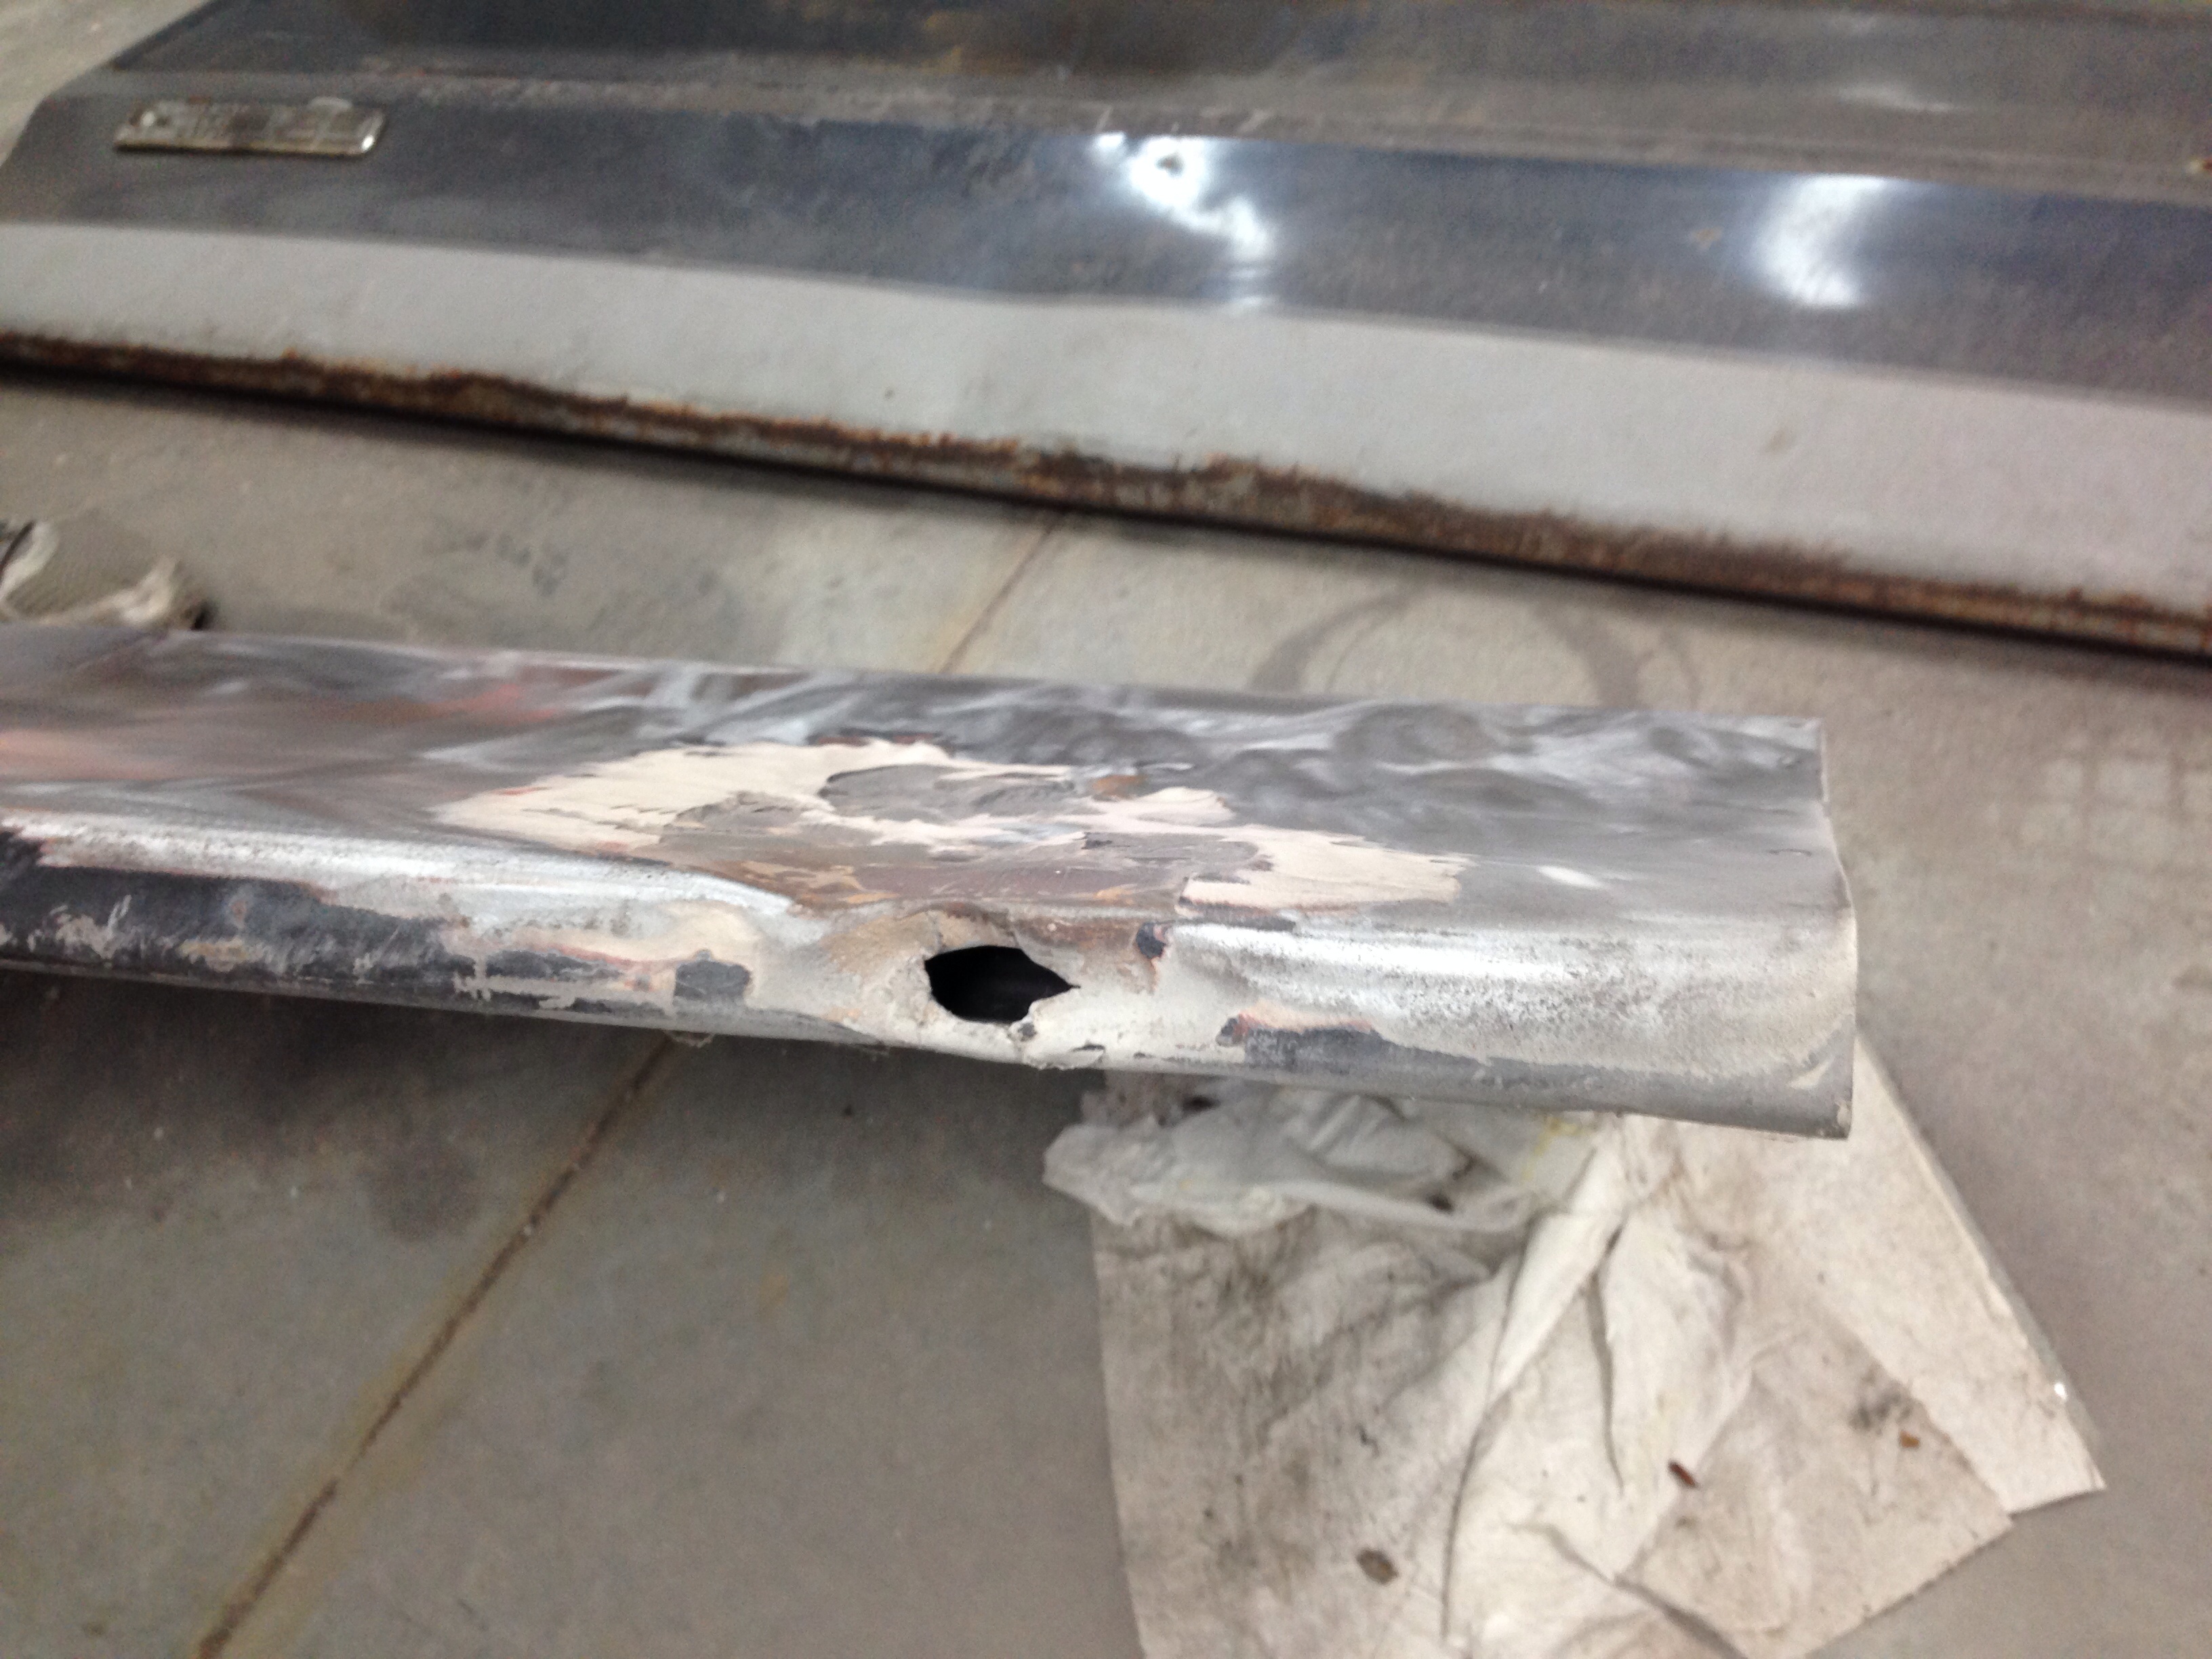
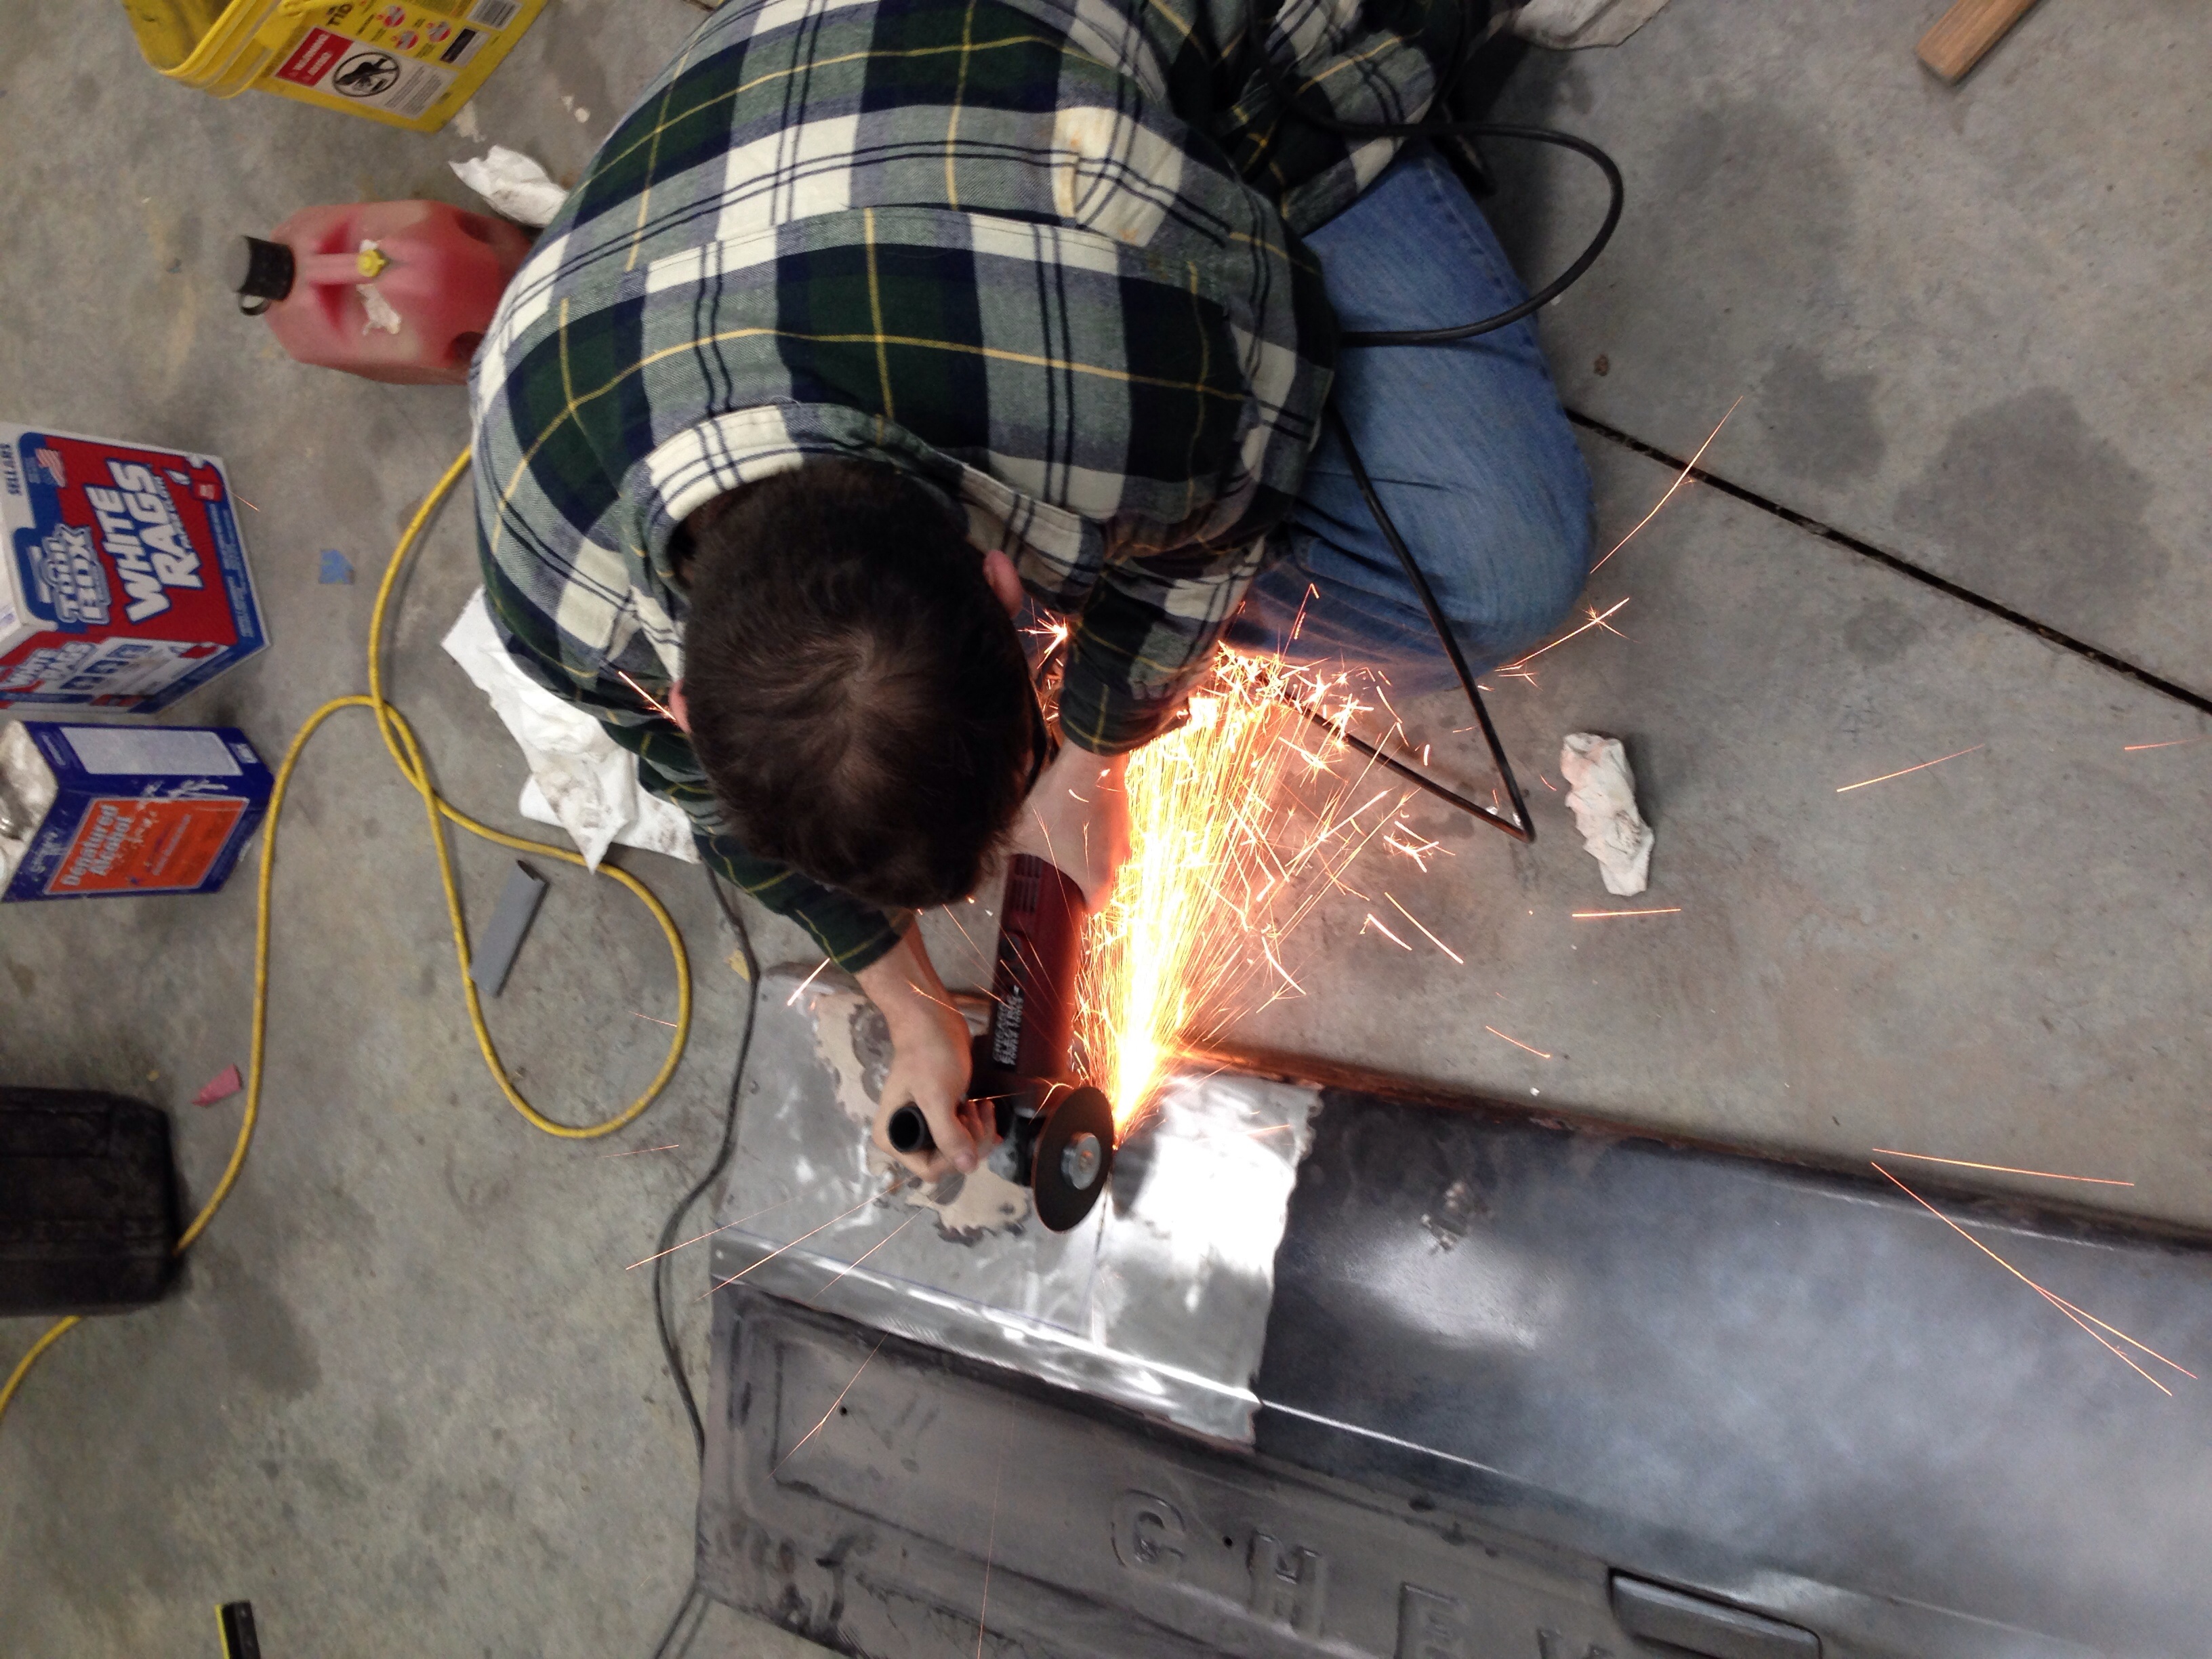
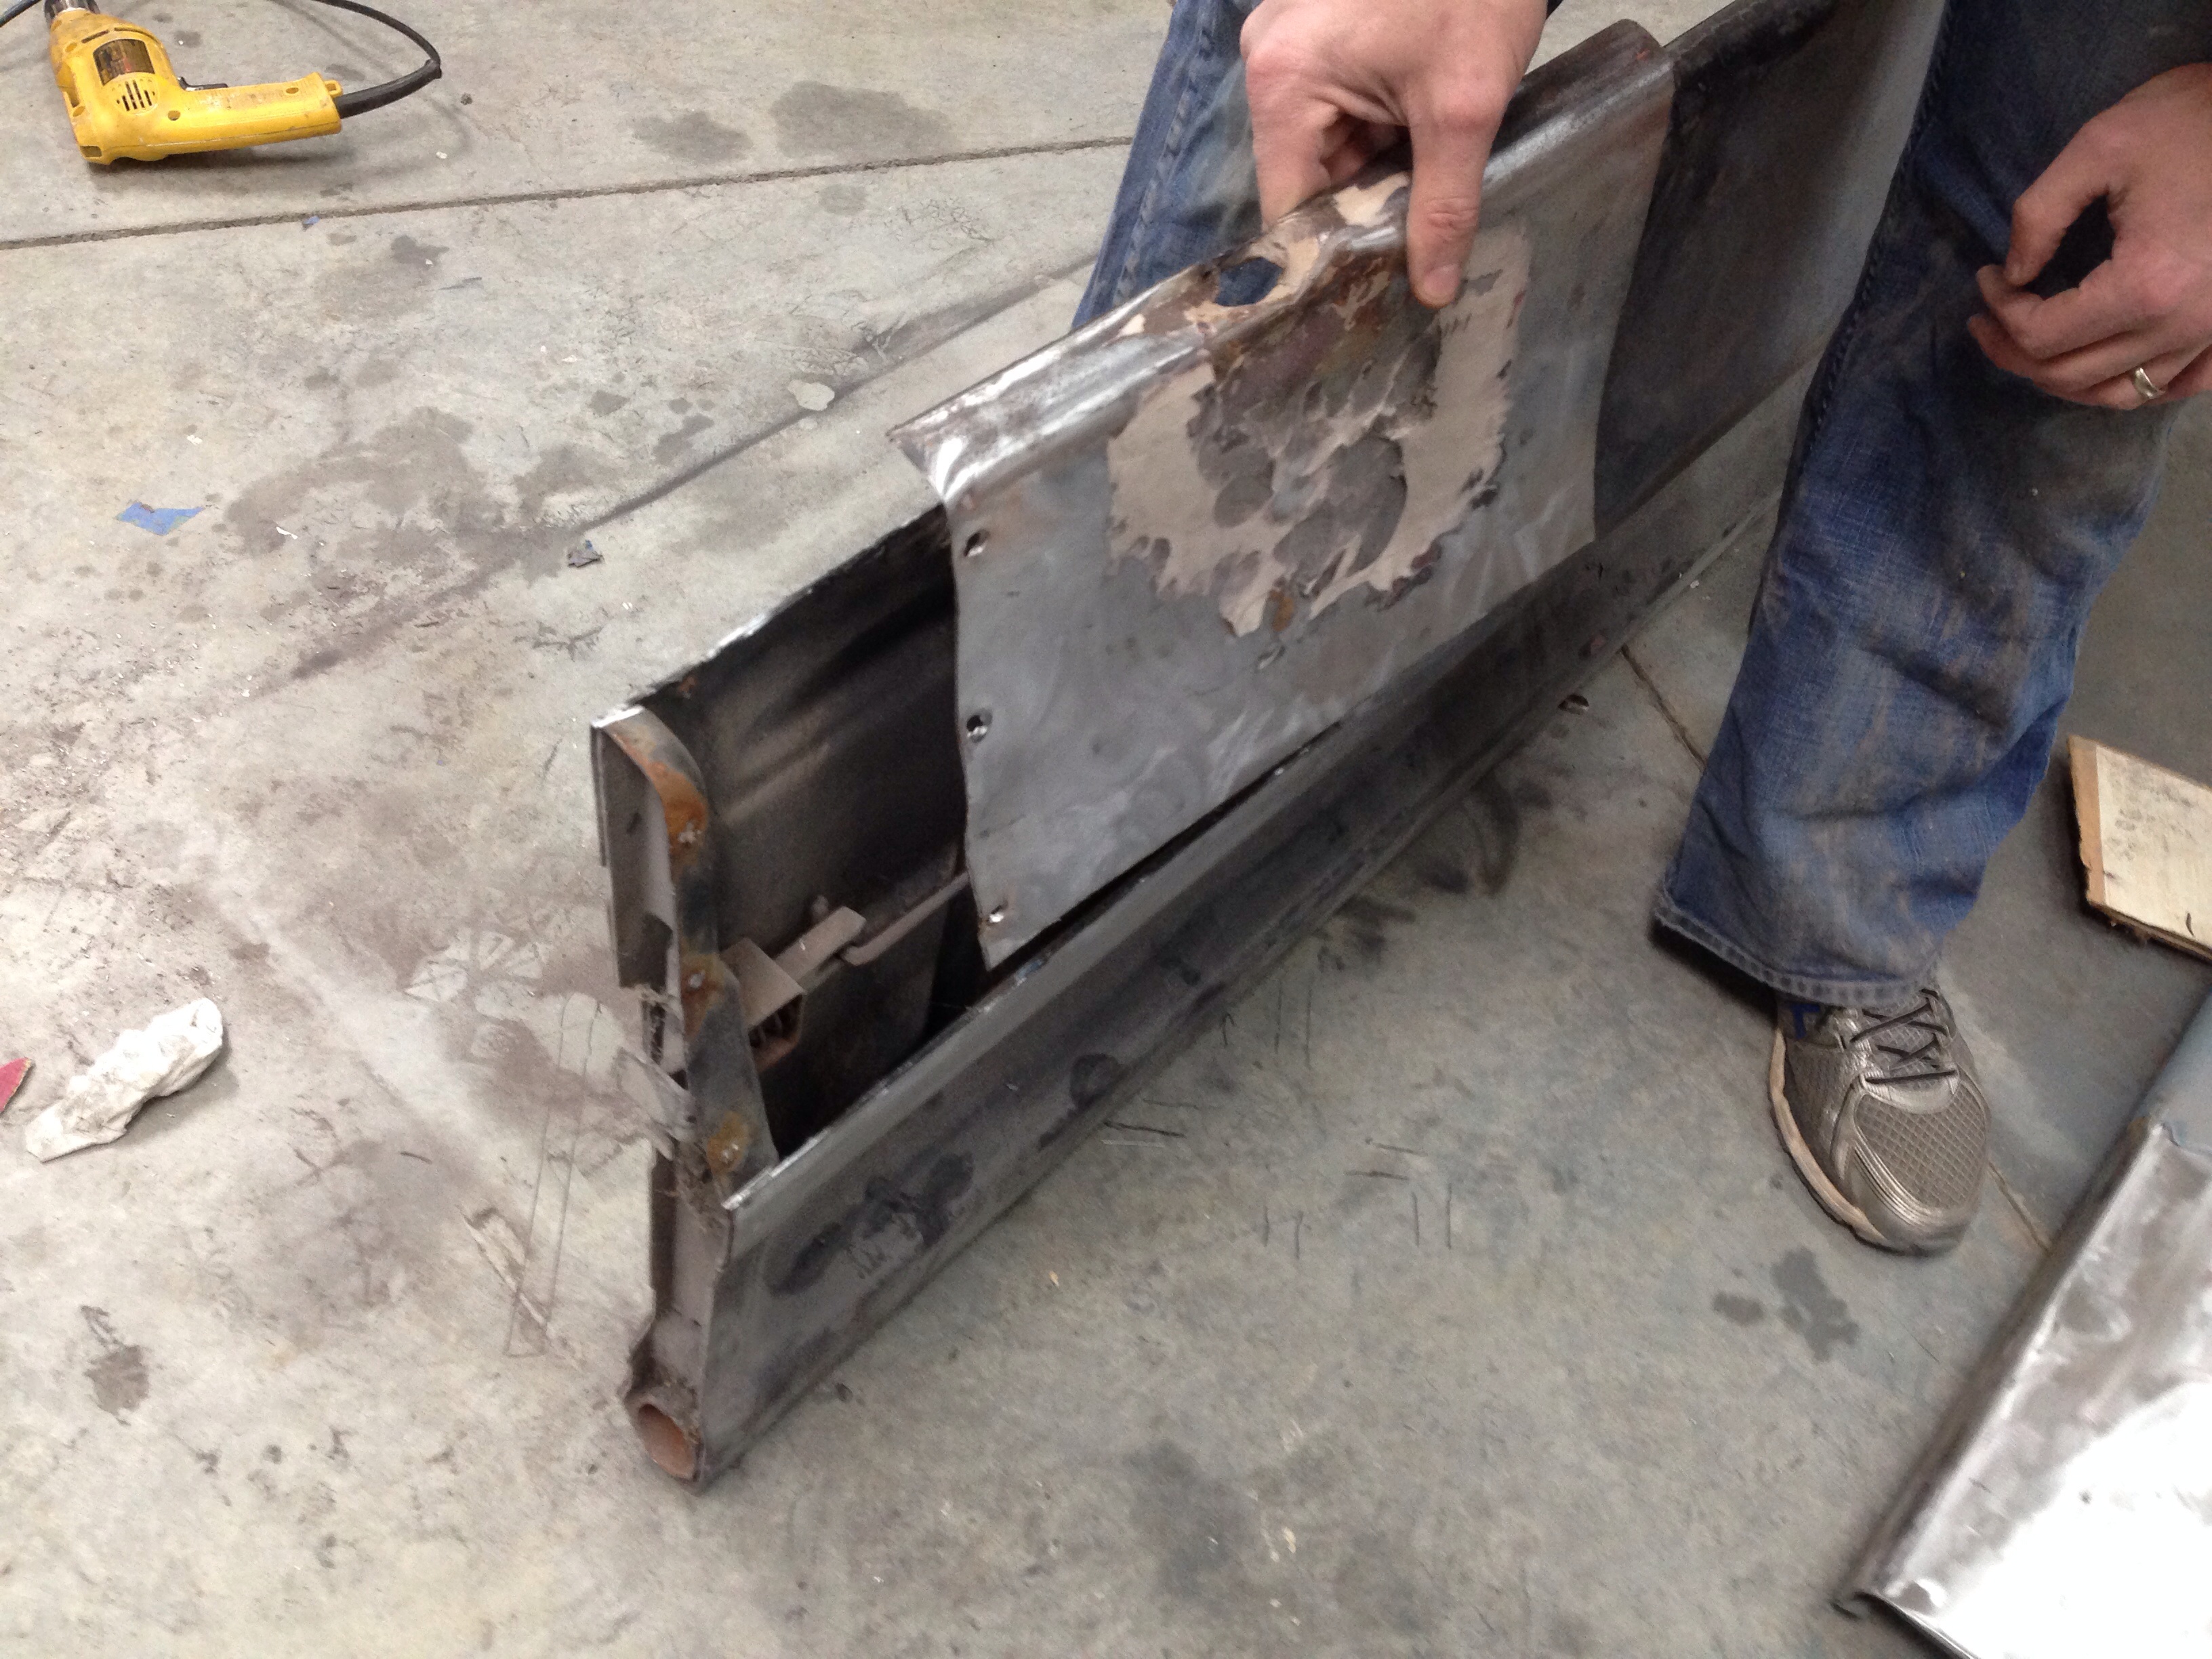
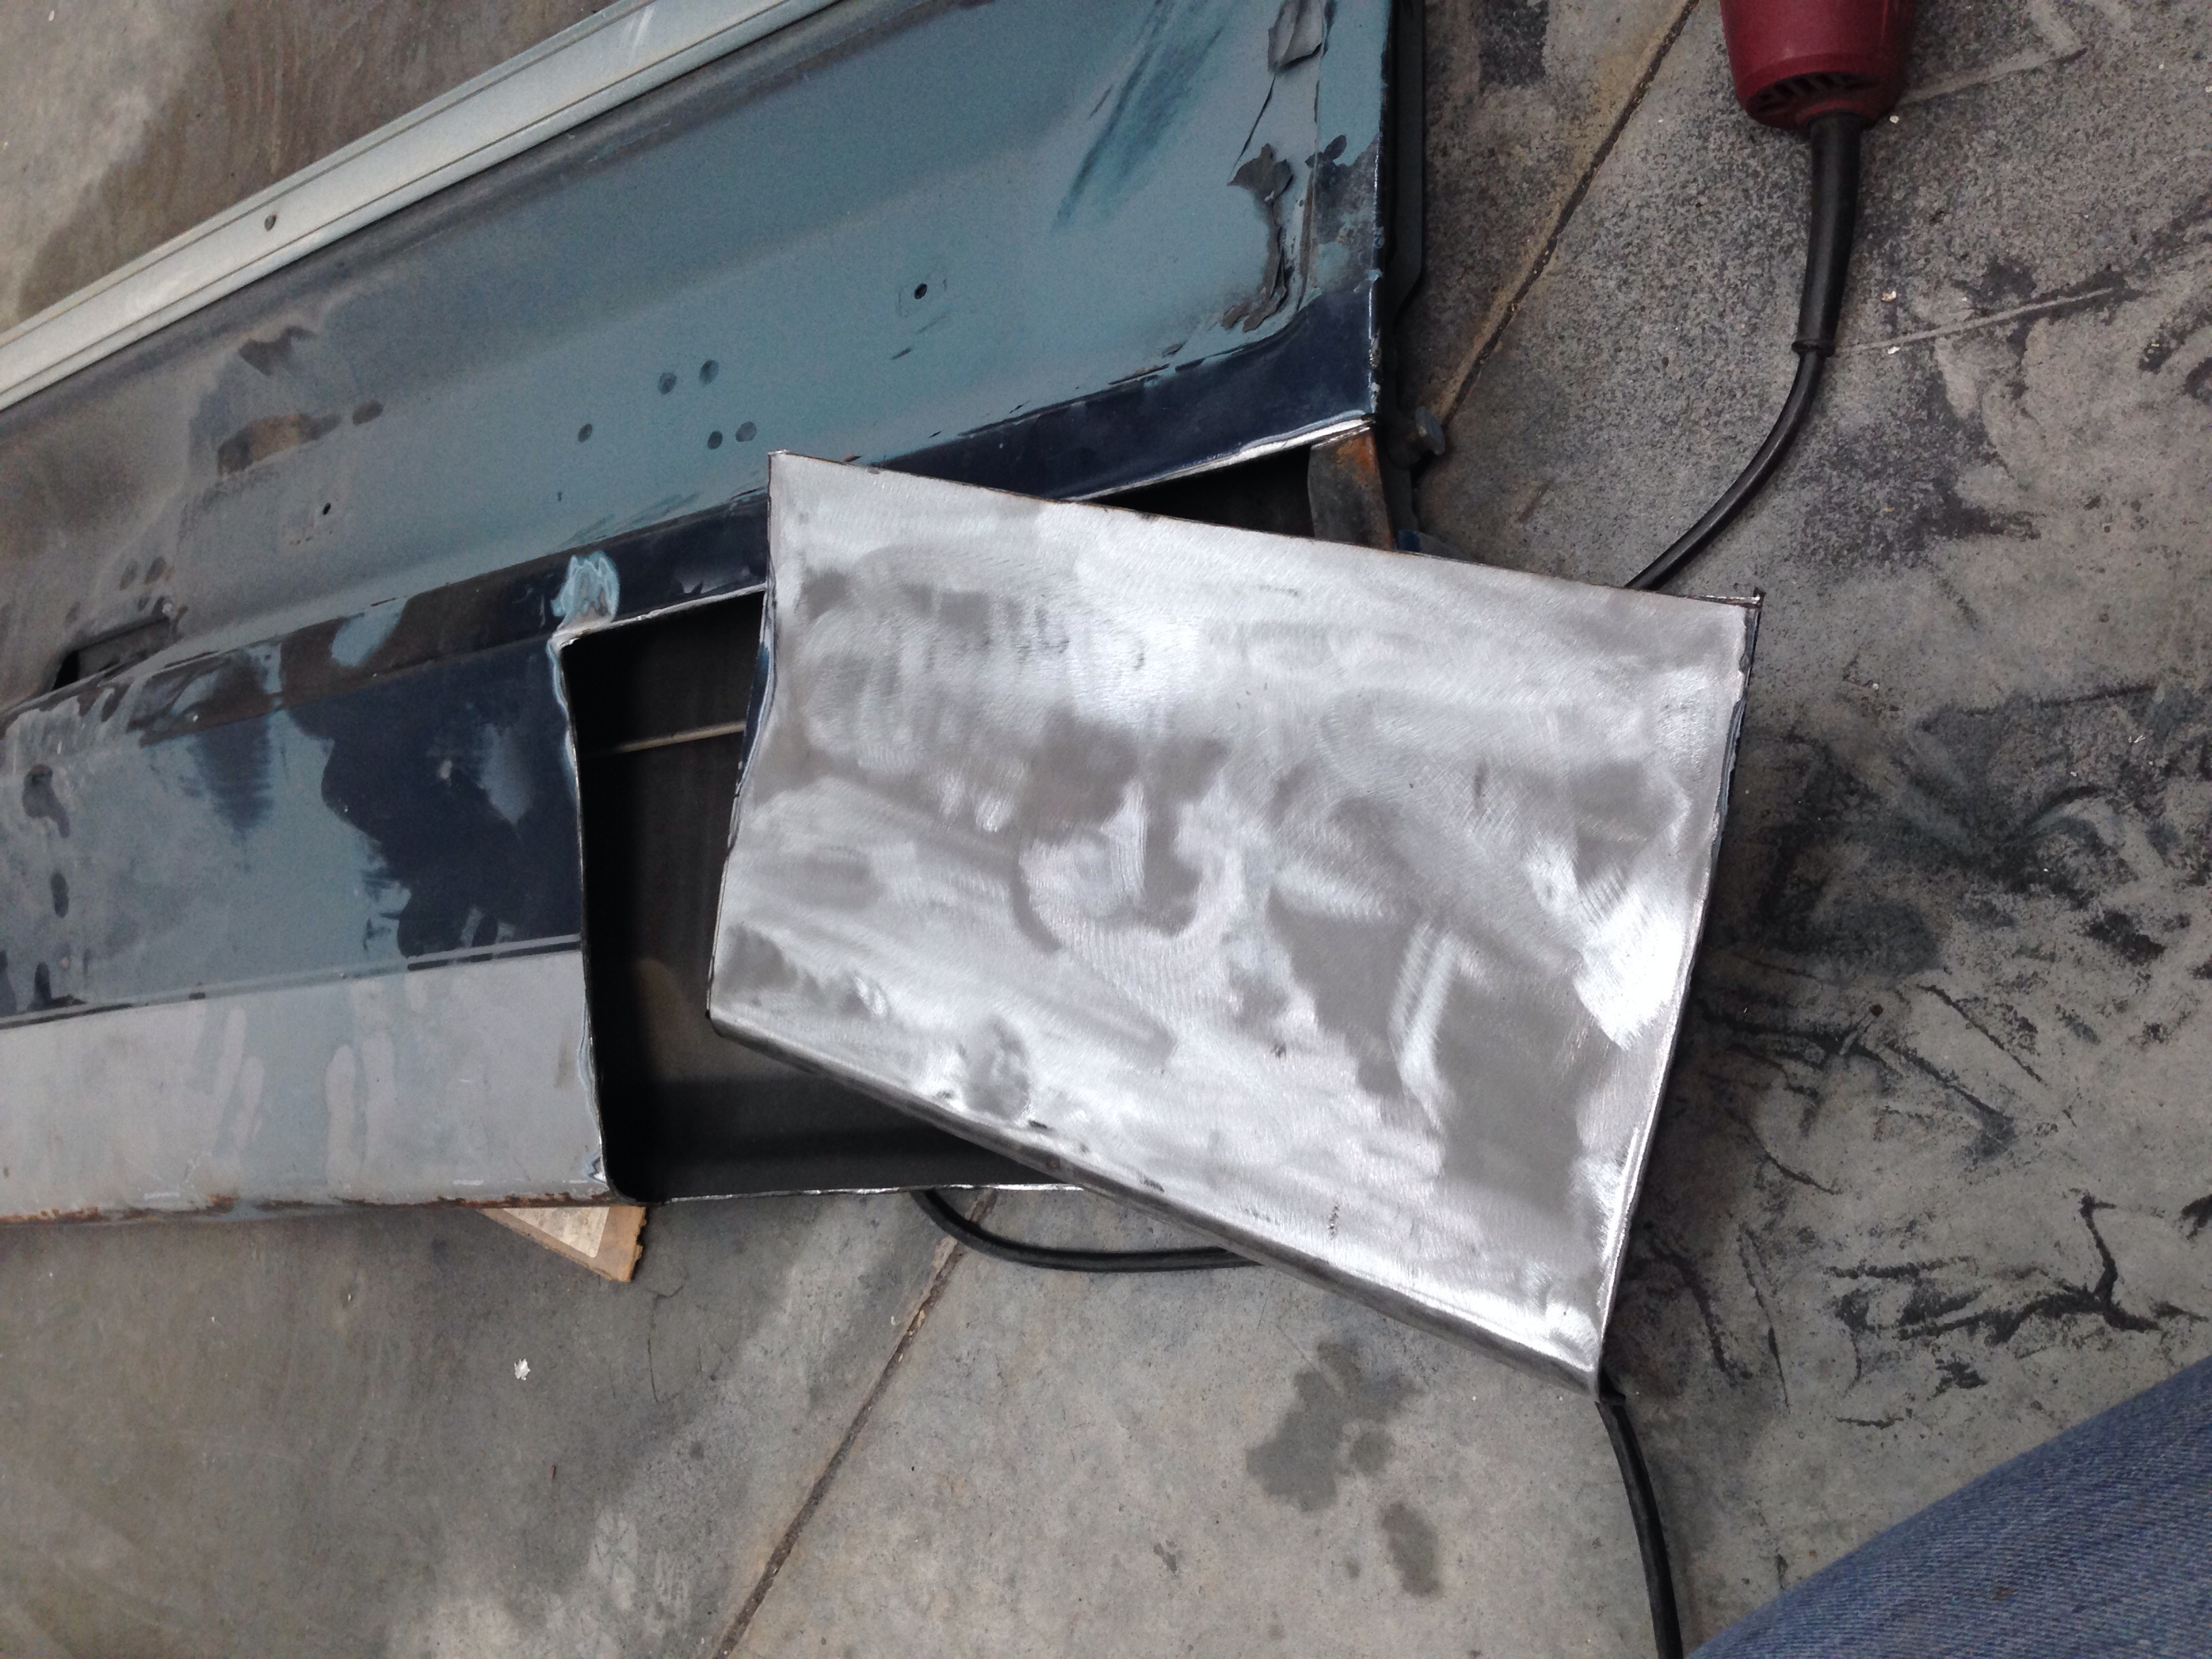
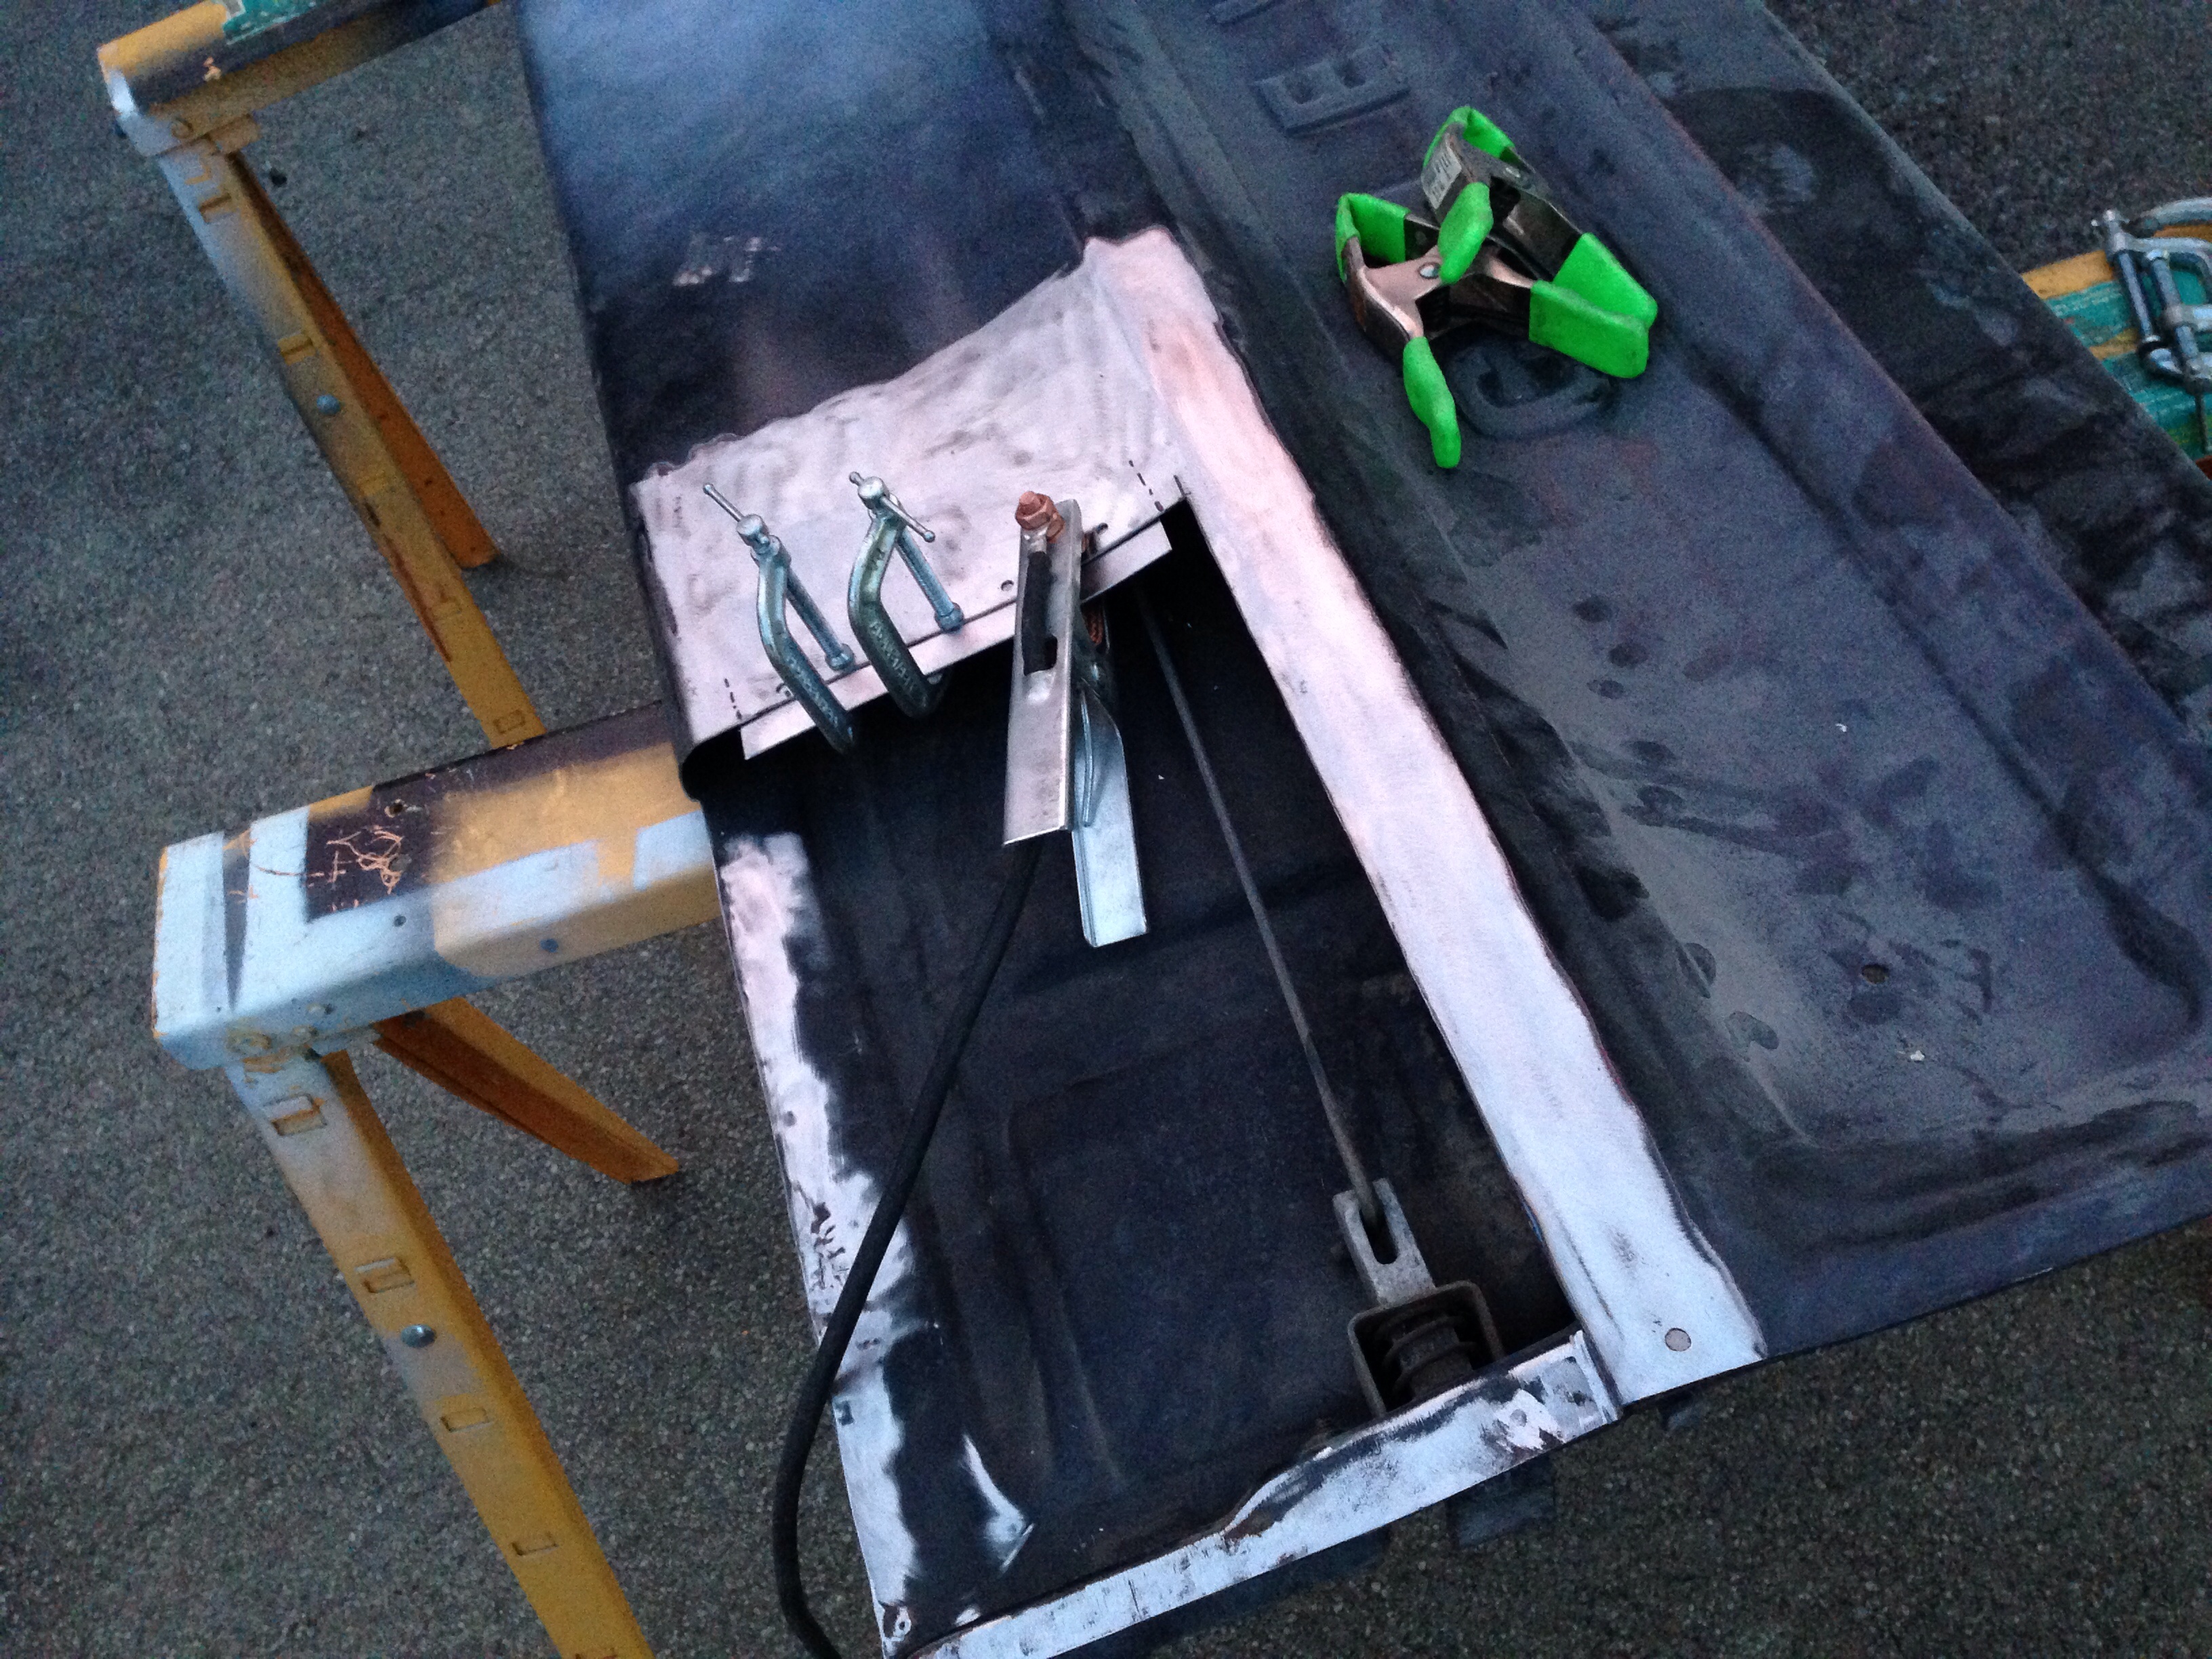
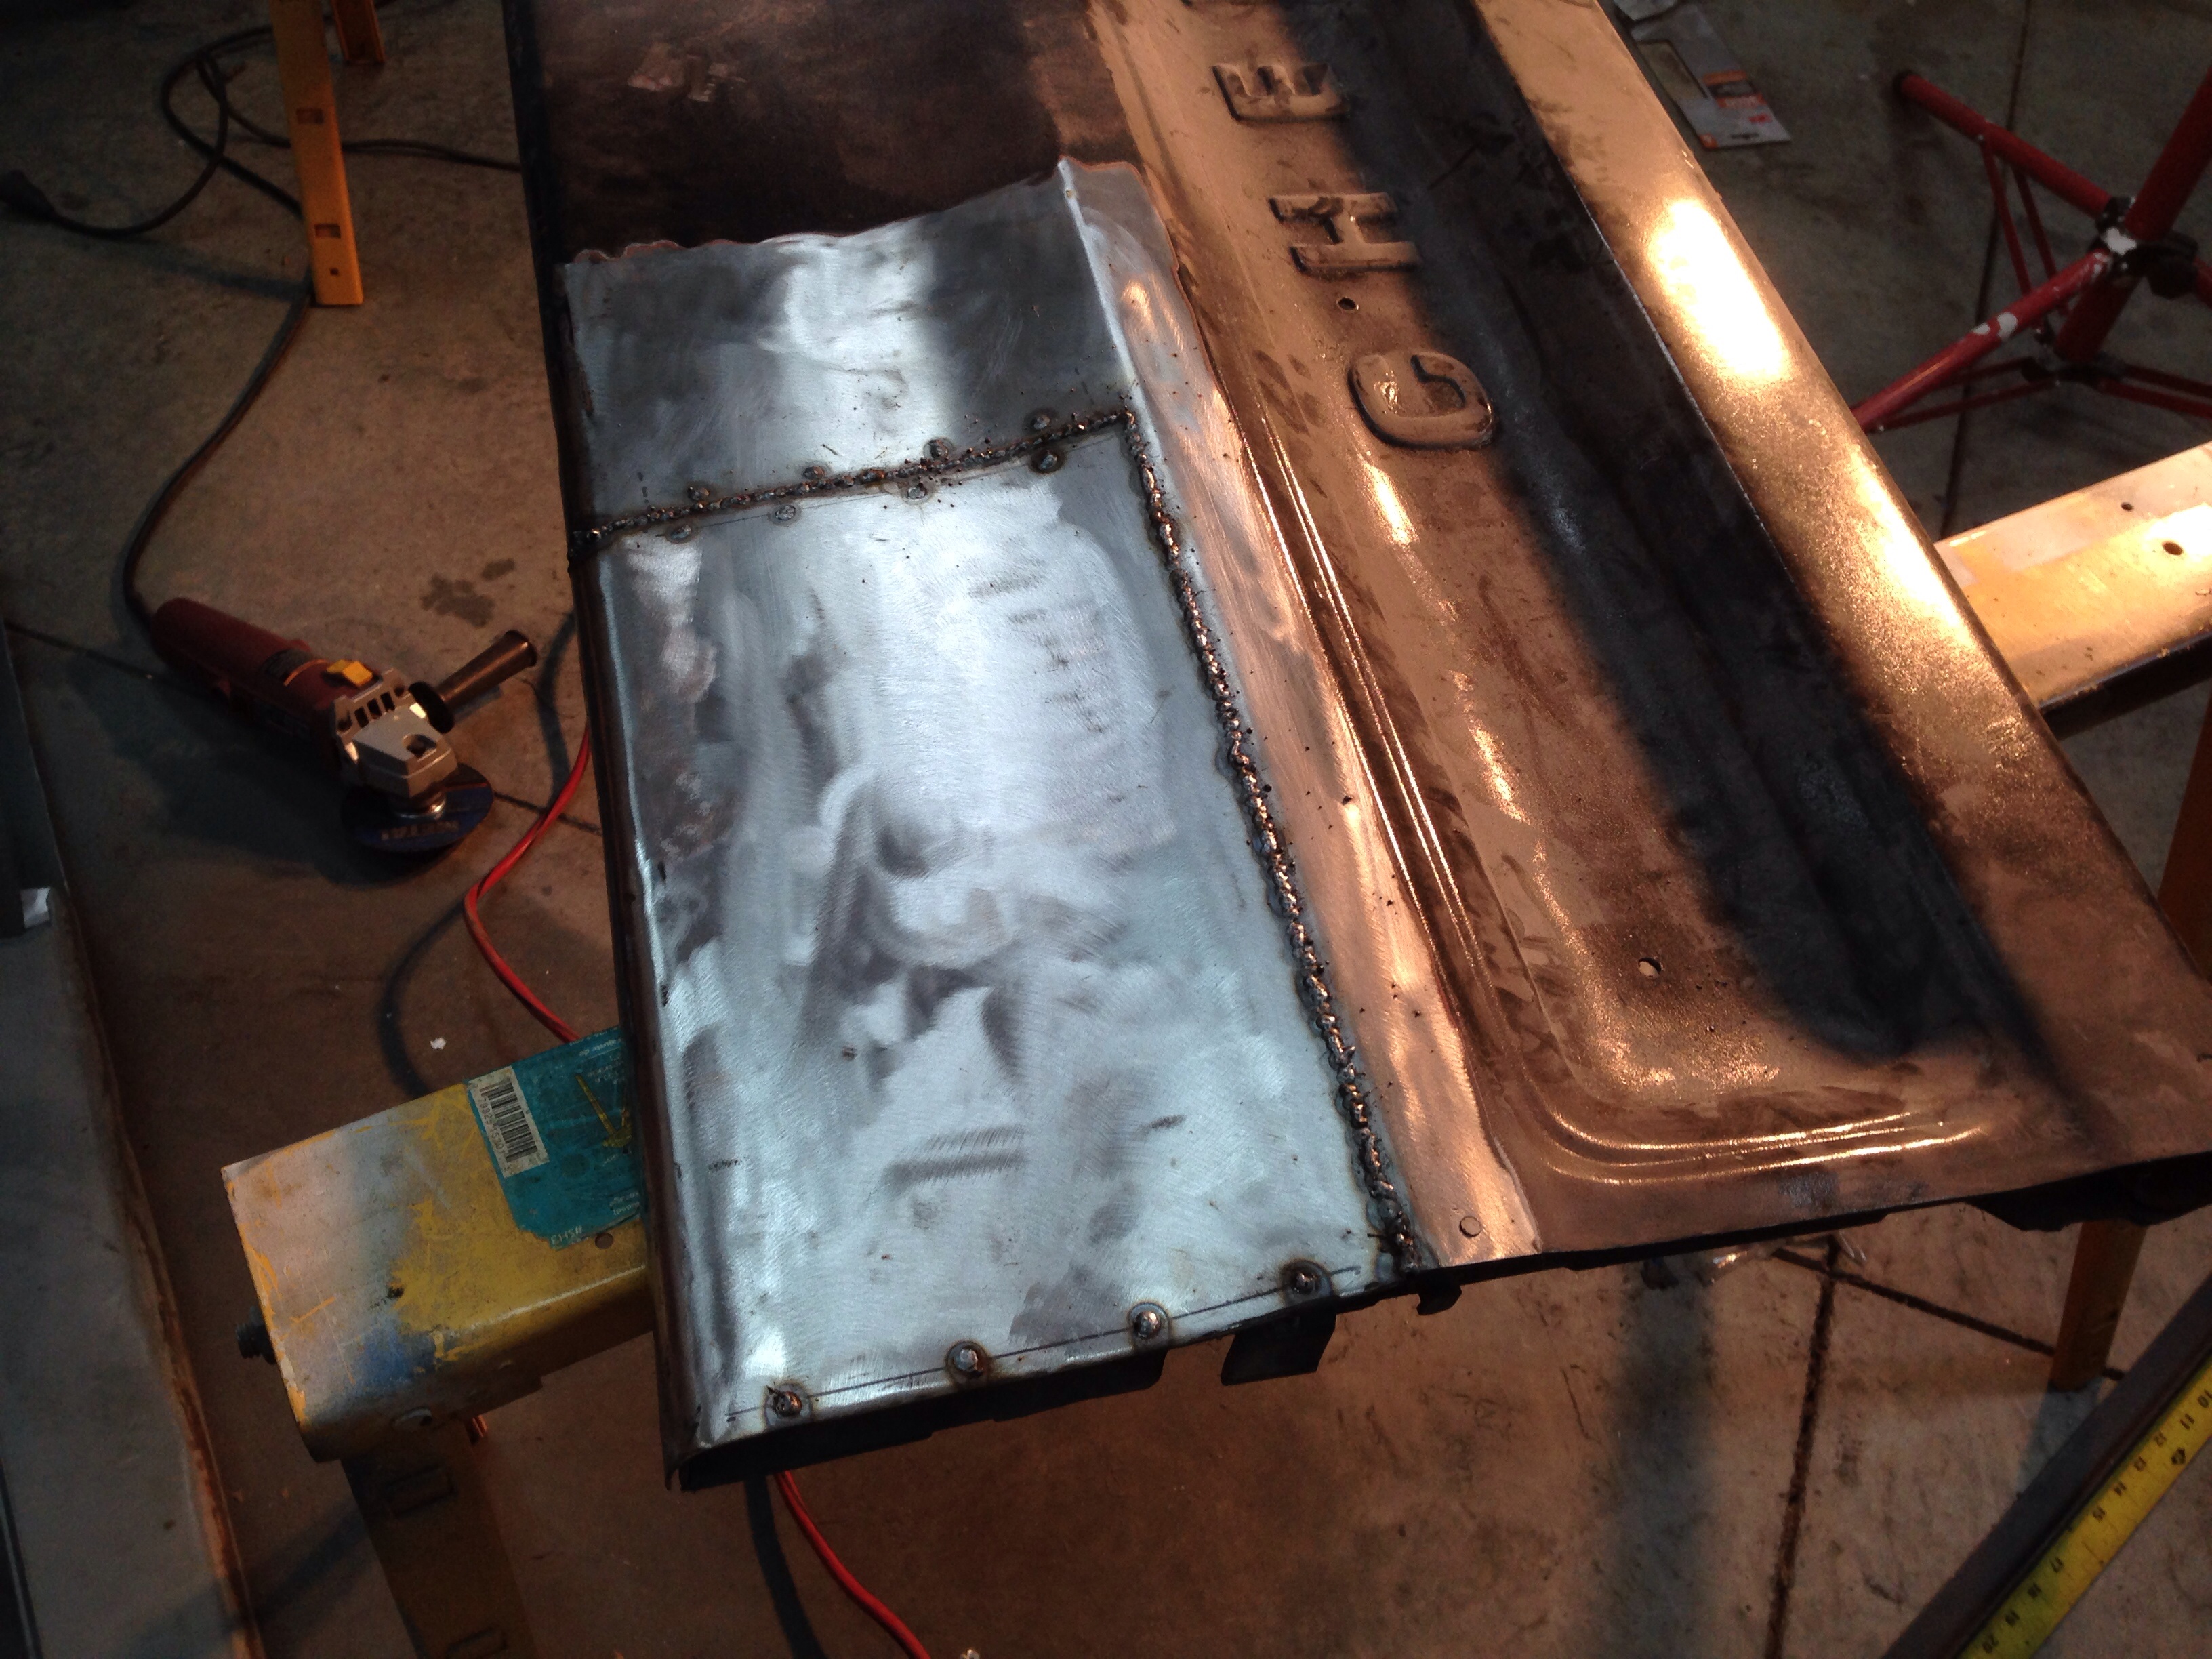
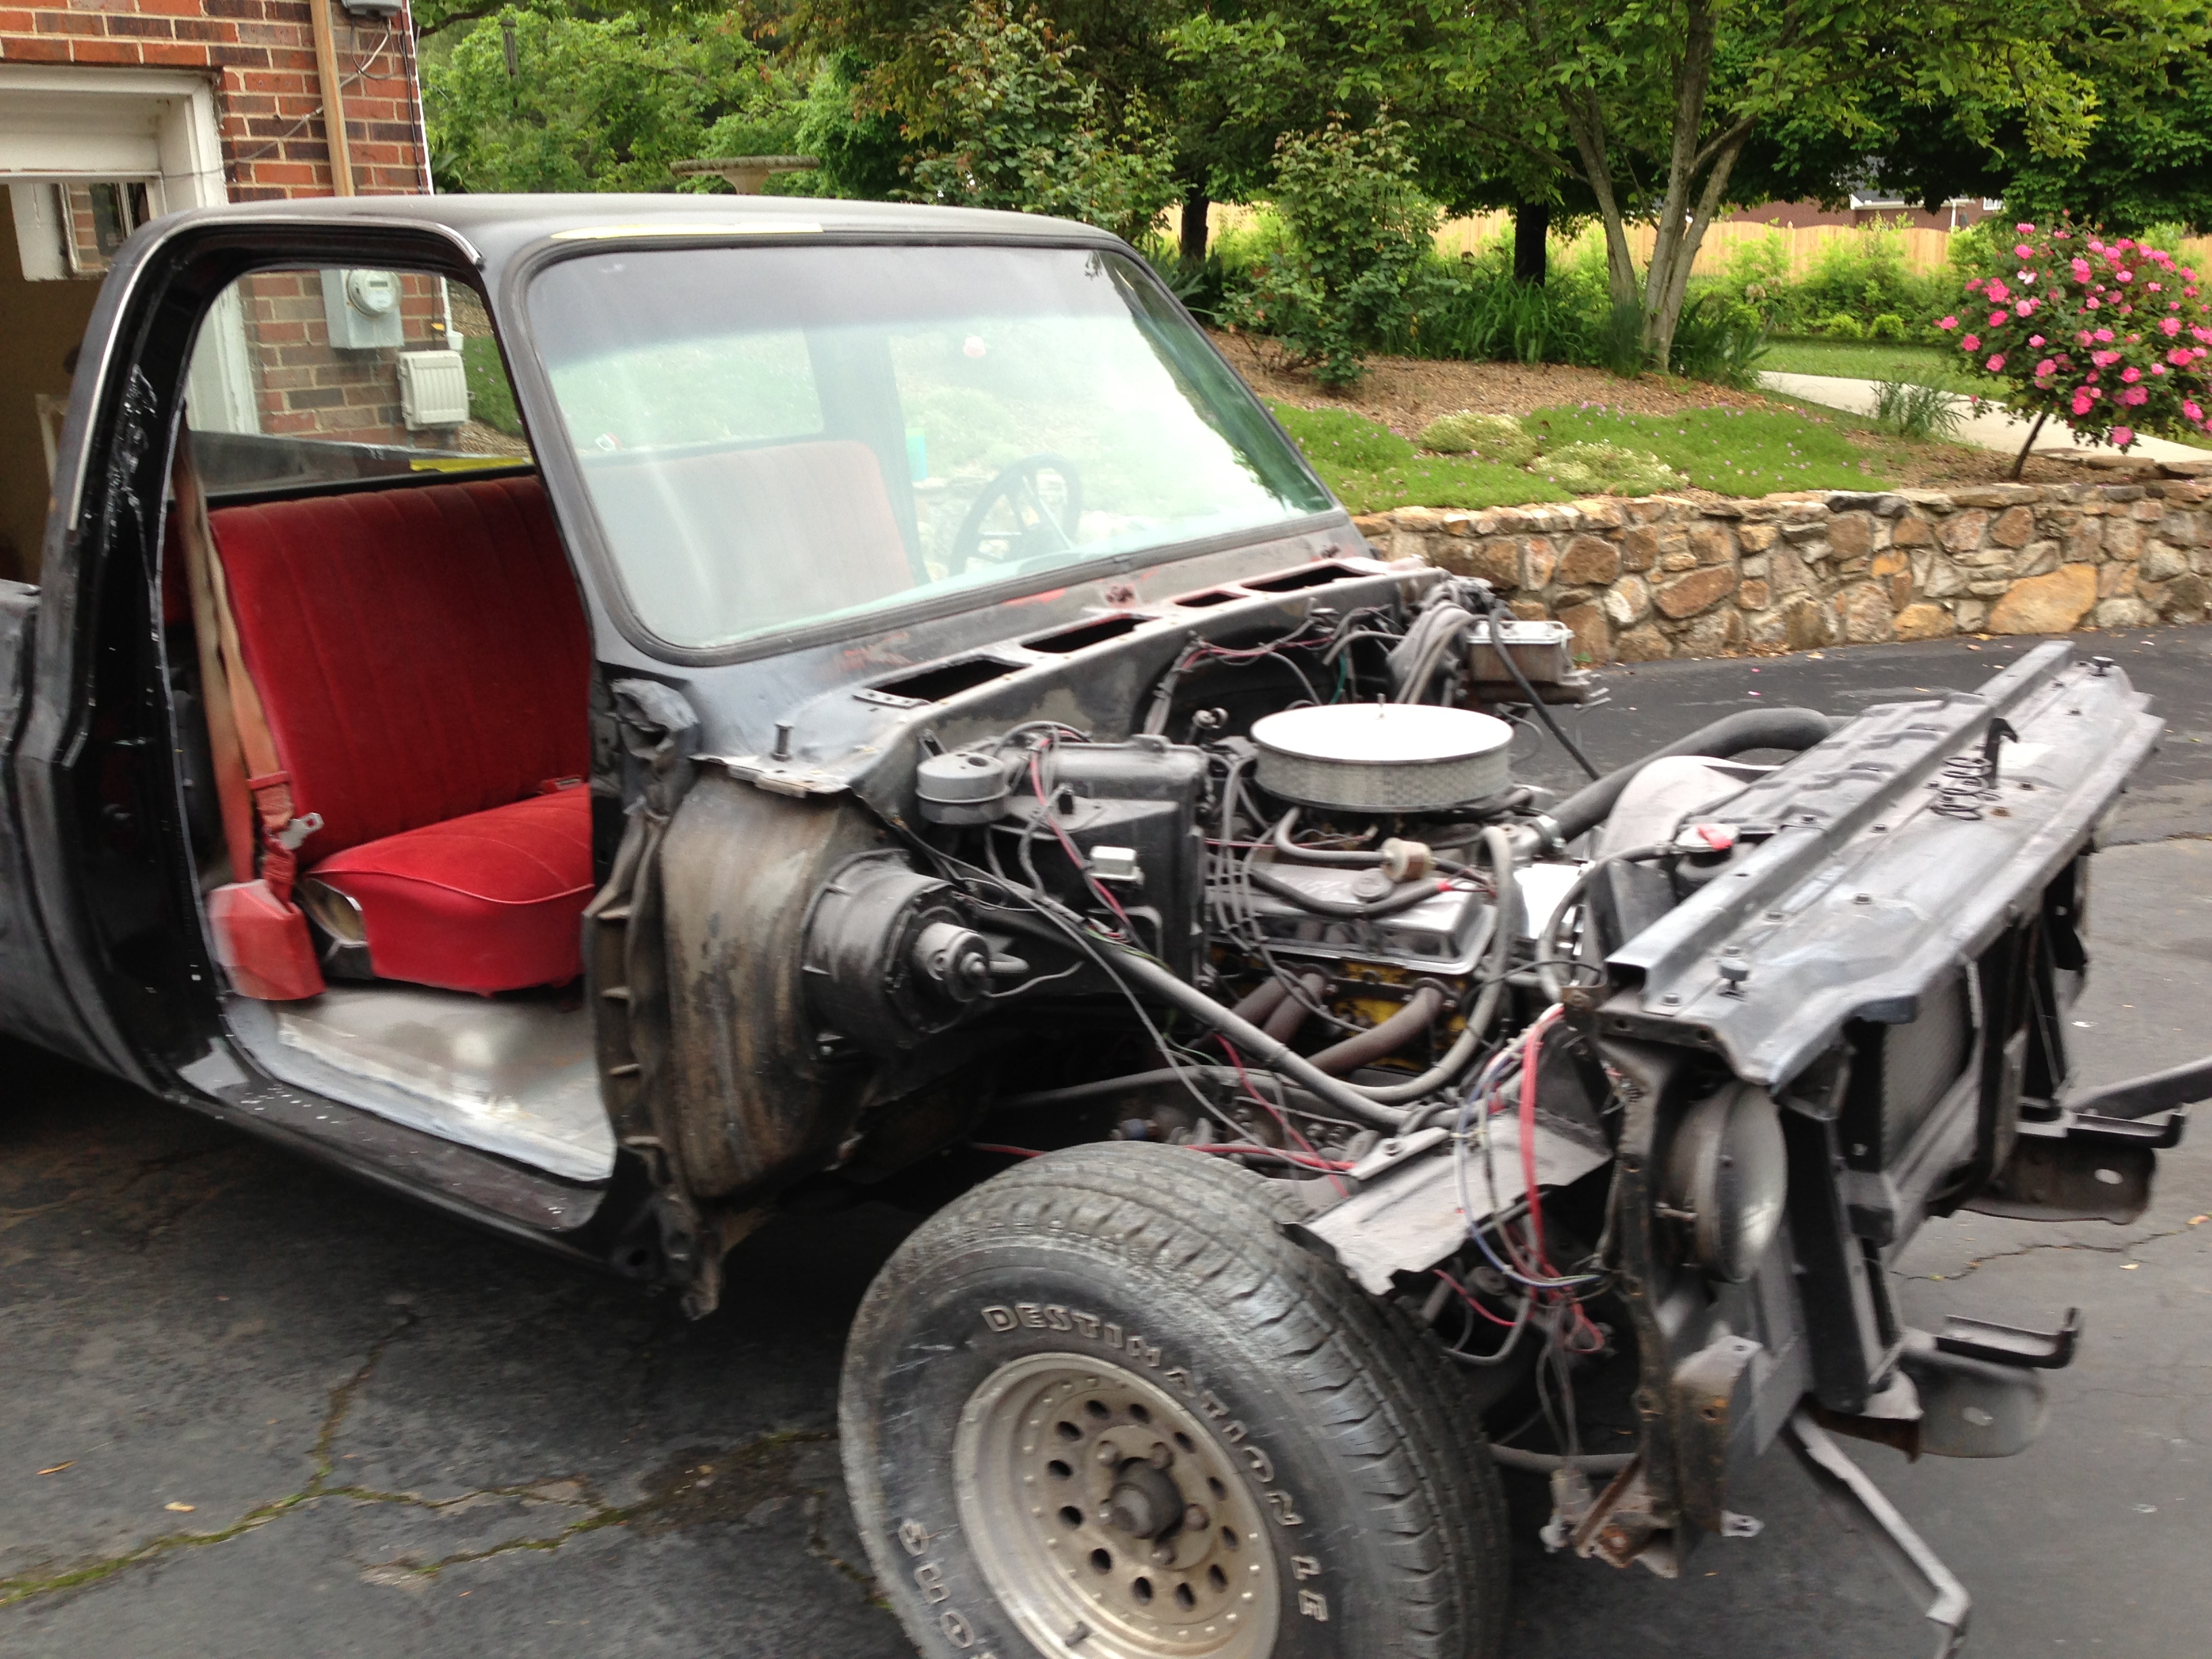
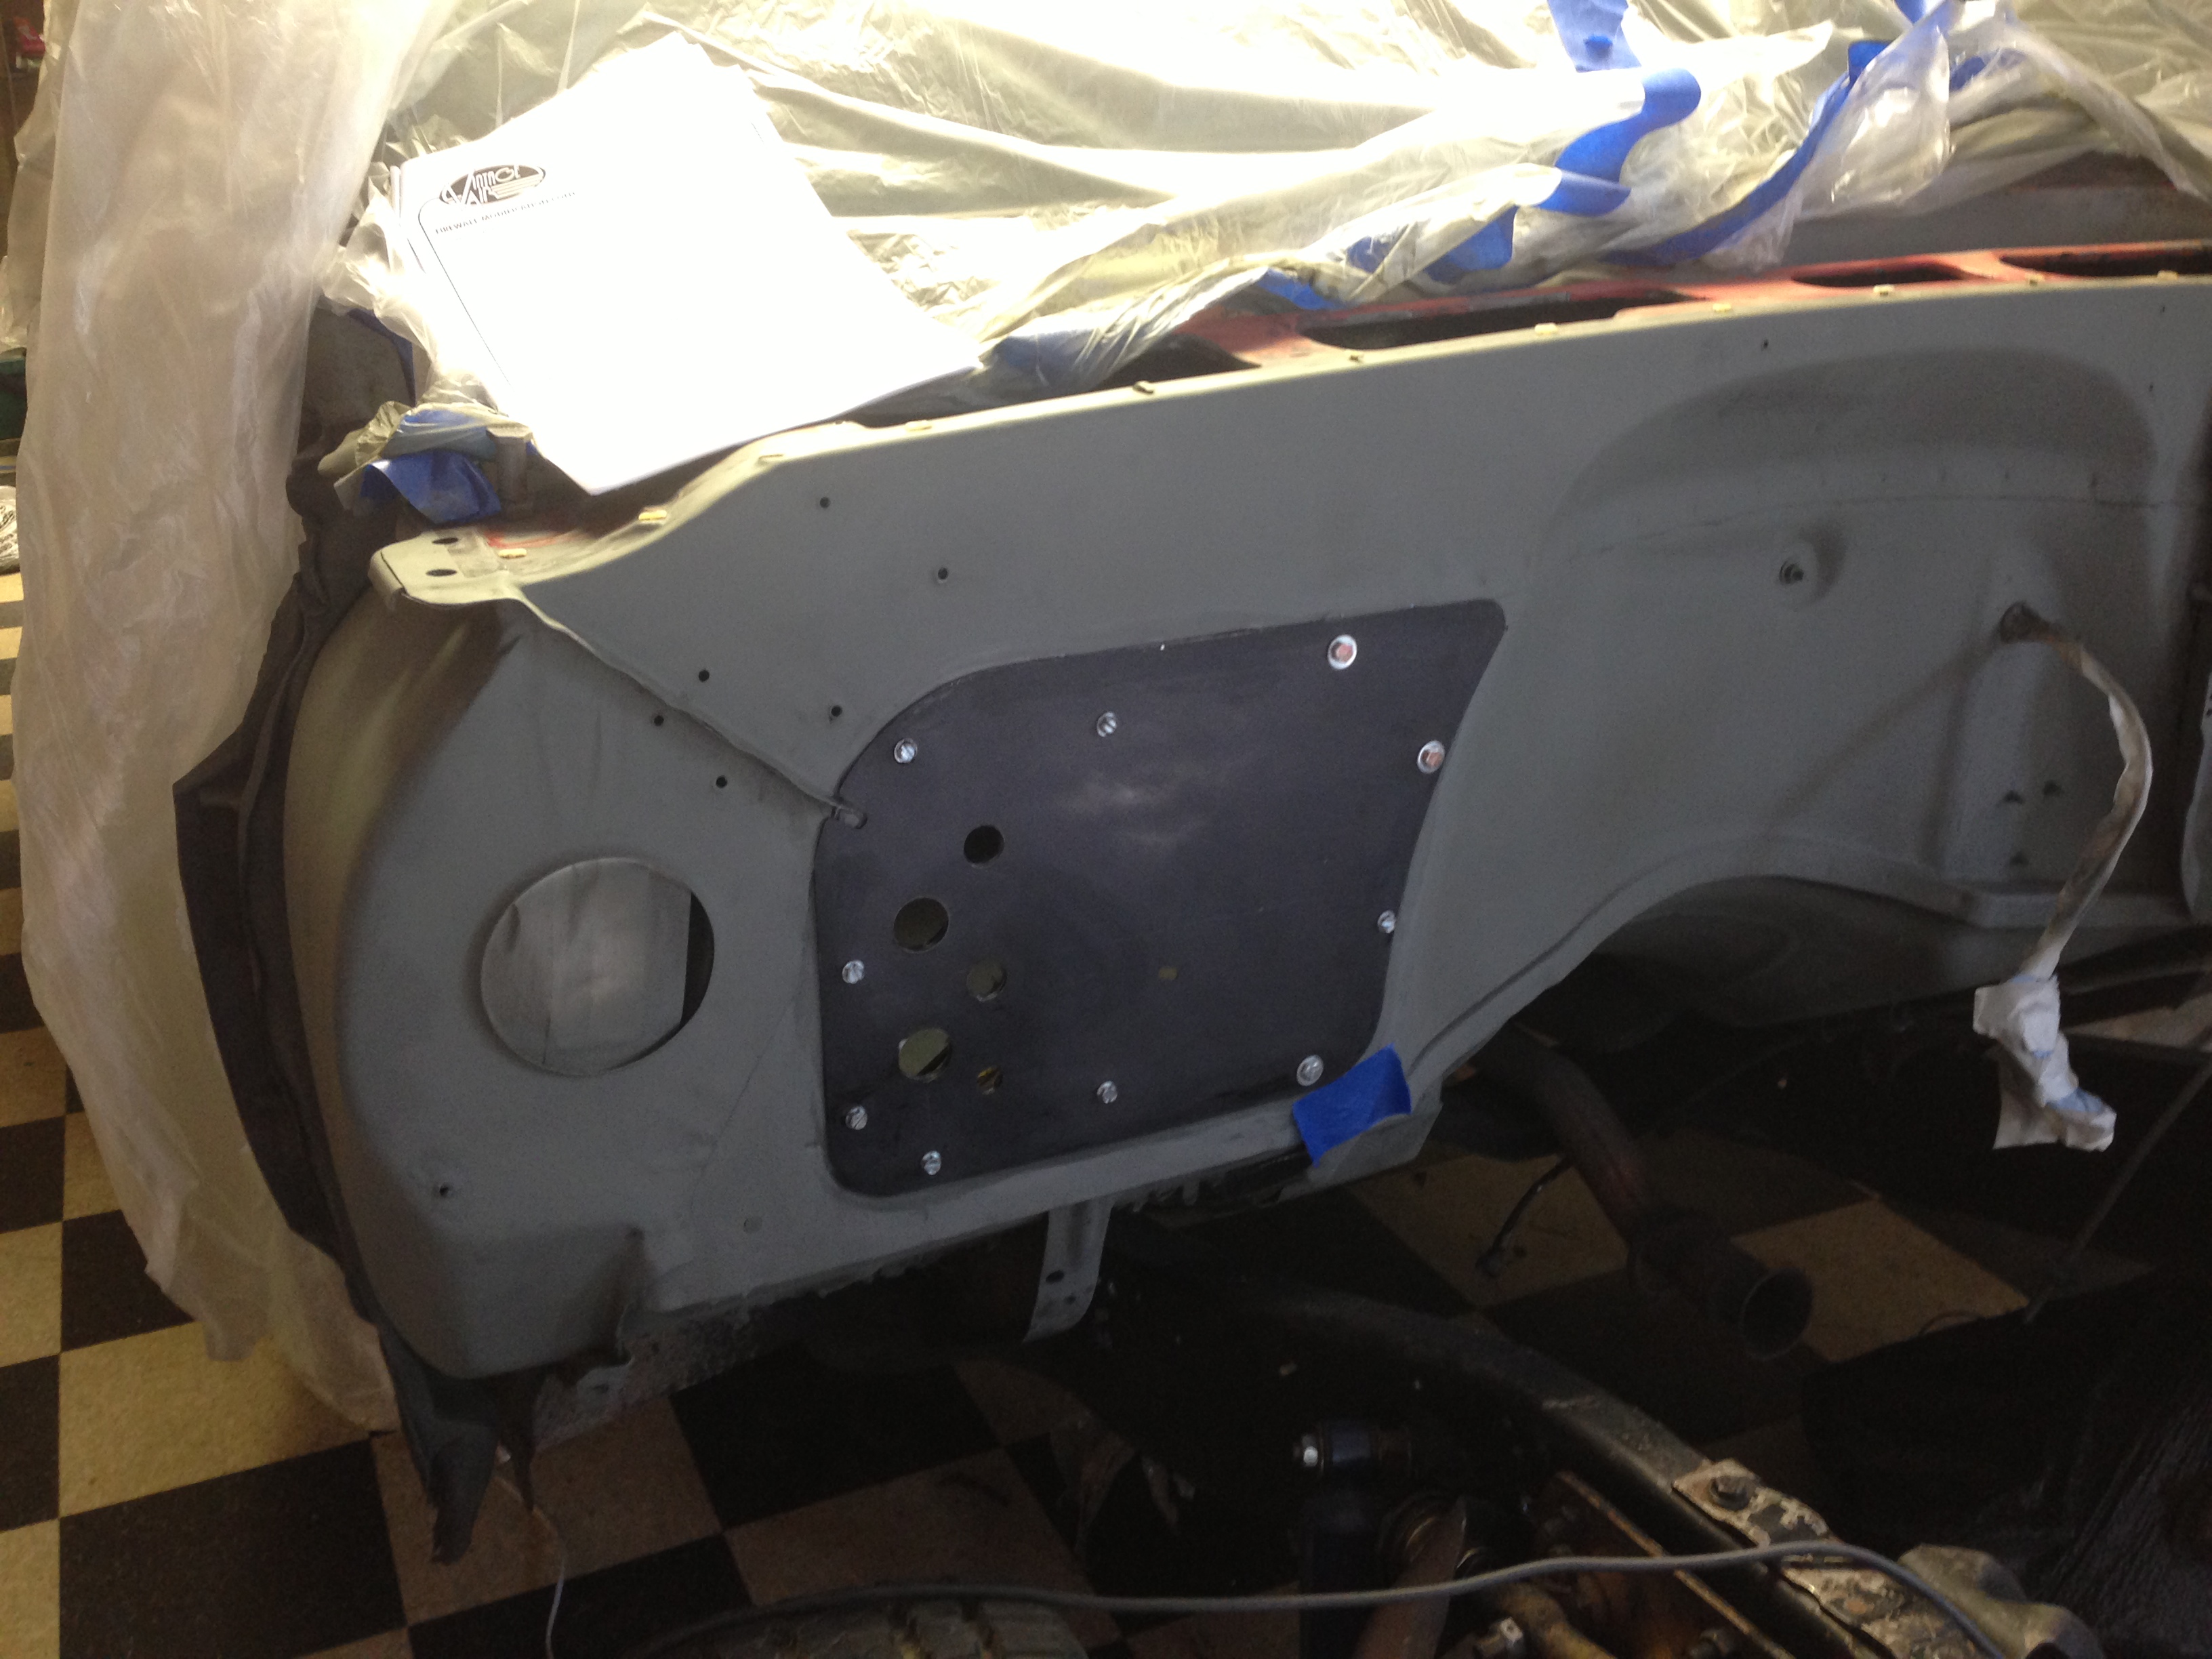
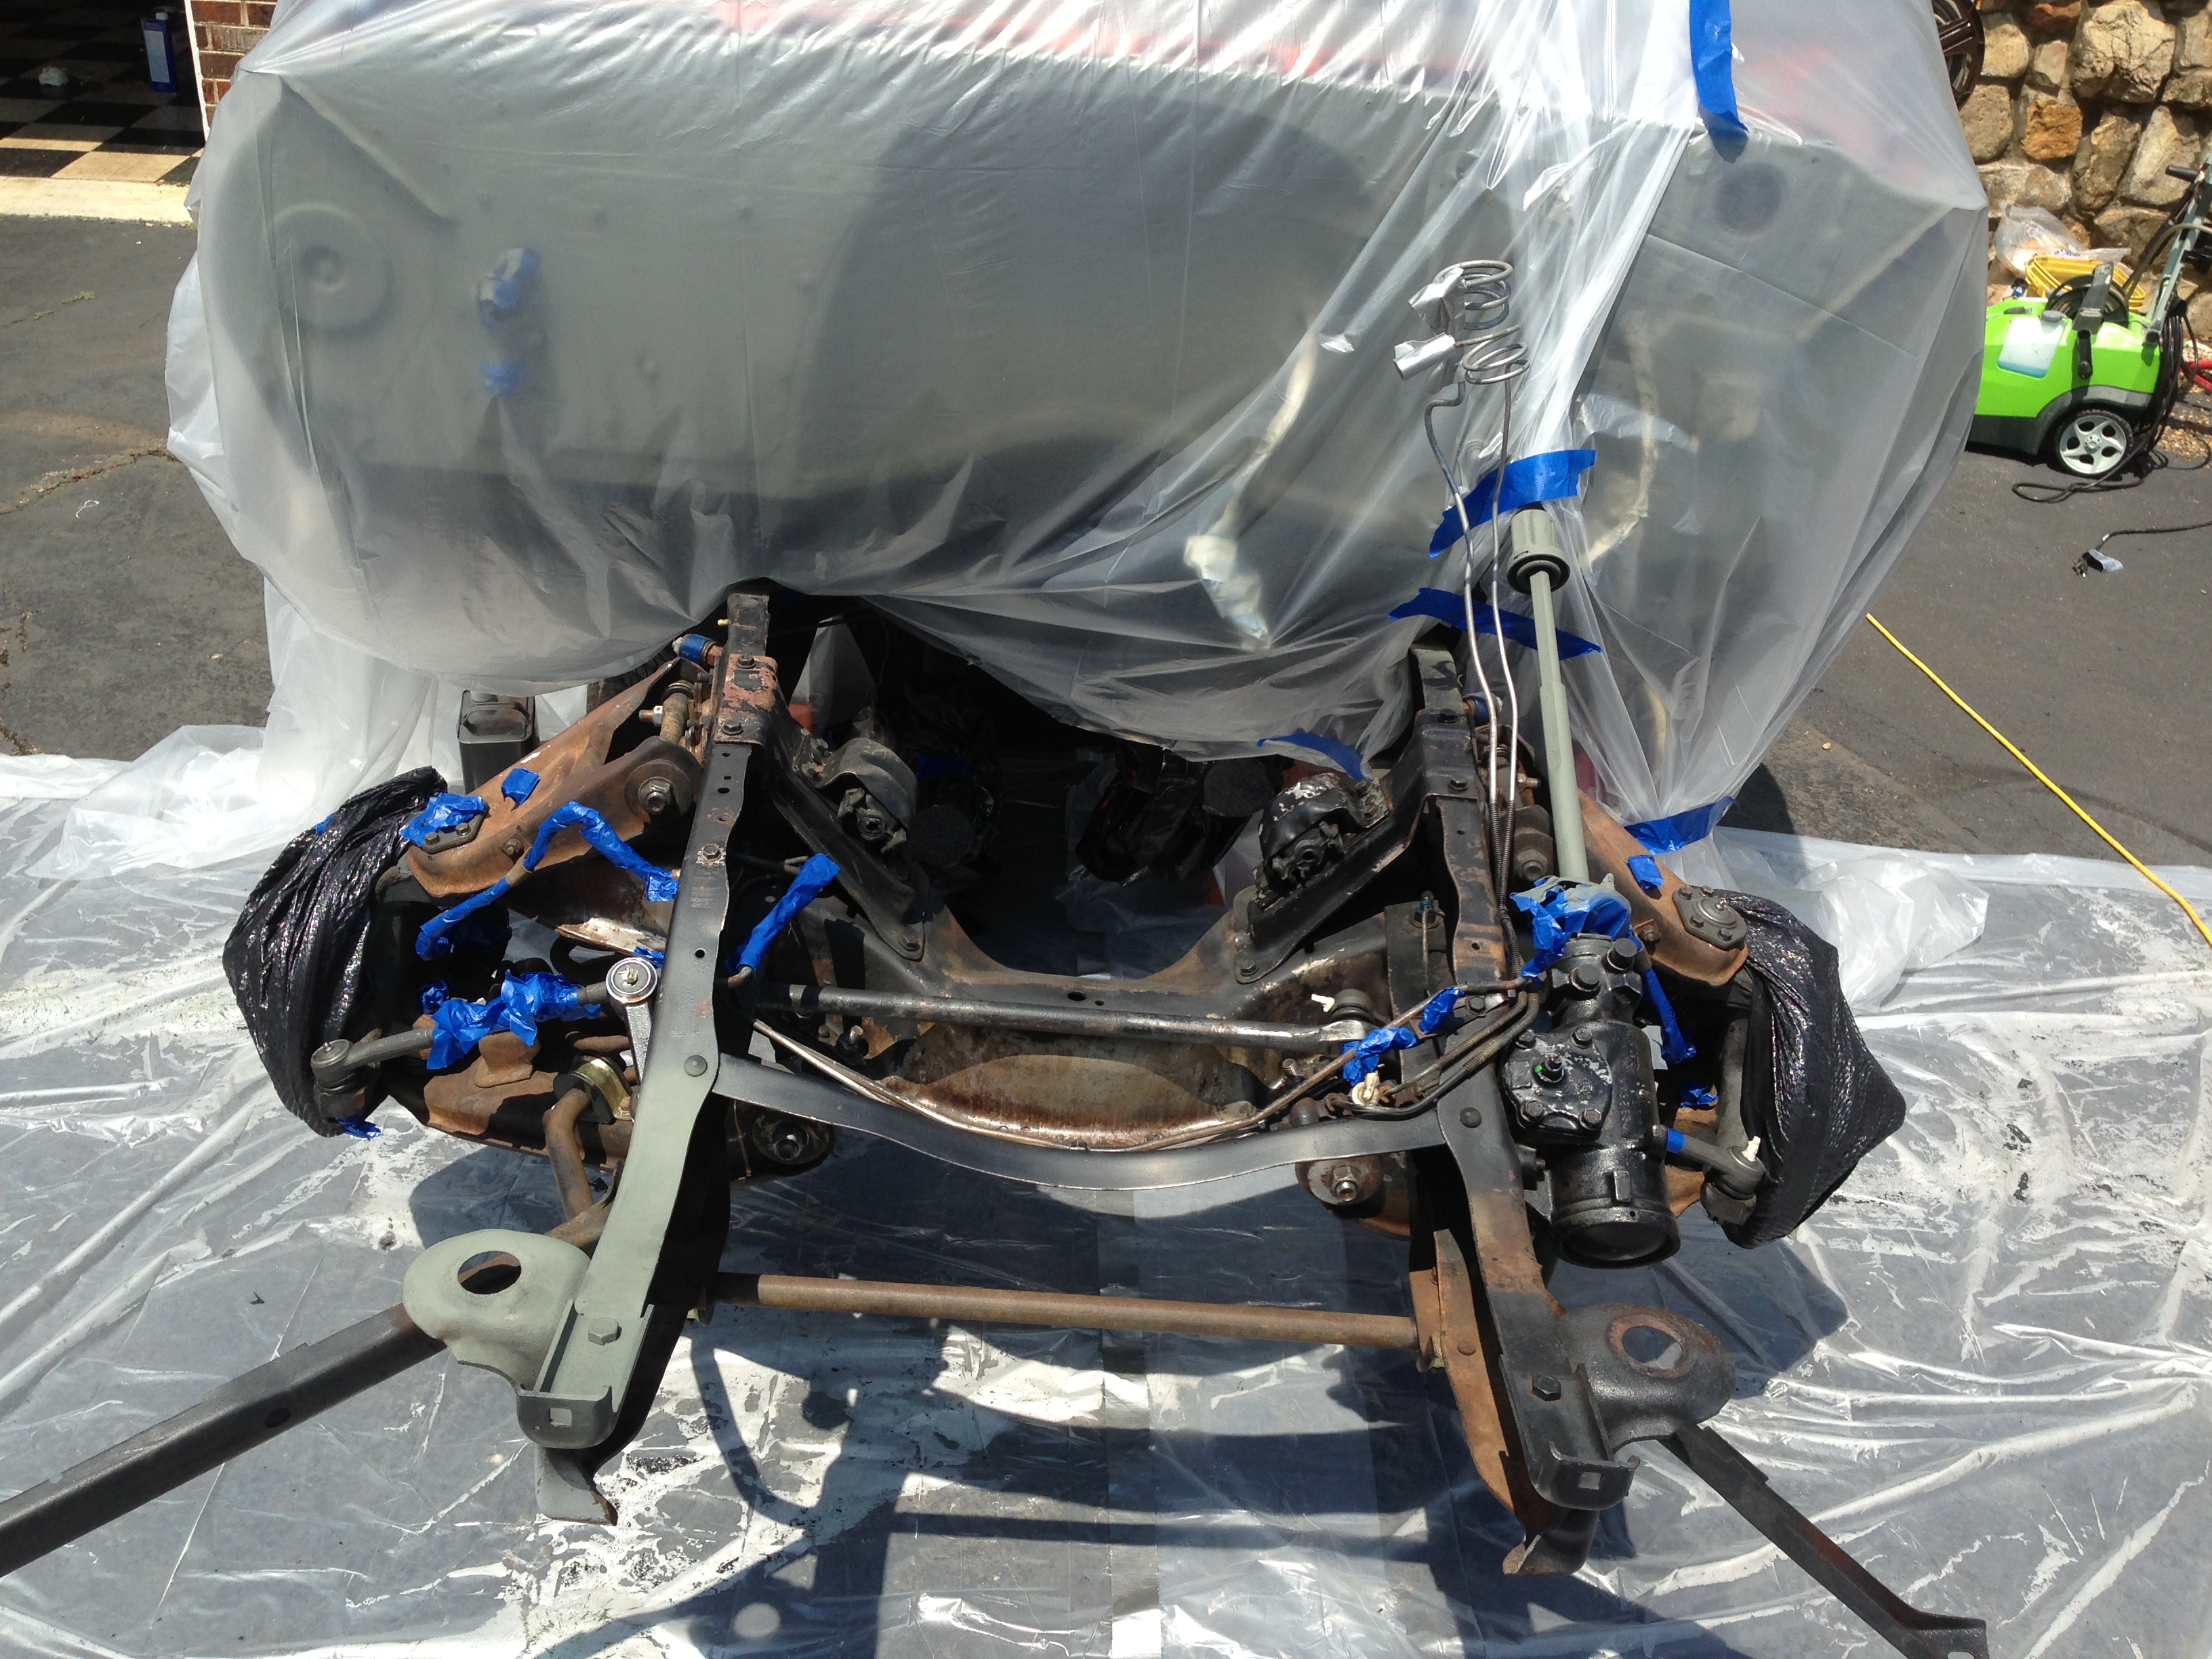
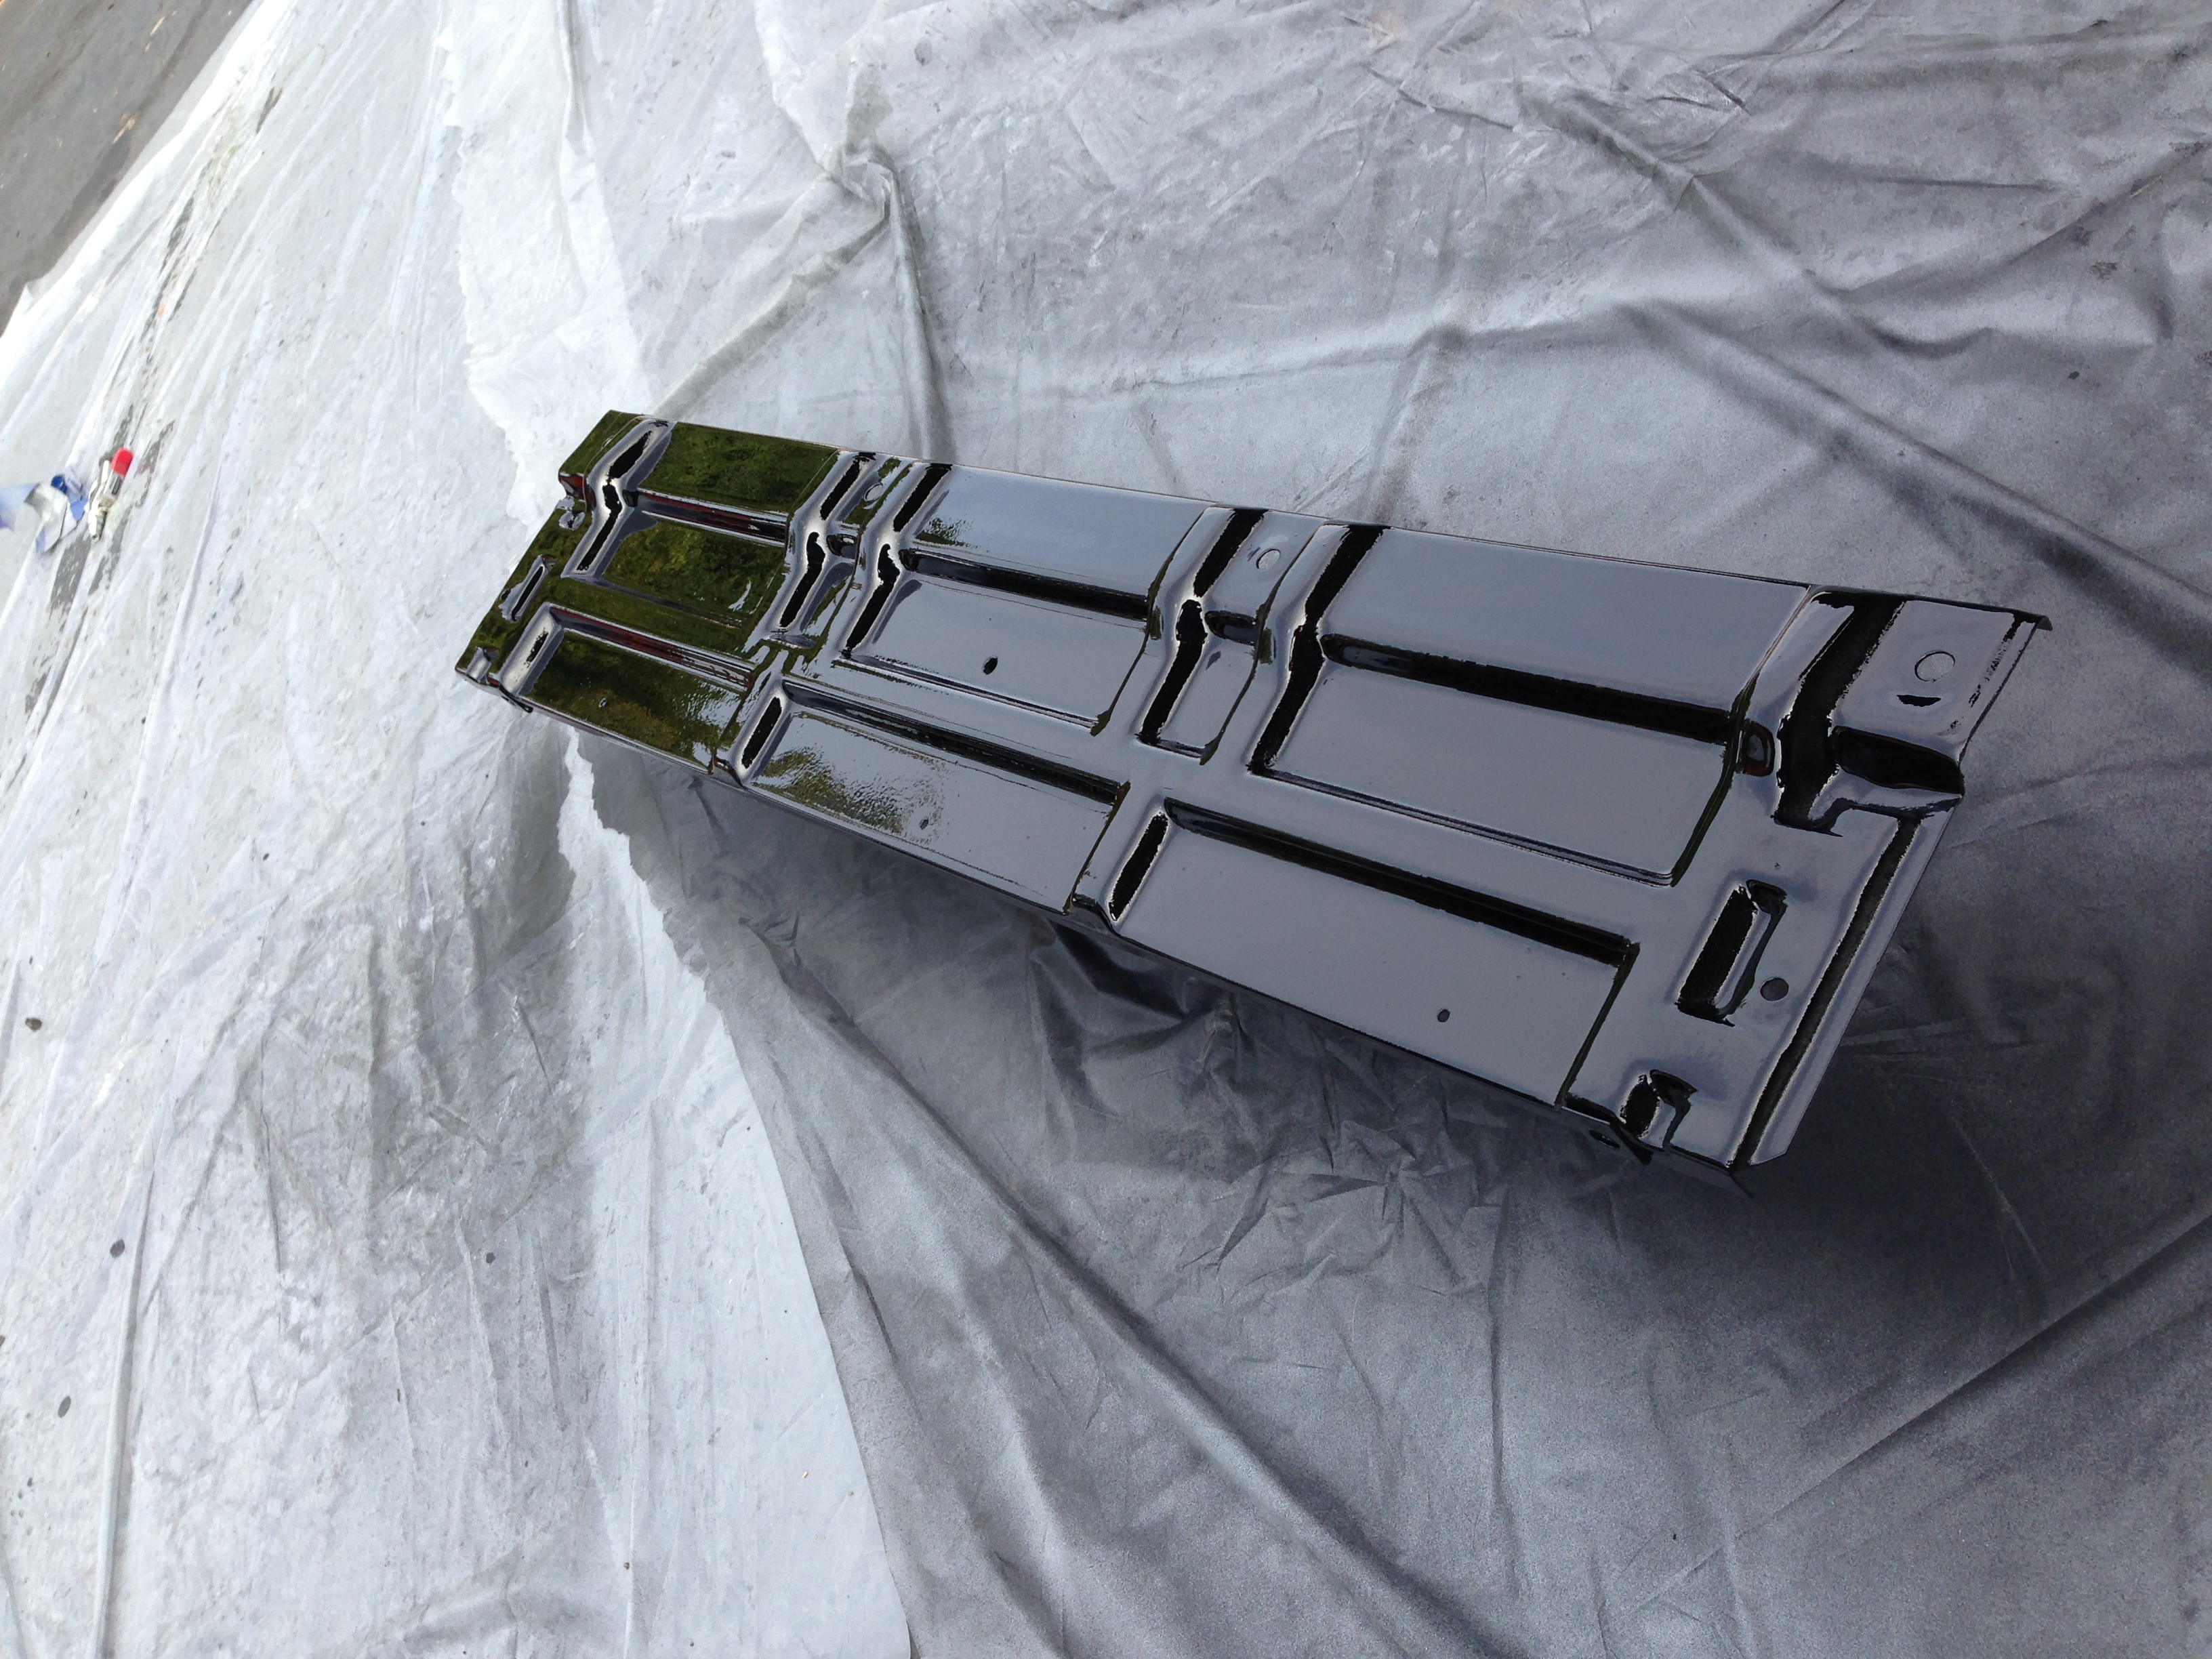
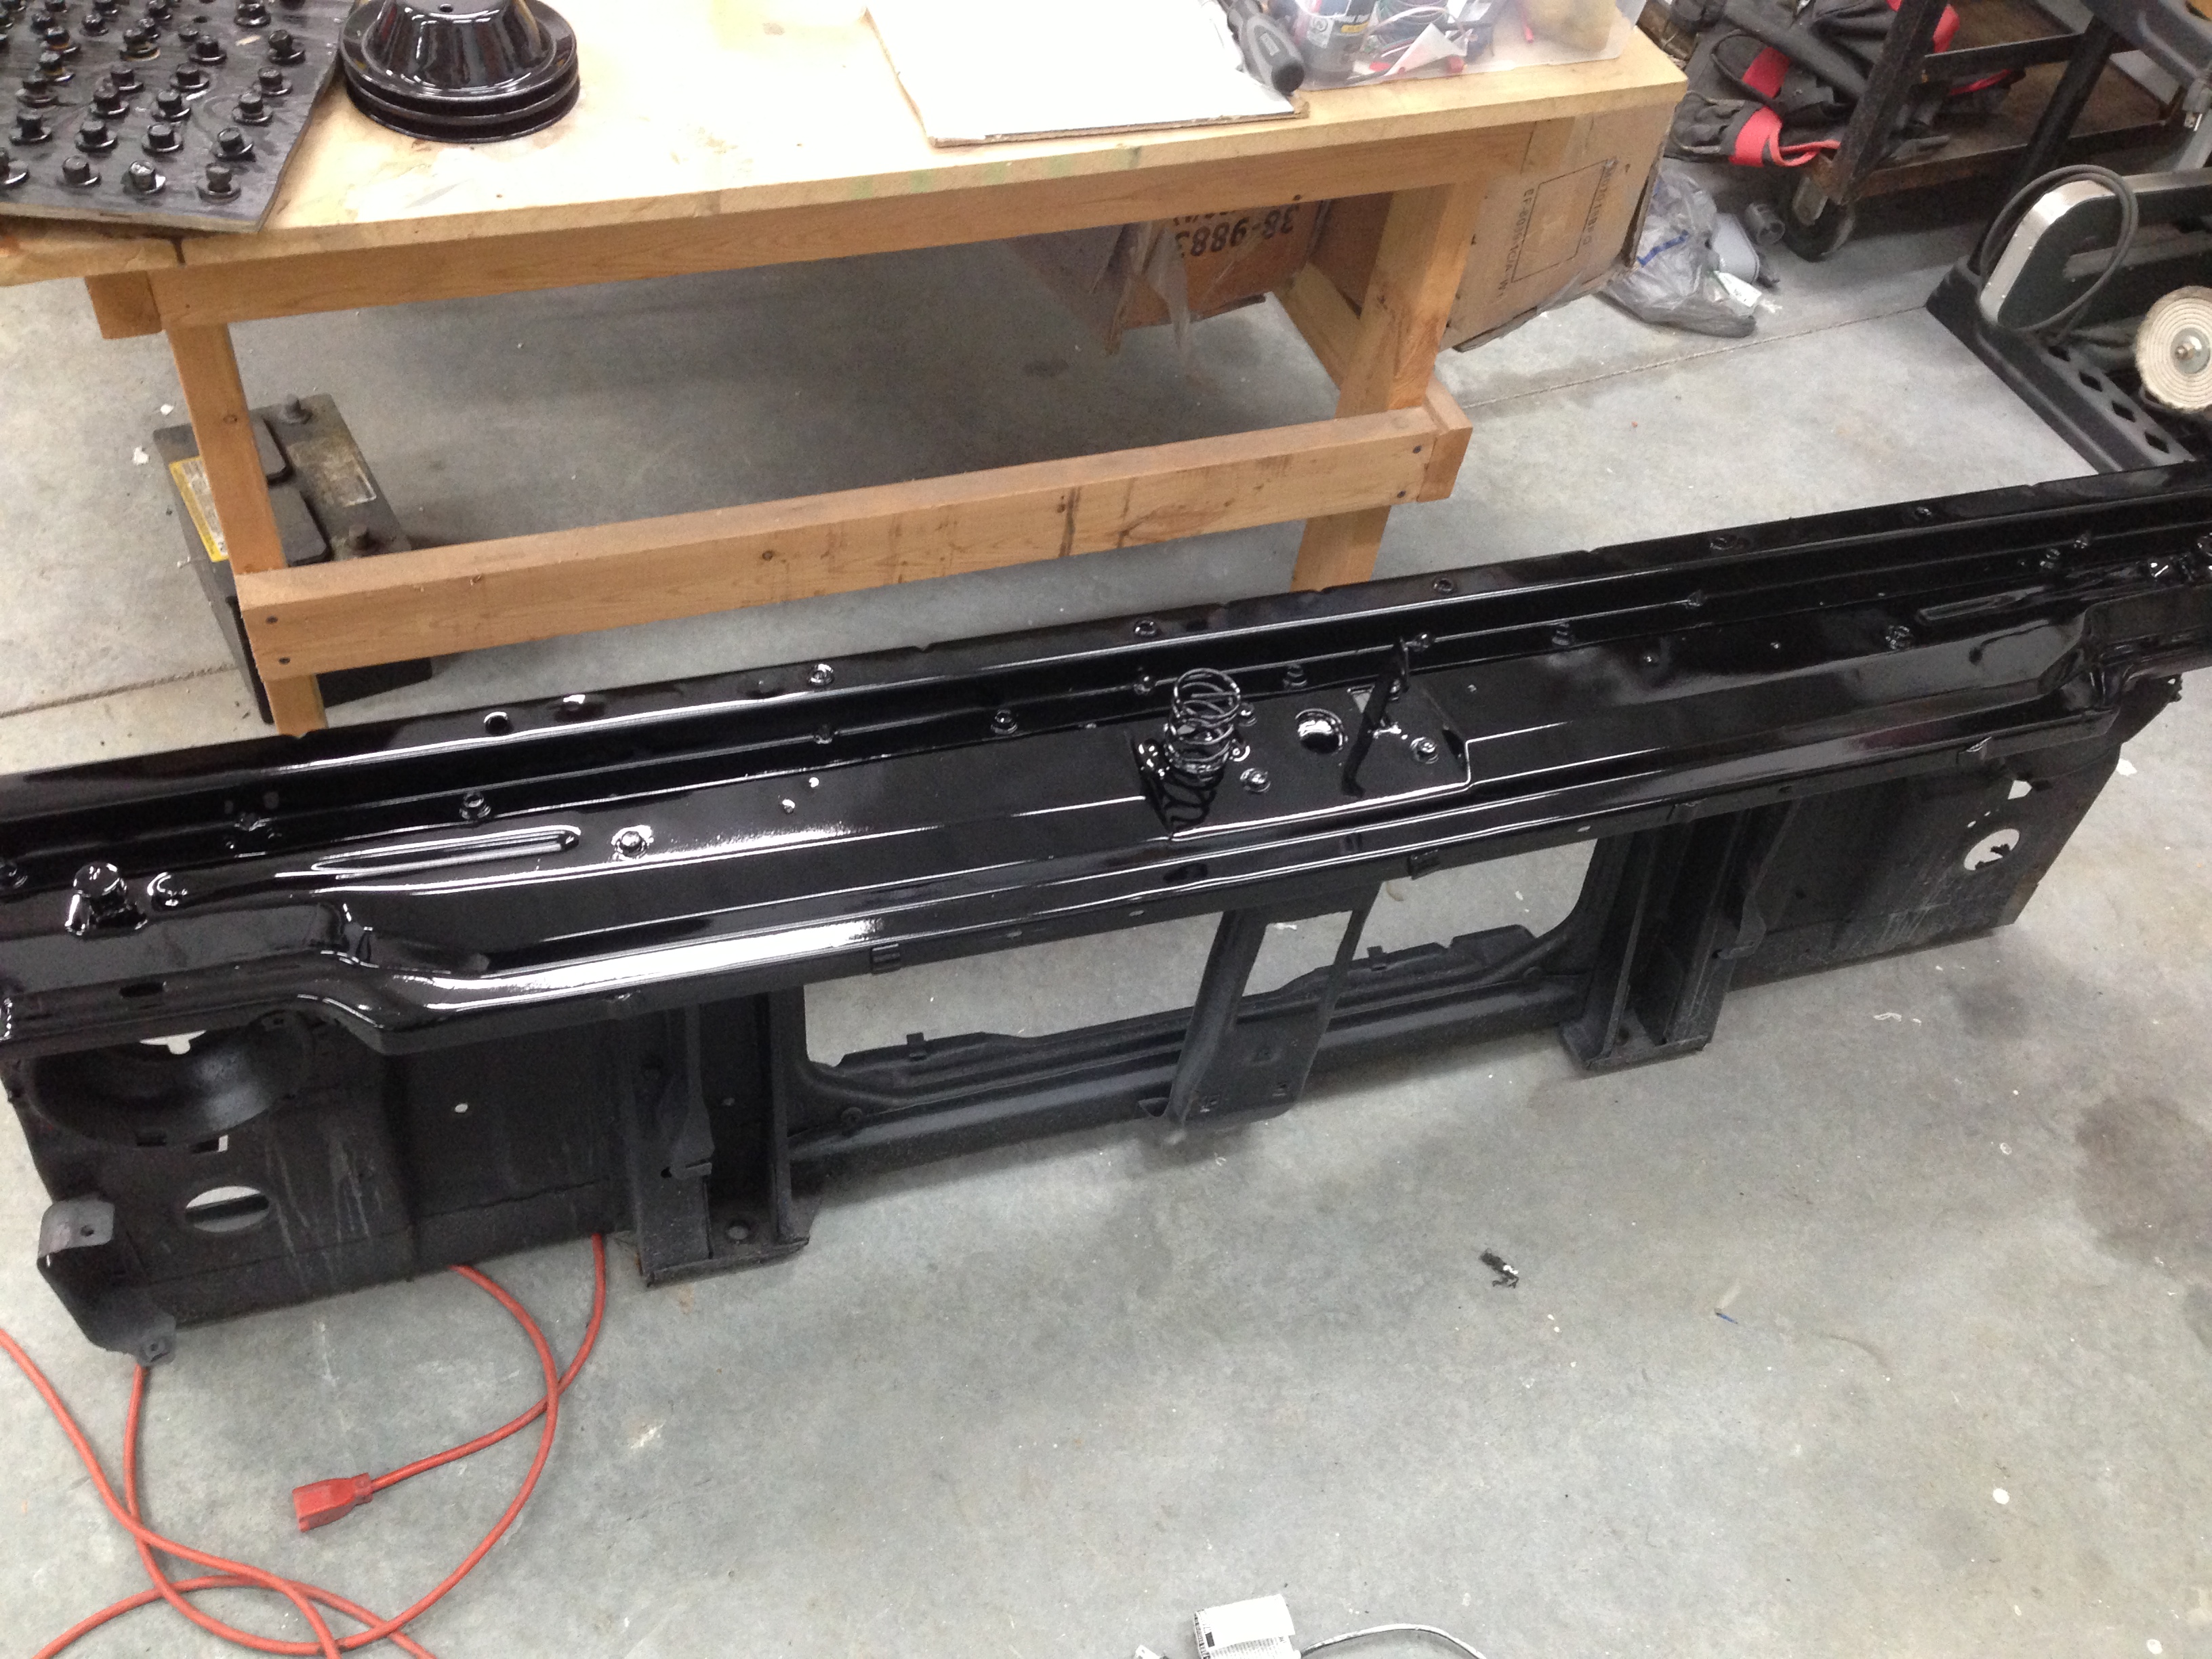
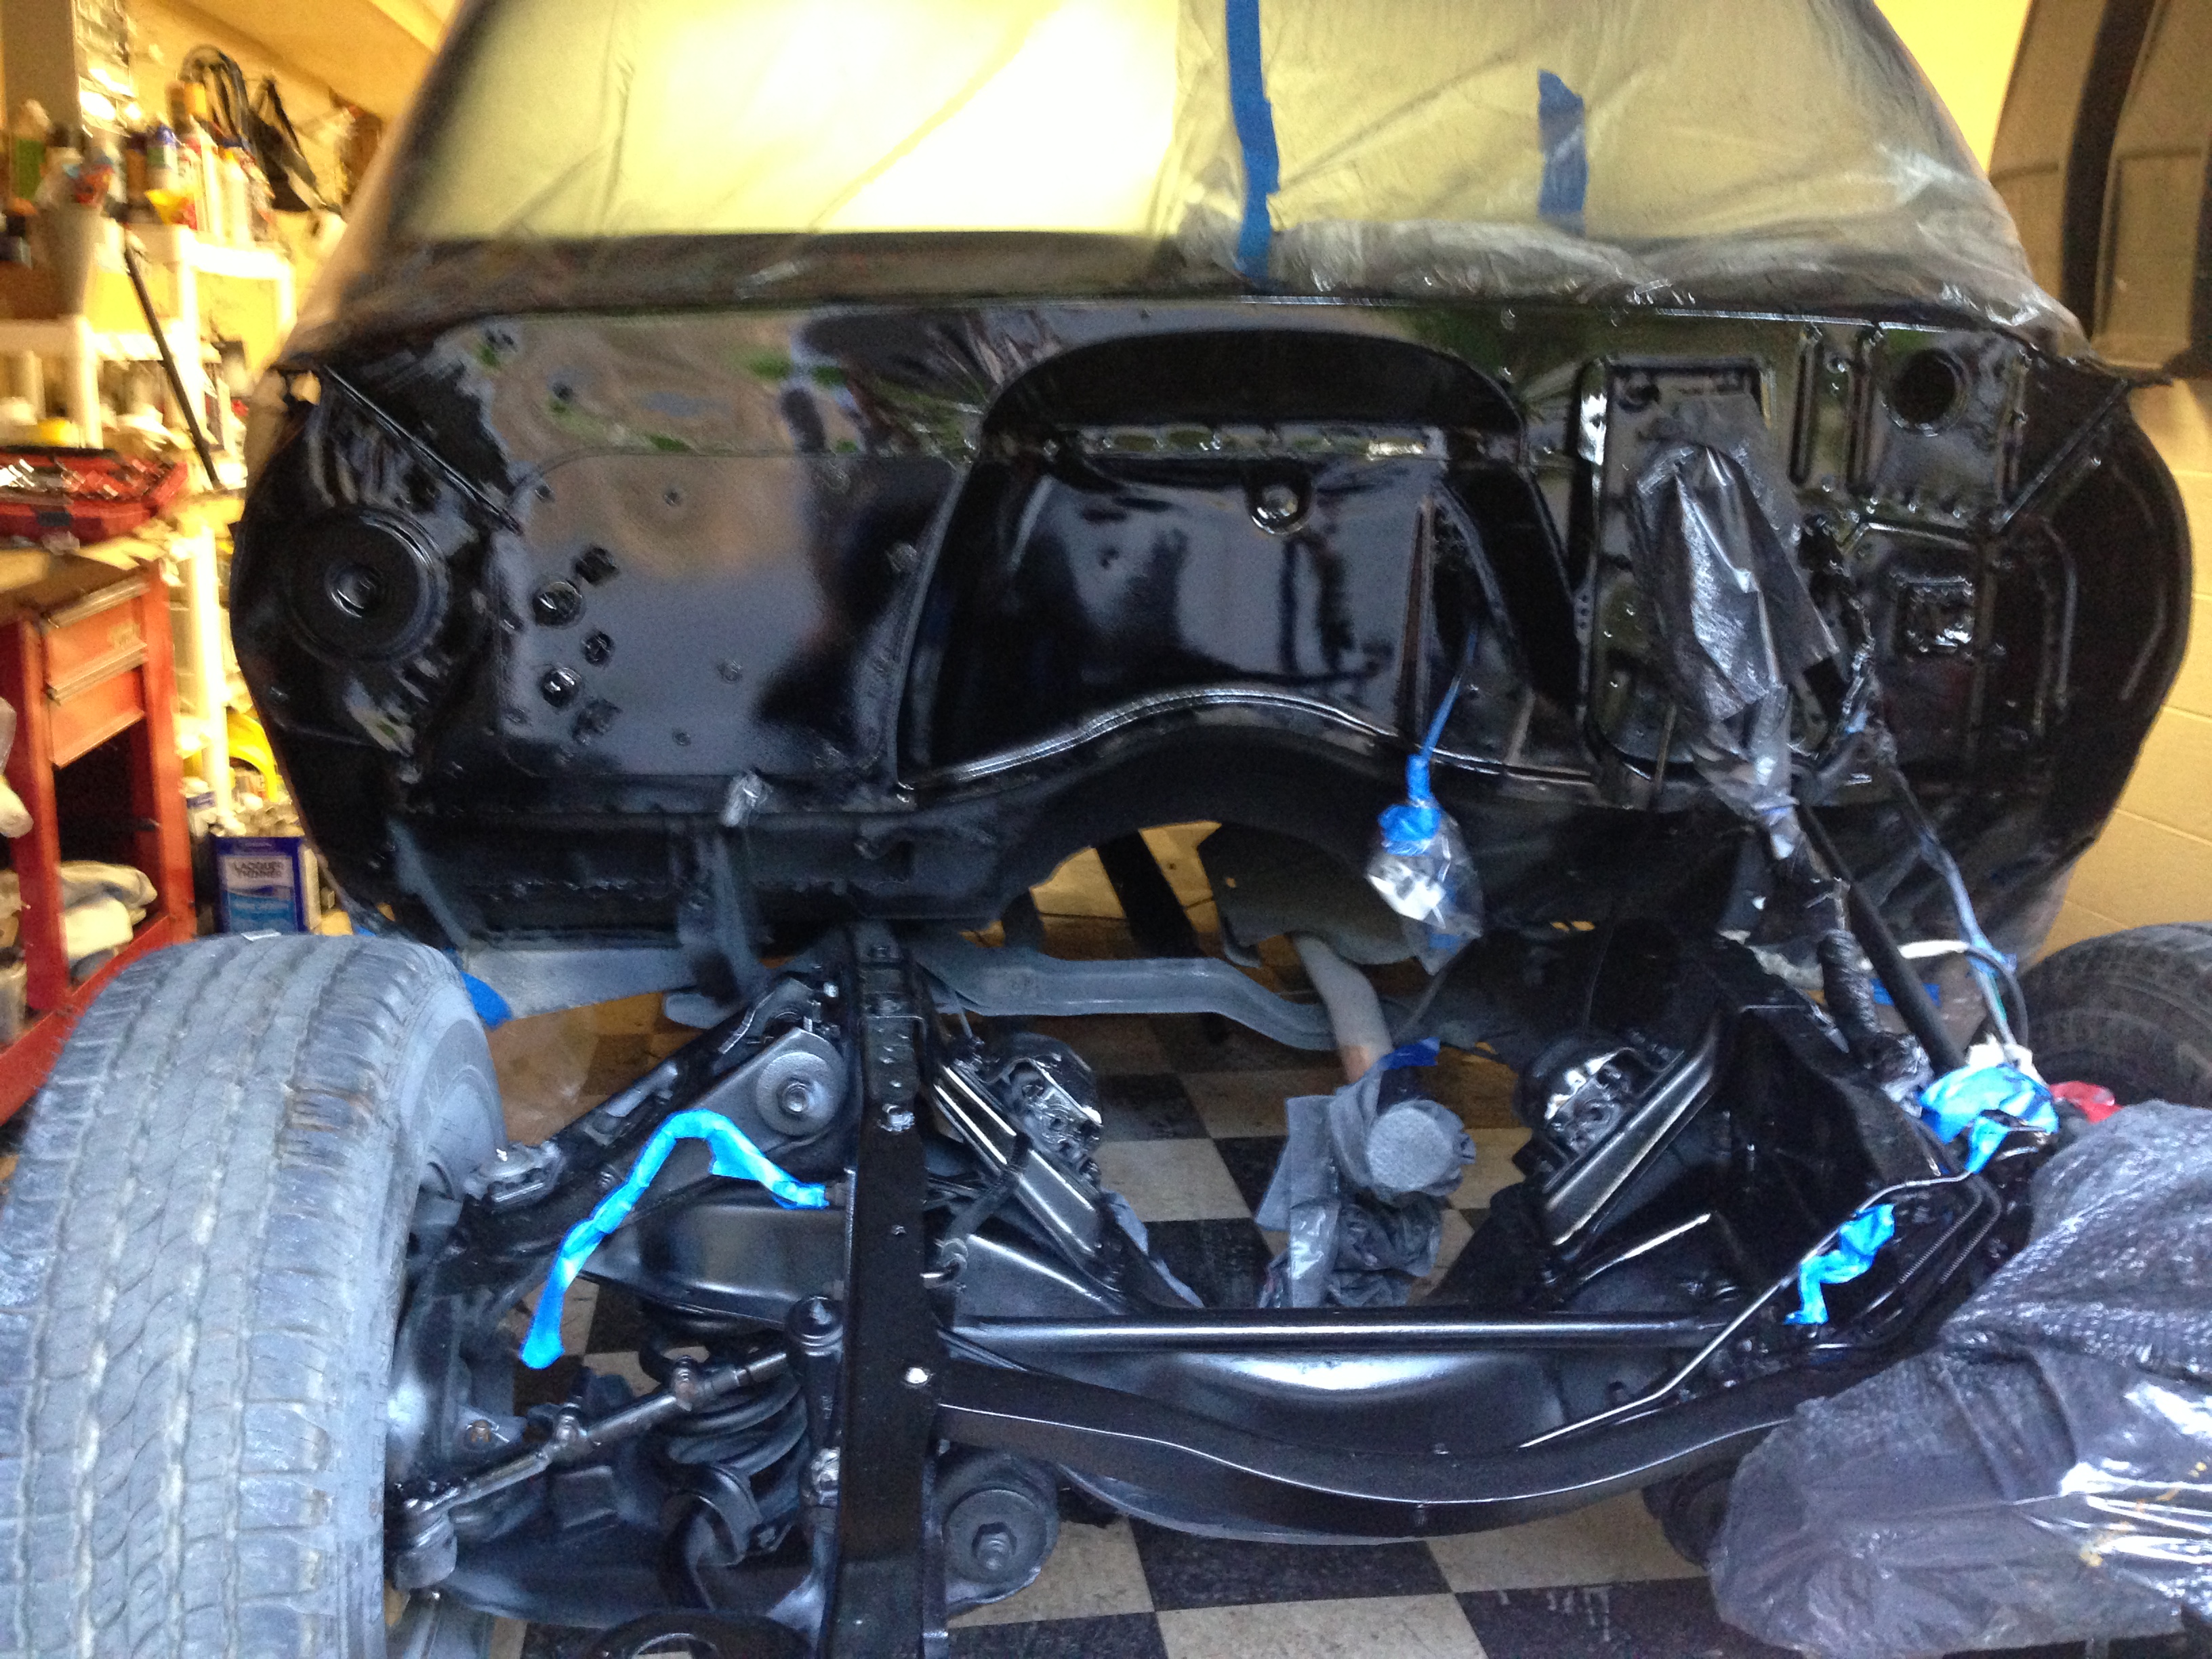
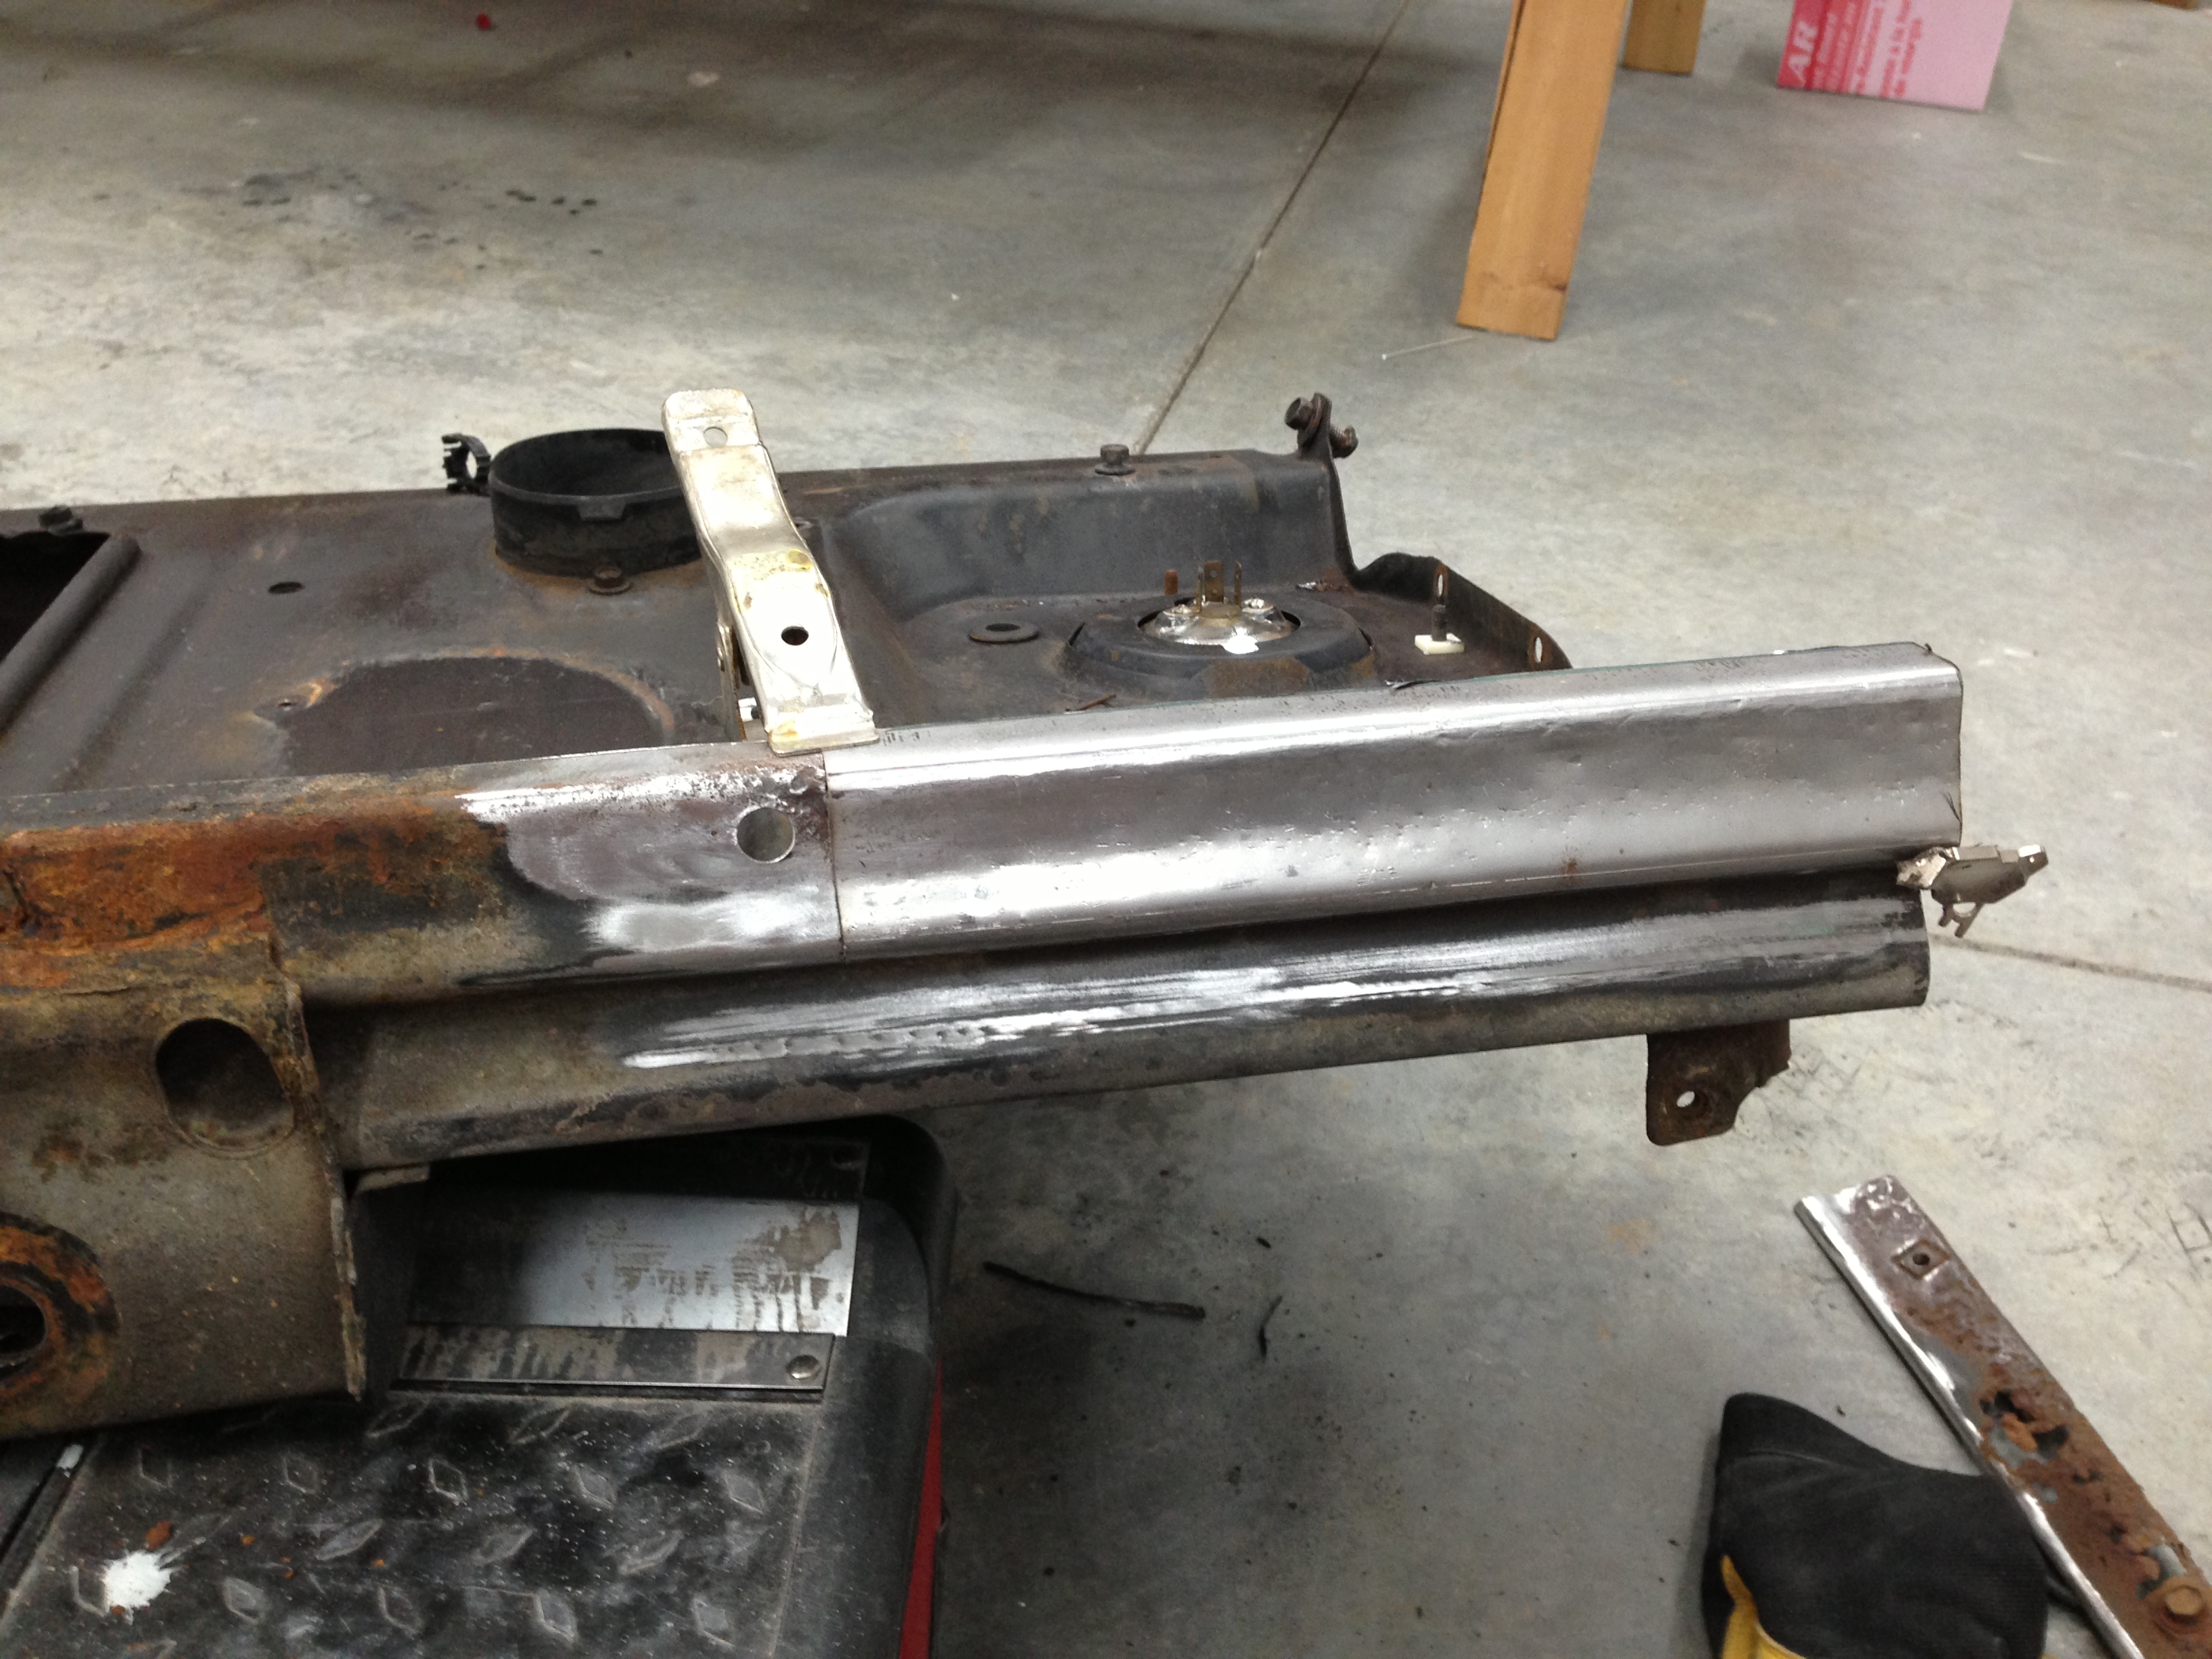
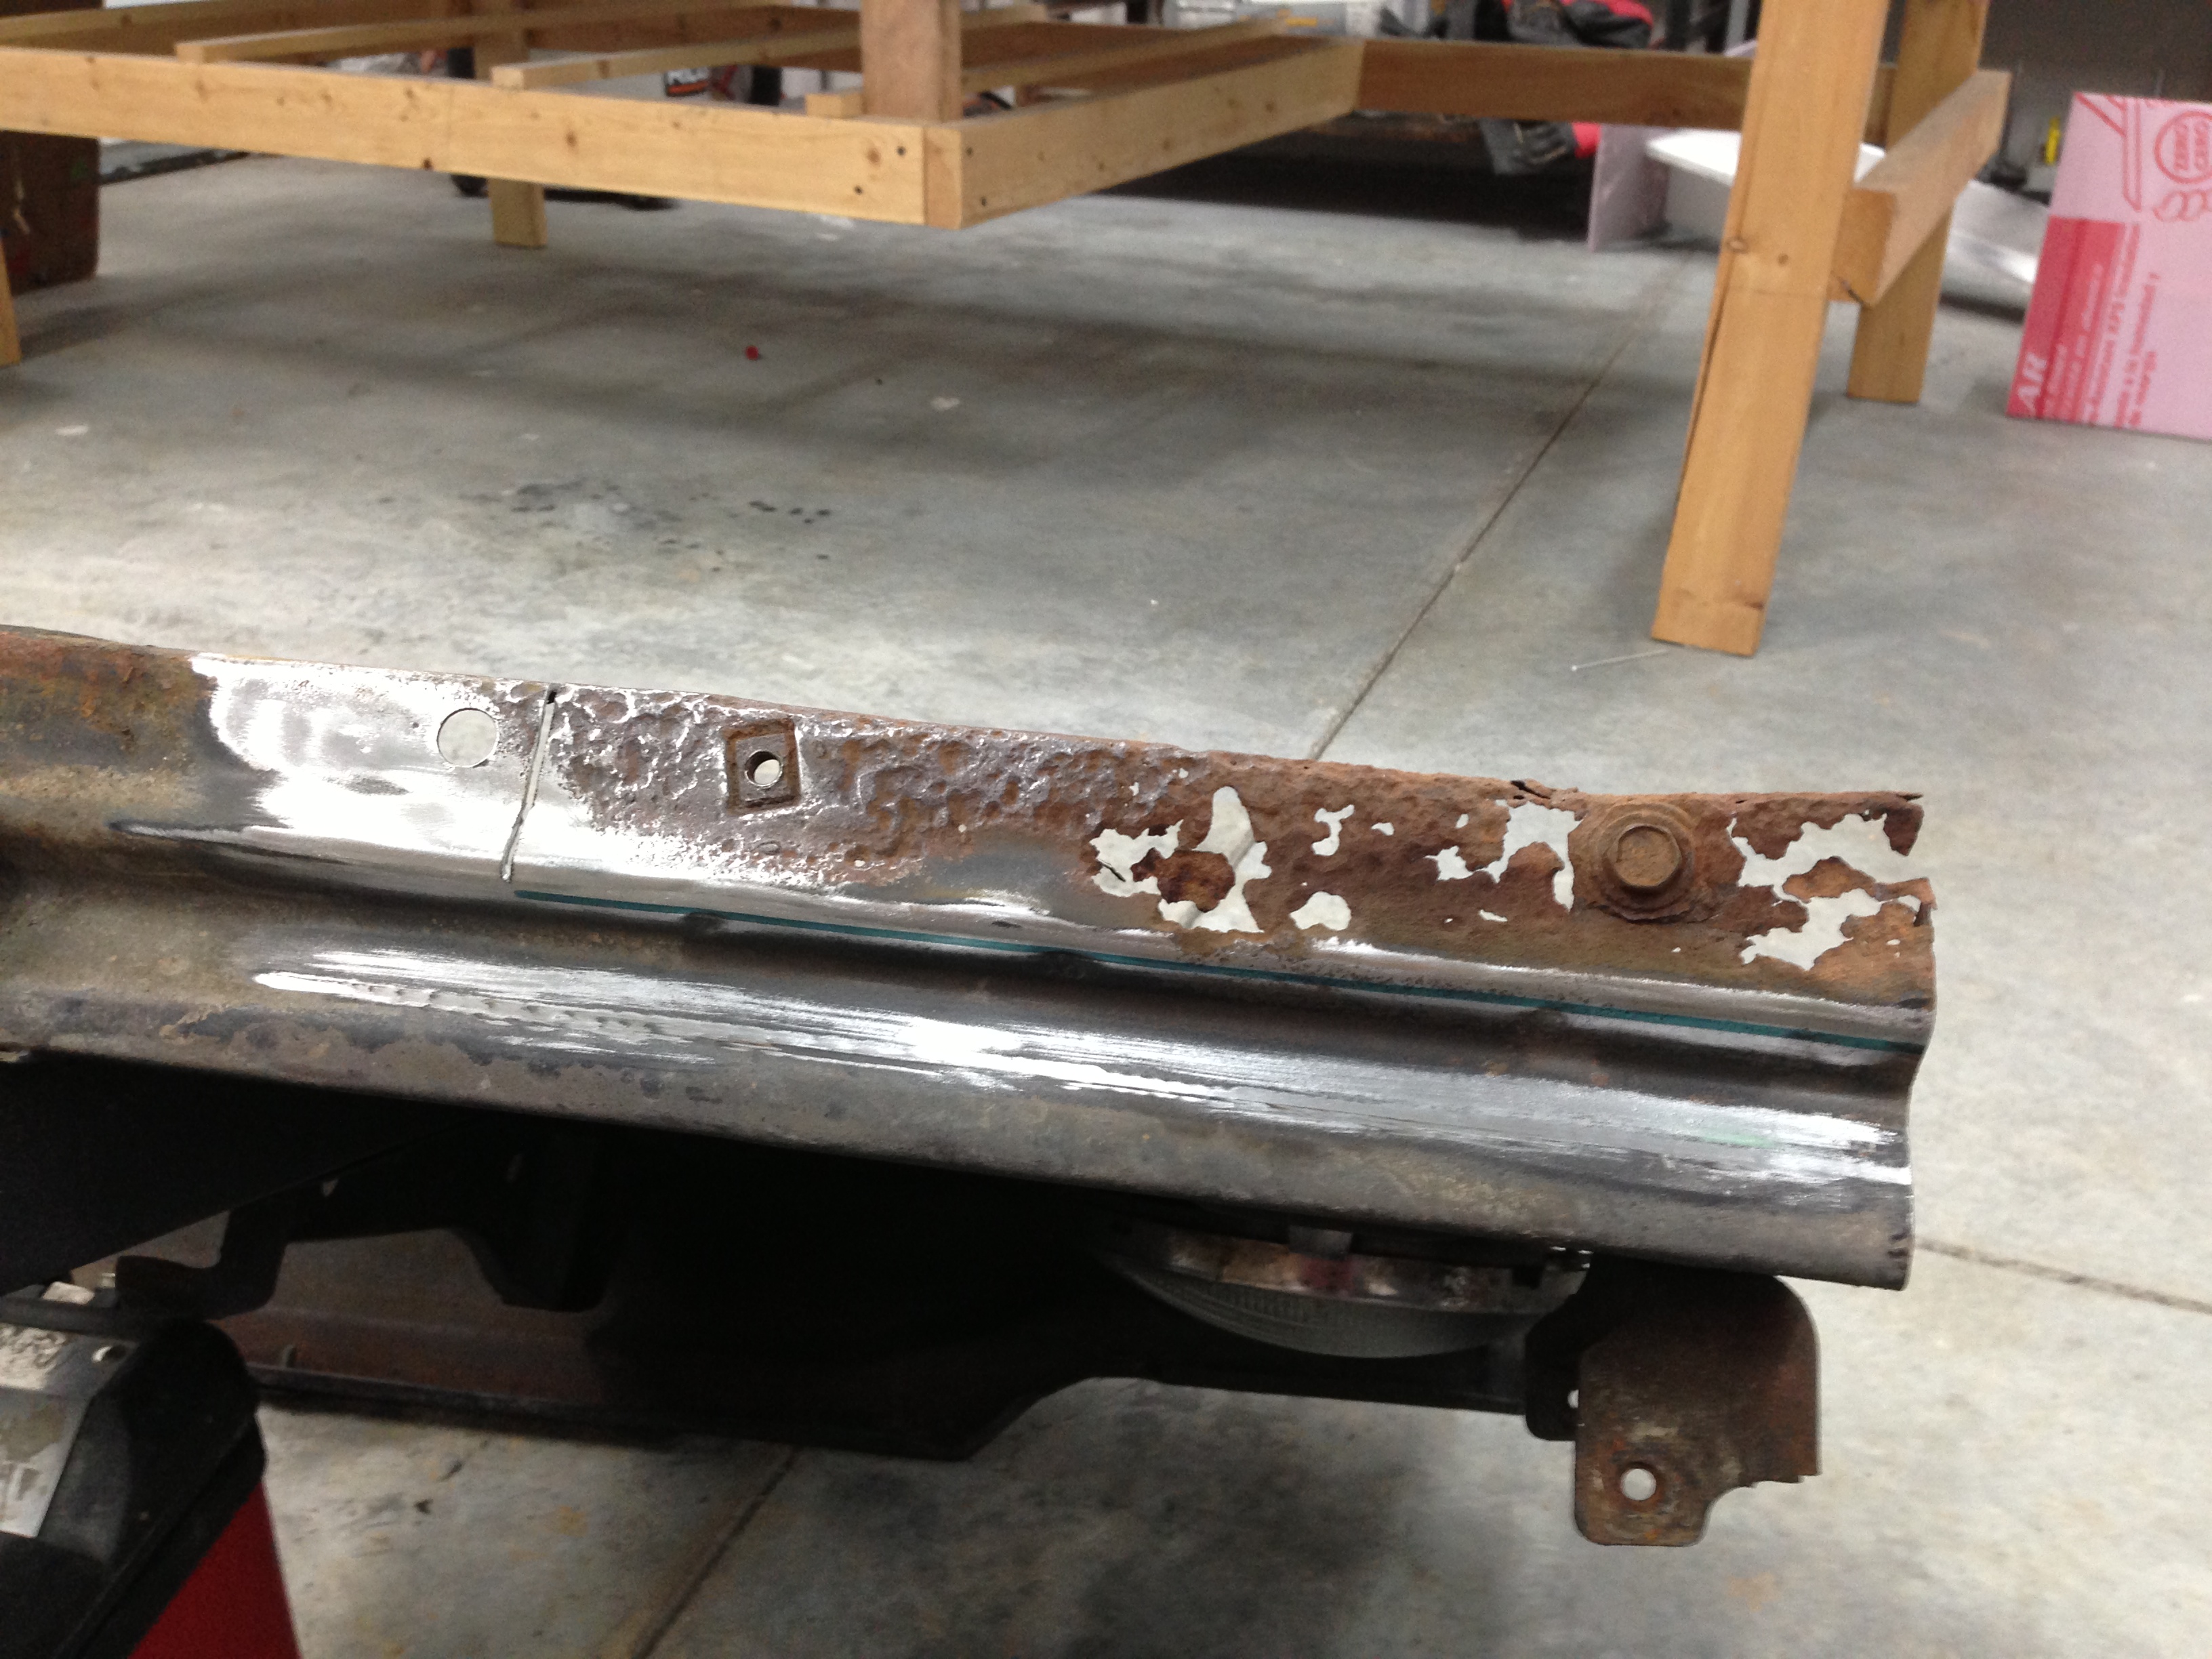
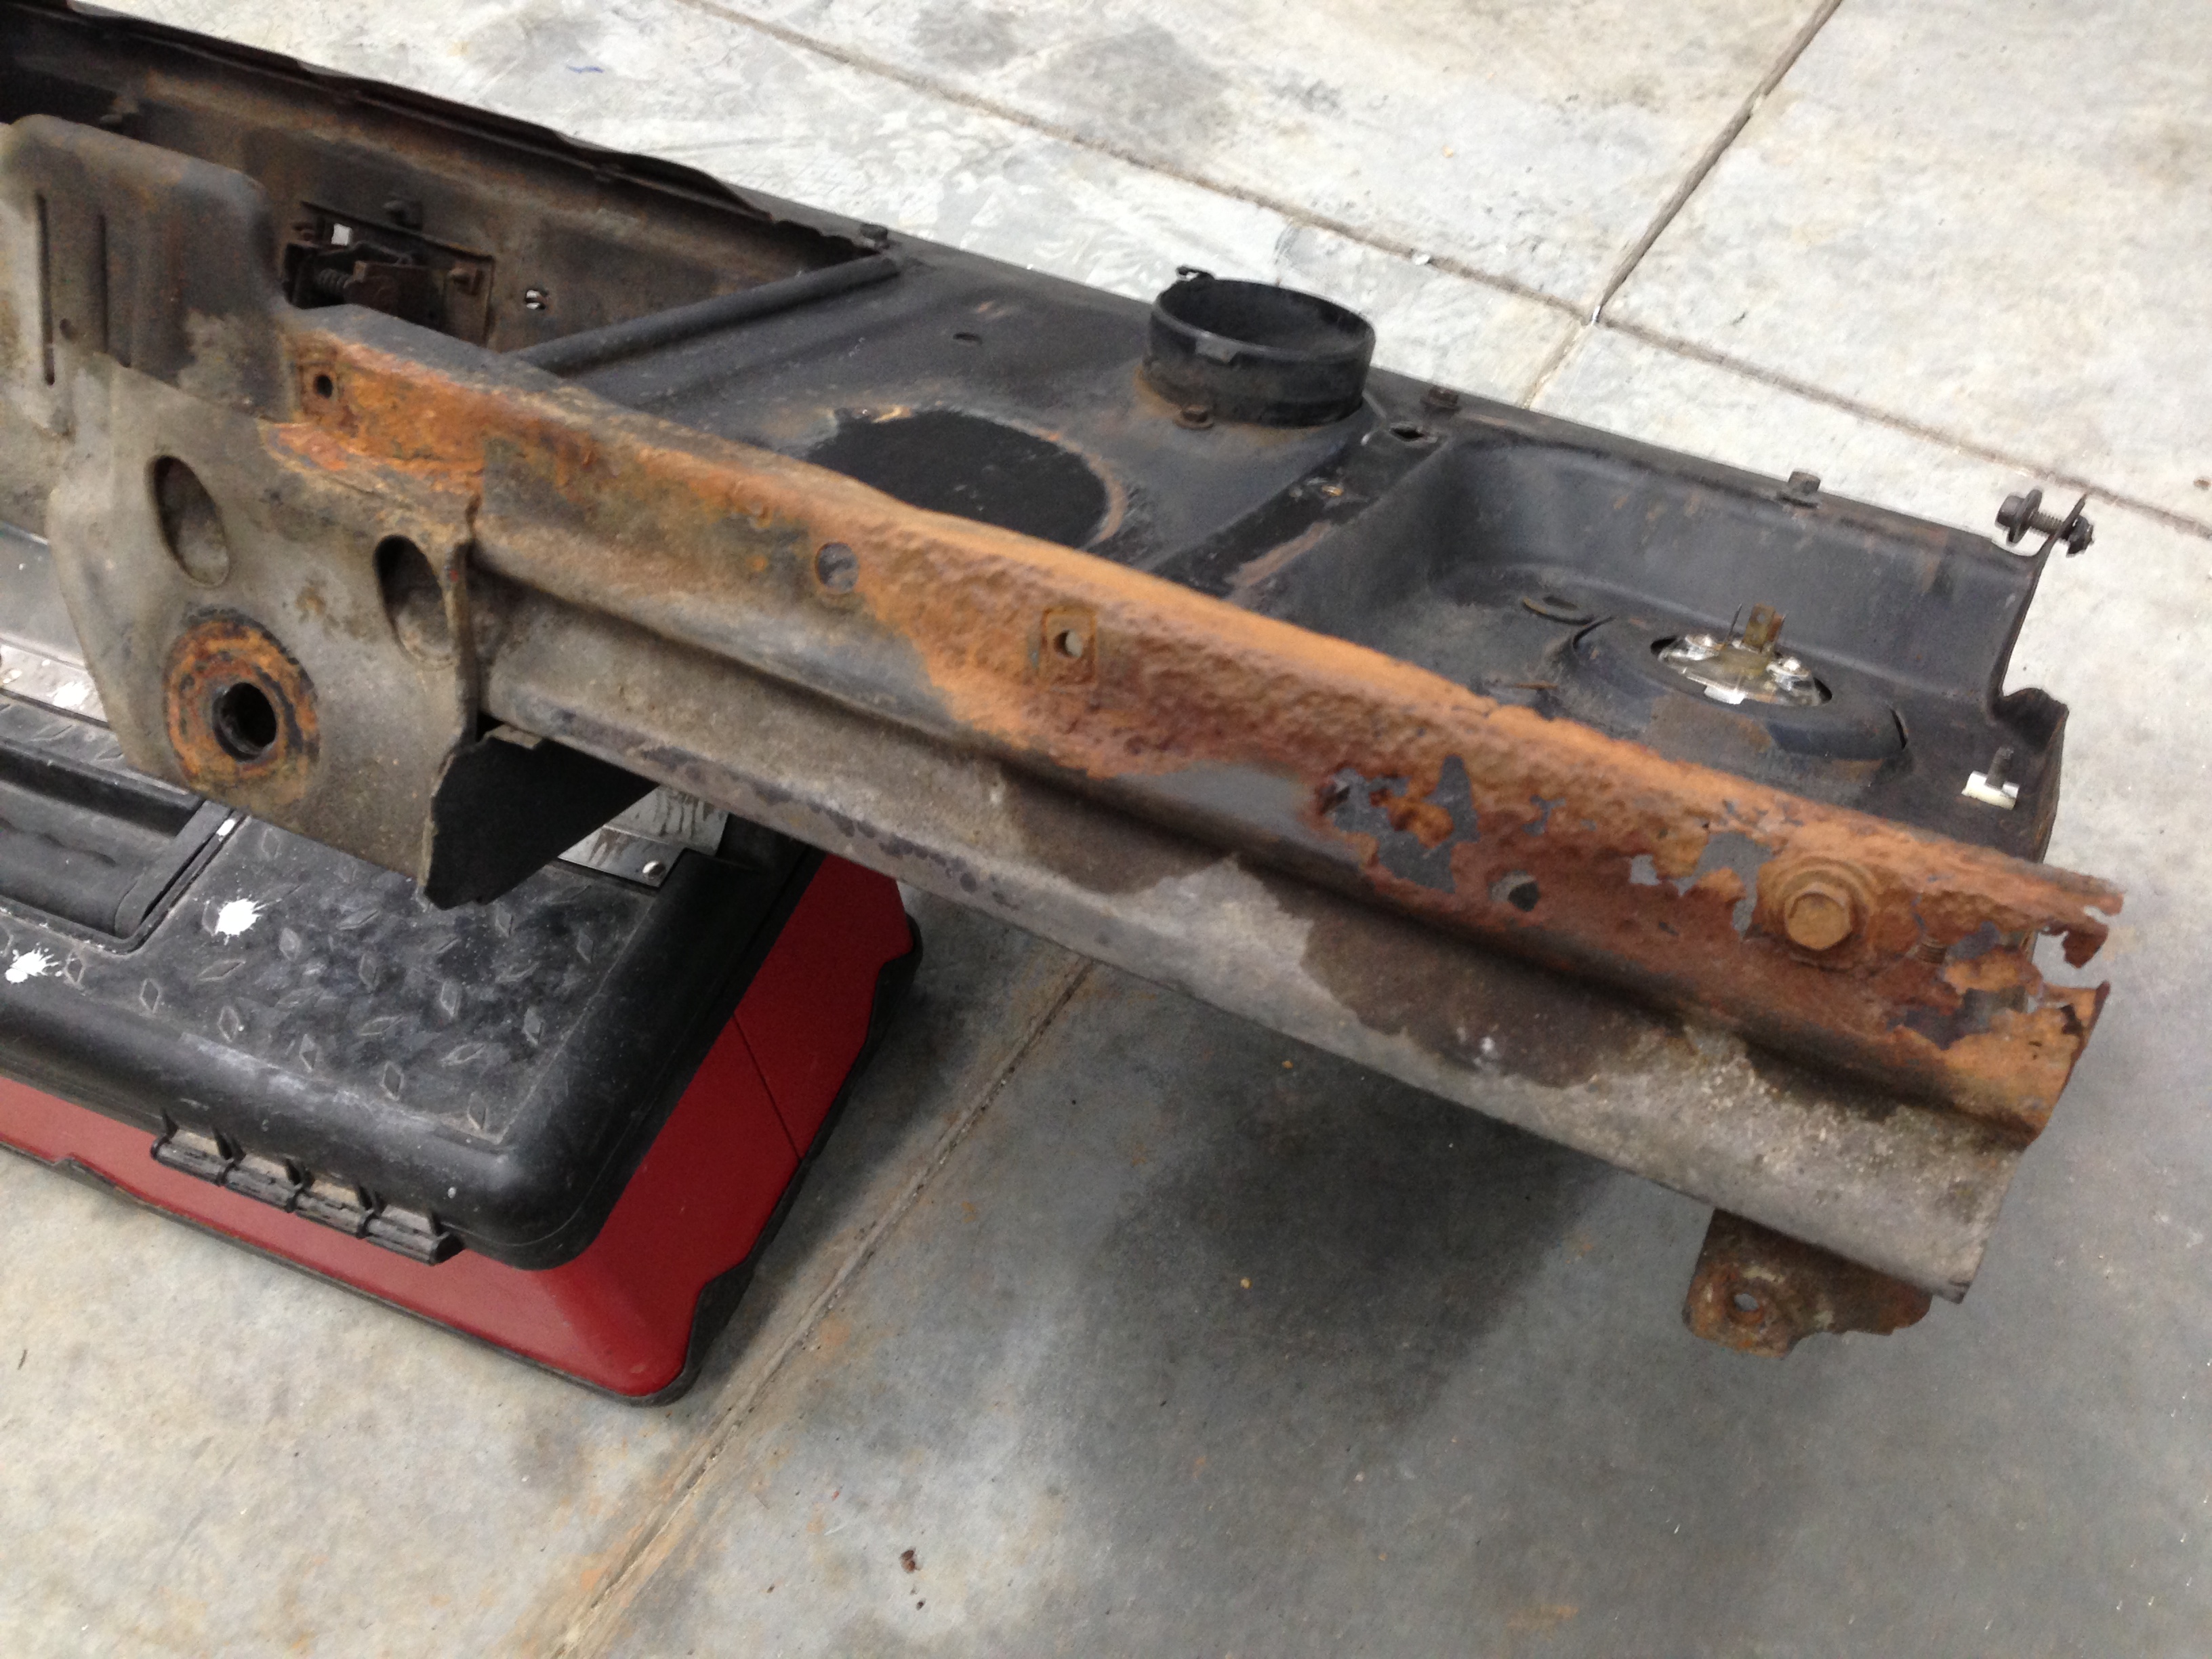
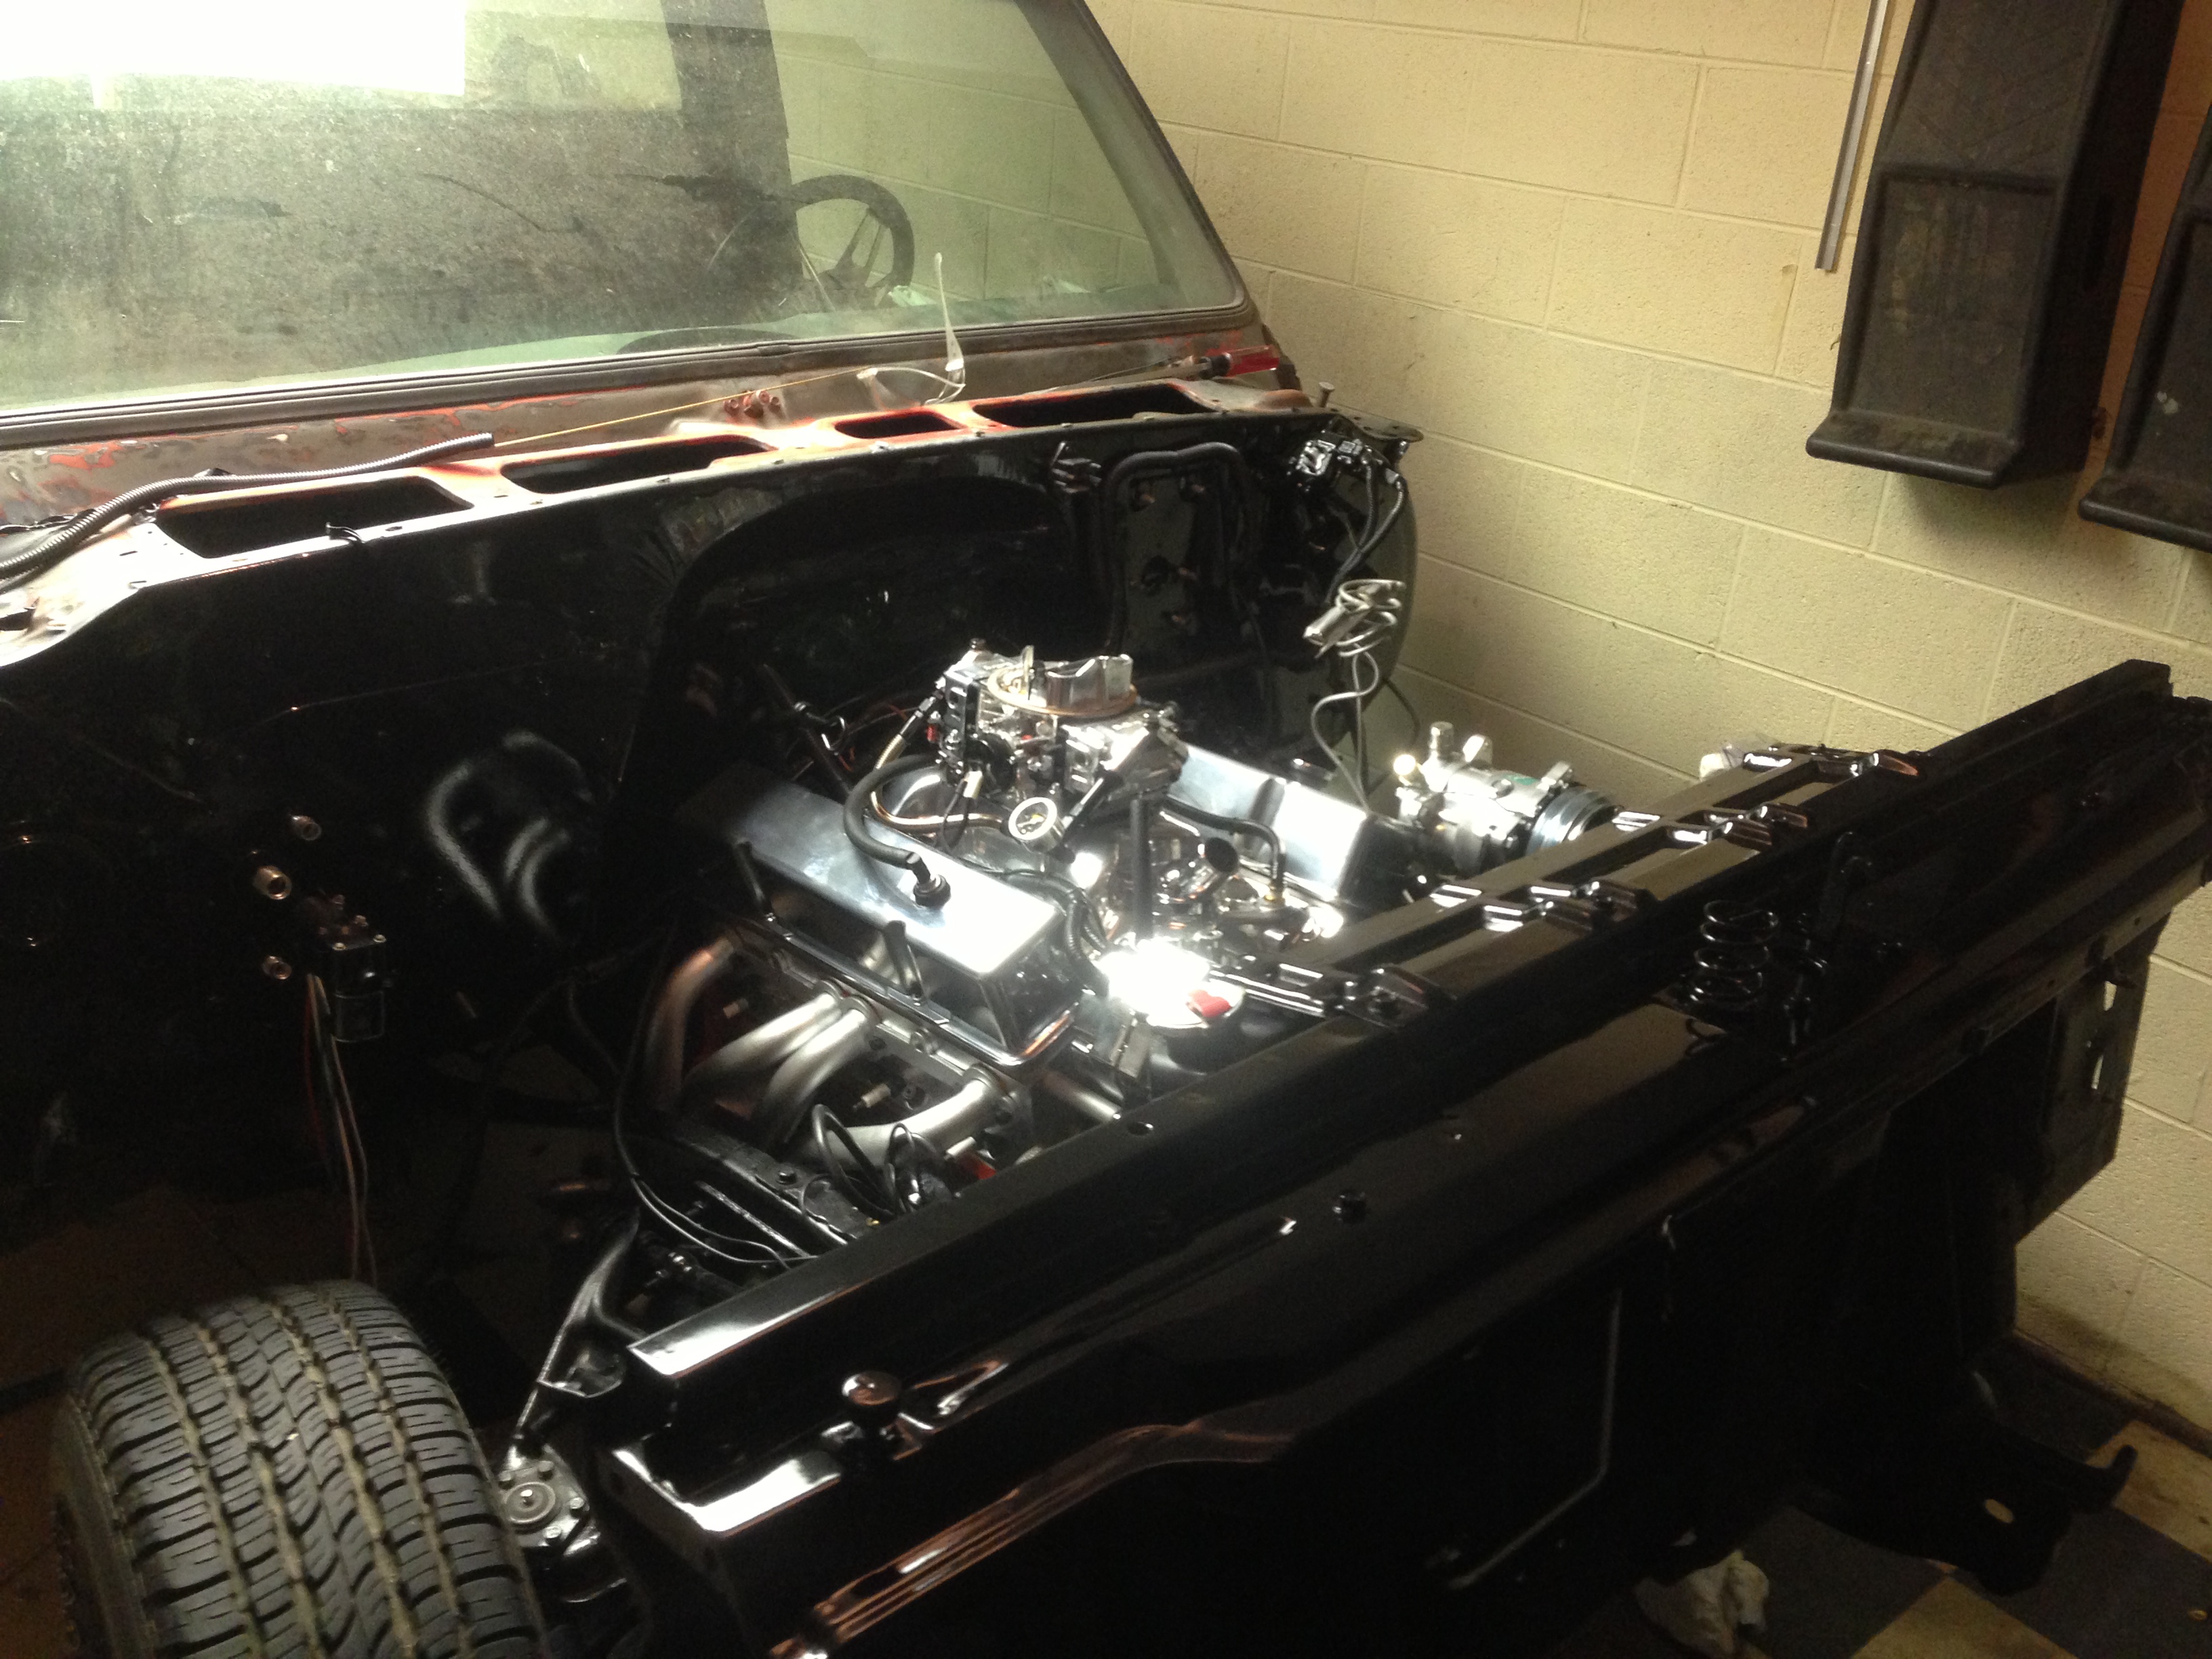
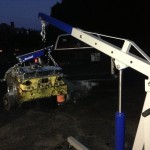
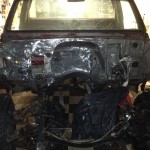
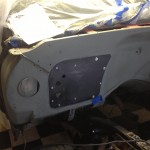
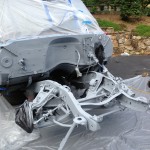
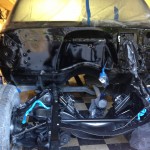
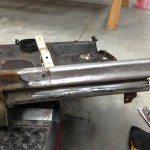
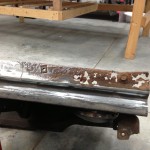
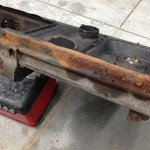
After the truck got home, we pulled the old engine and I sold it. I then began the painstaking process of removing accessories, stripping the firewall and installing the adapter plate for the new Vintage Air system. After all the teardown, I sprayed the frame and everything else forward of the firewall with Rust Bullet. I then topcoated that with Nason Ful Base in black and a couple coats of clear. I also shot the inner fenders and the inside of the outer fenders. It isn’t the exact same black as the rest of the truck, but it is close enough. I also picked up some Victory Red for the dash area (the are UNDER the dash, really). I also had to preform some surgery on the front clip which had some rust on the bottom passenger side under the battery (very typical spot for rust). I fabricated a patch and welded it into place with my new Lincoln 150. I was surprised by how easy it was, and how well it turned out.


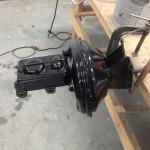
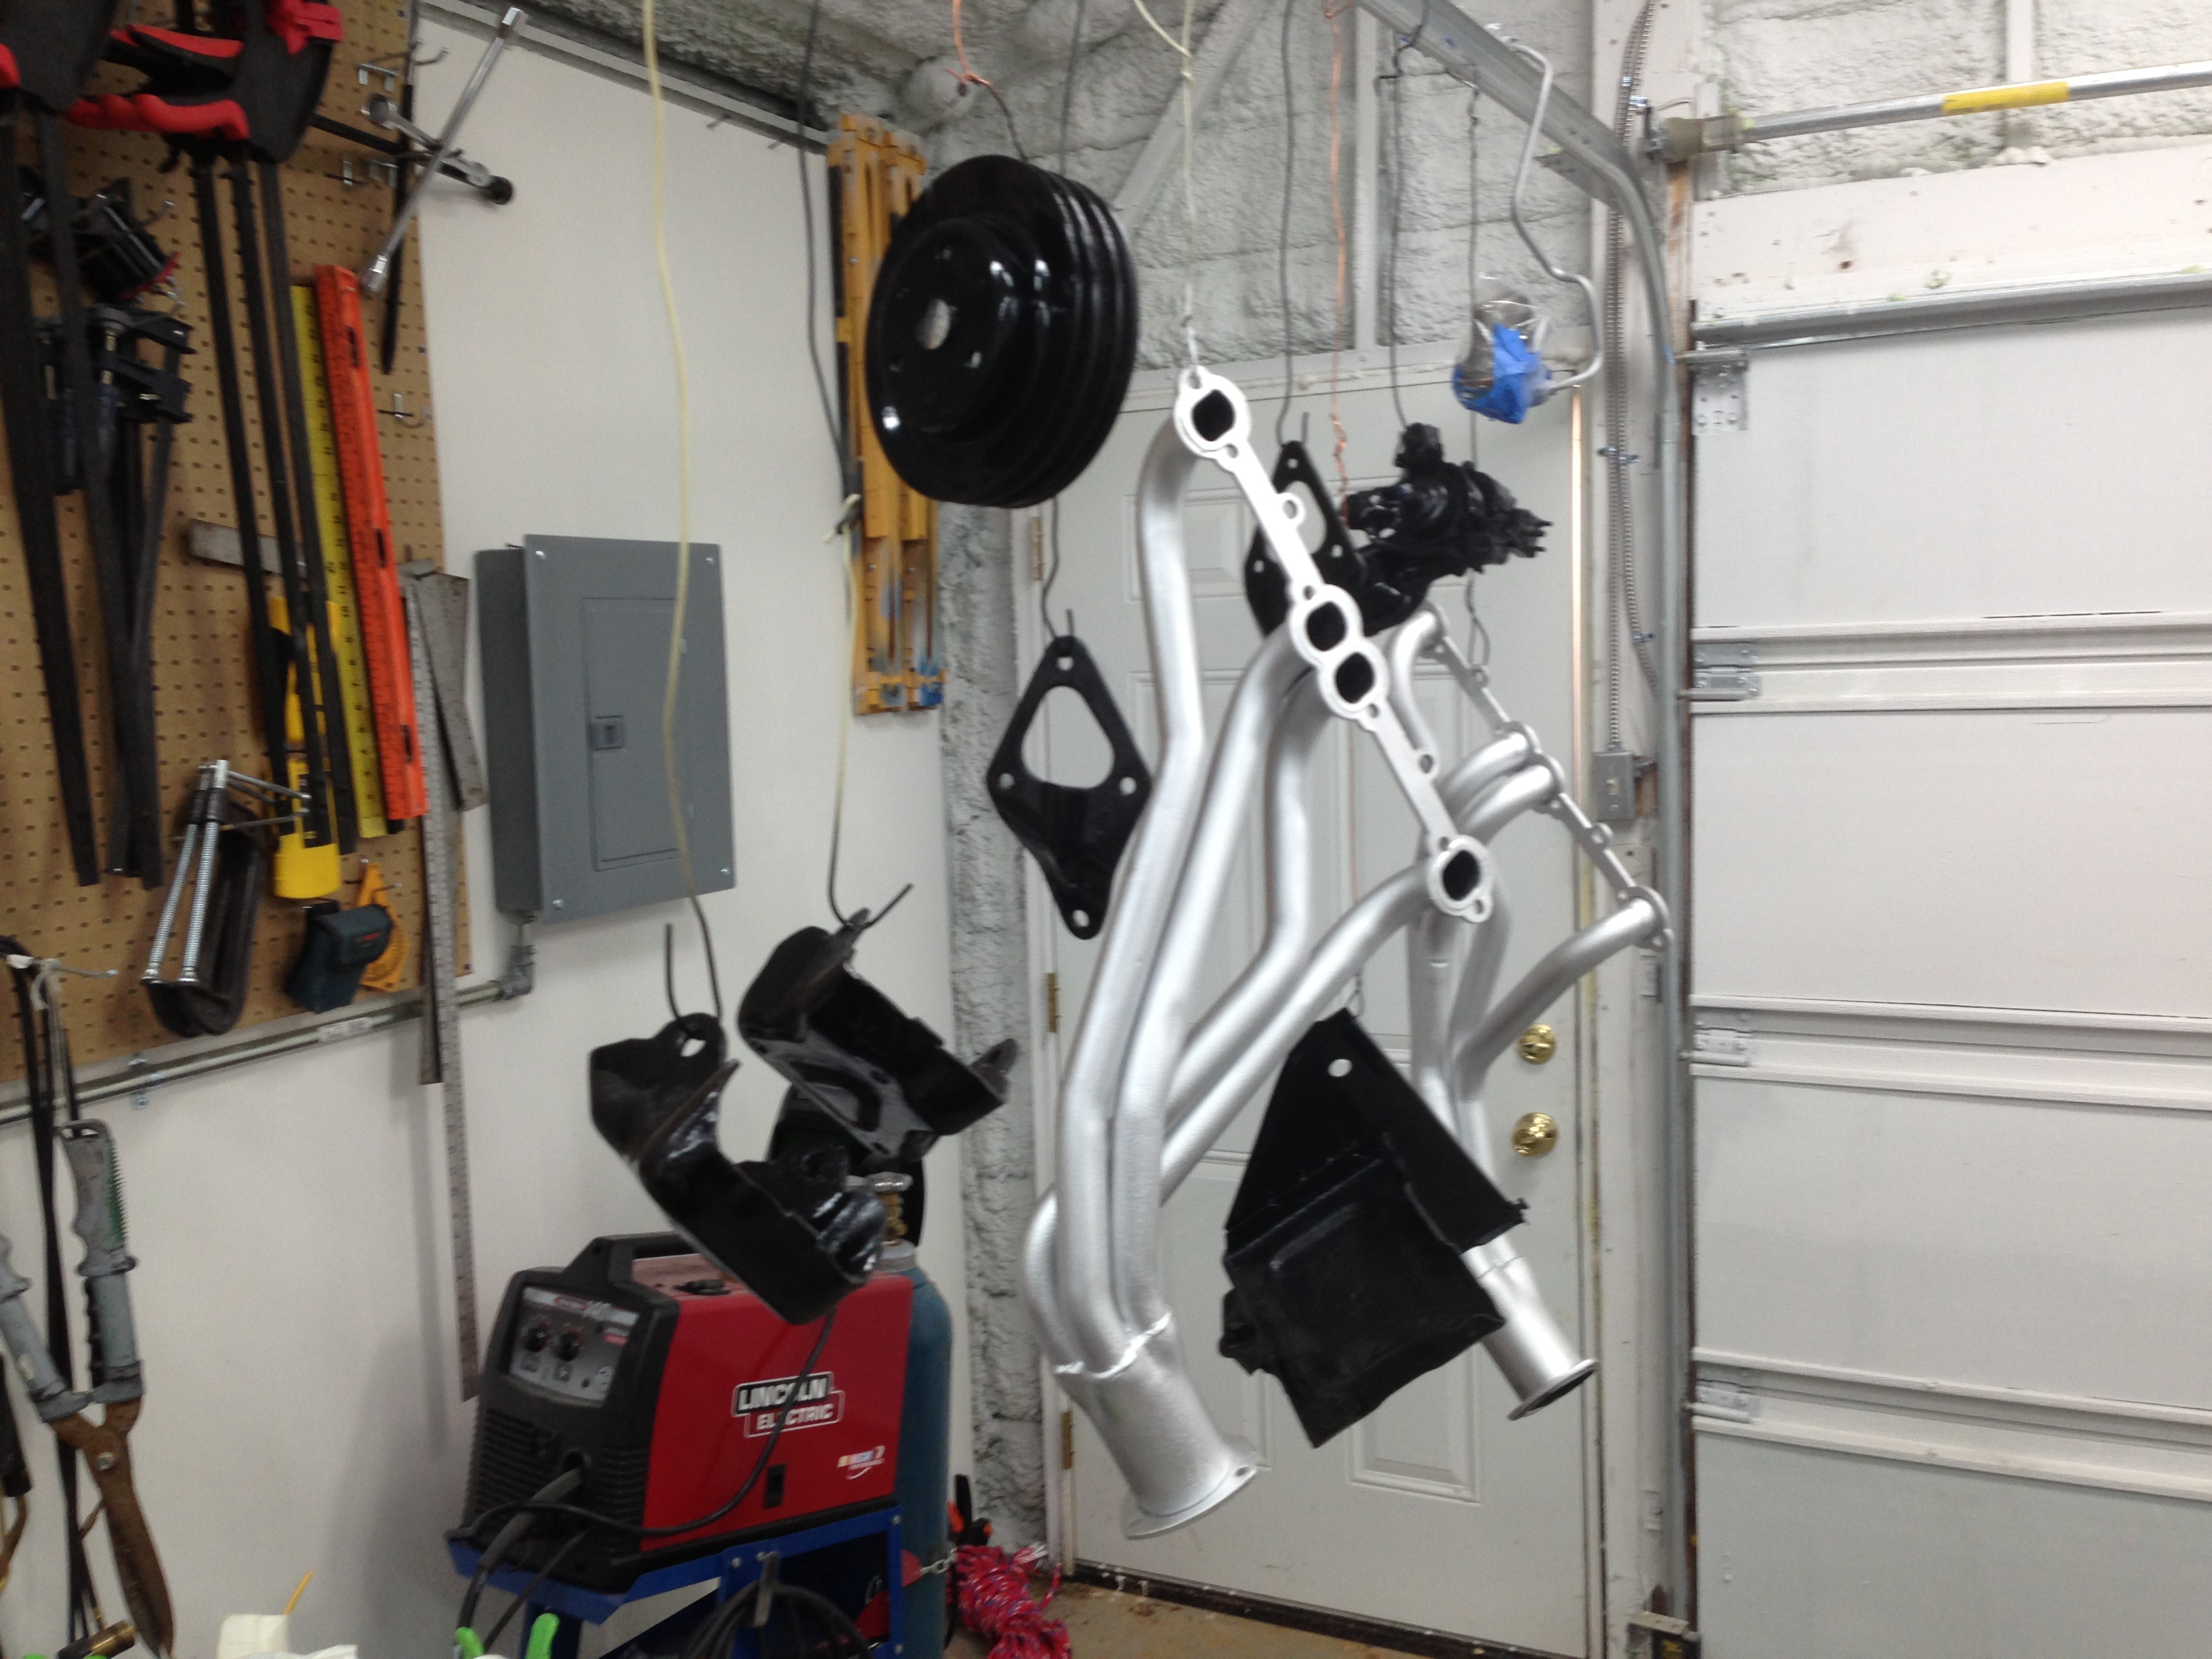
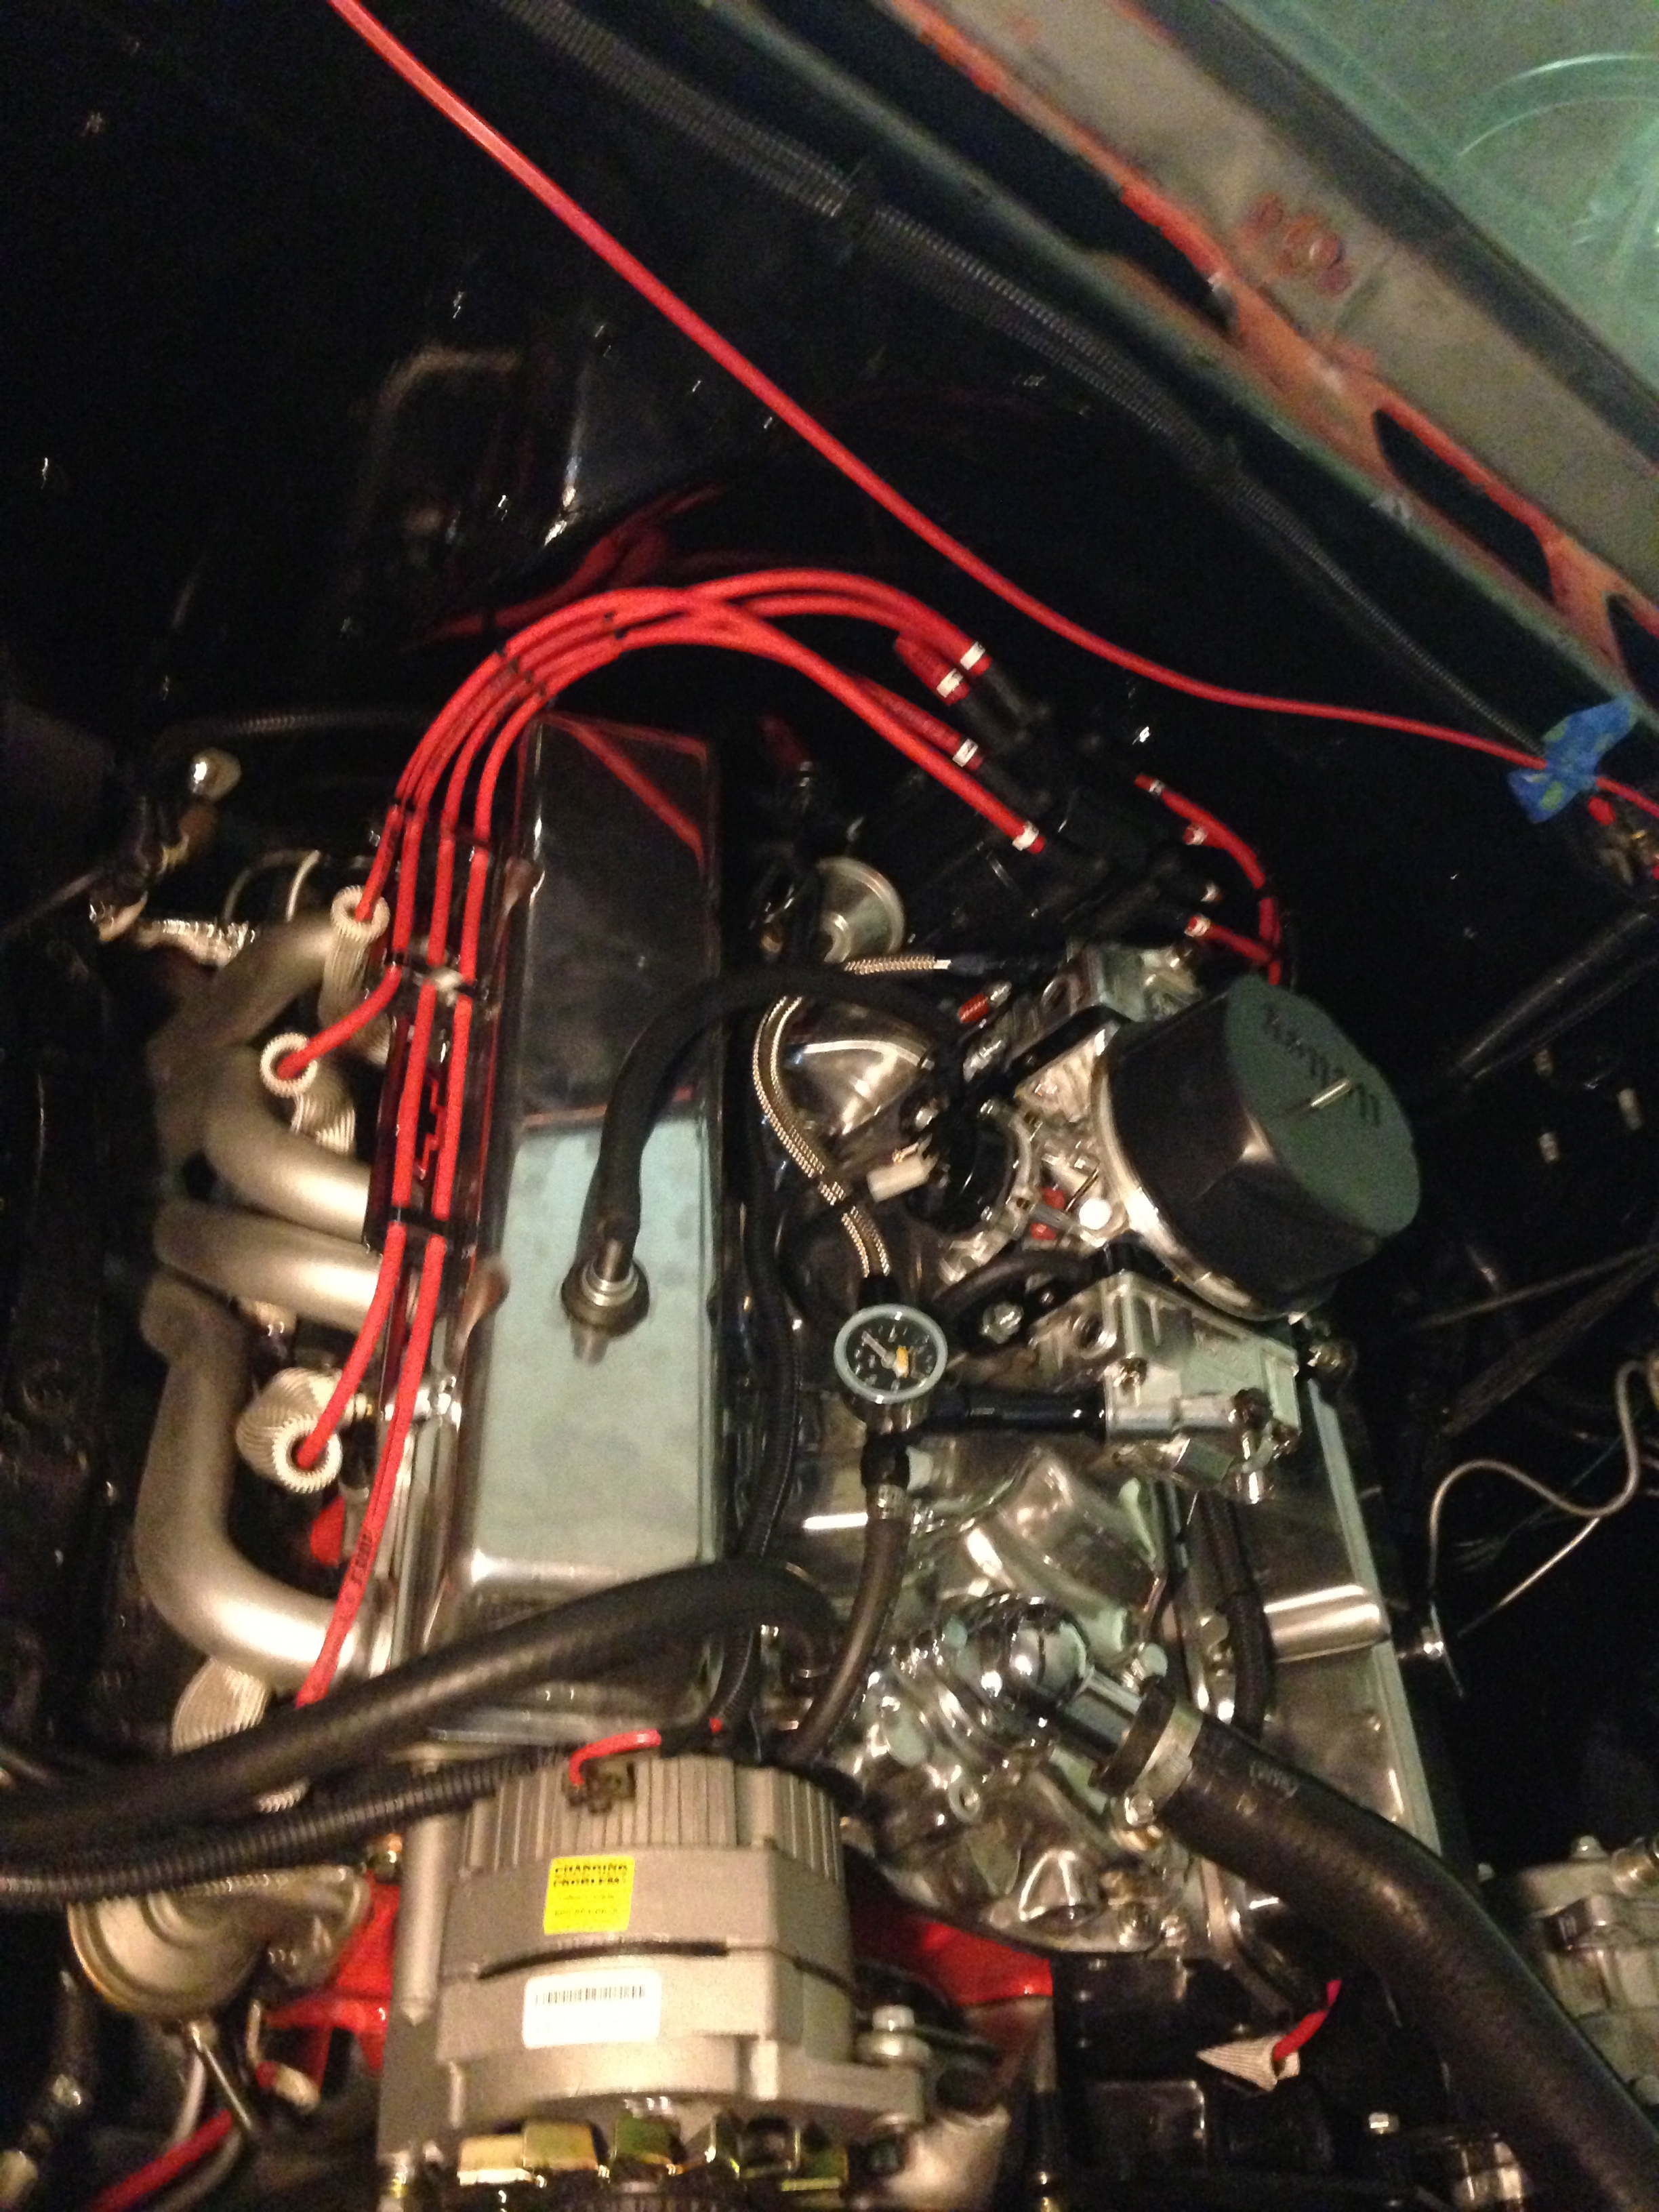
I also set up a electrolysis vat using an old garbage can and stripped the rust off the headers. I then painted those in Eastwood’s brush on high temp header paint (I’d link it, but they no longer seem to carry it). They came out good! Since I had the cooling system out too, I took the chance to install my Maradyne Jetstream 2 fans. They are POWERFUL. I can’t overstate that. I no longer have any fears of overheating. When they spin up, you instinctively stand back. Super impressive.
I re-ran pretty much all the wiring under the hood in the hopes that my electrical gremlins would be excised. Hopefully it will, but the jury is still out.
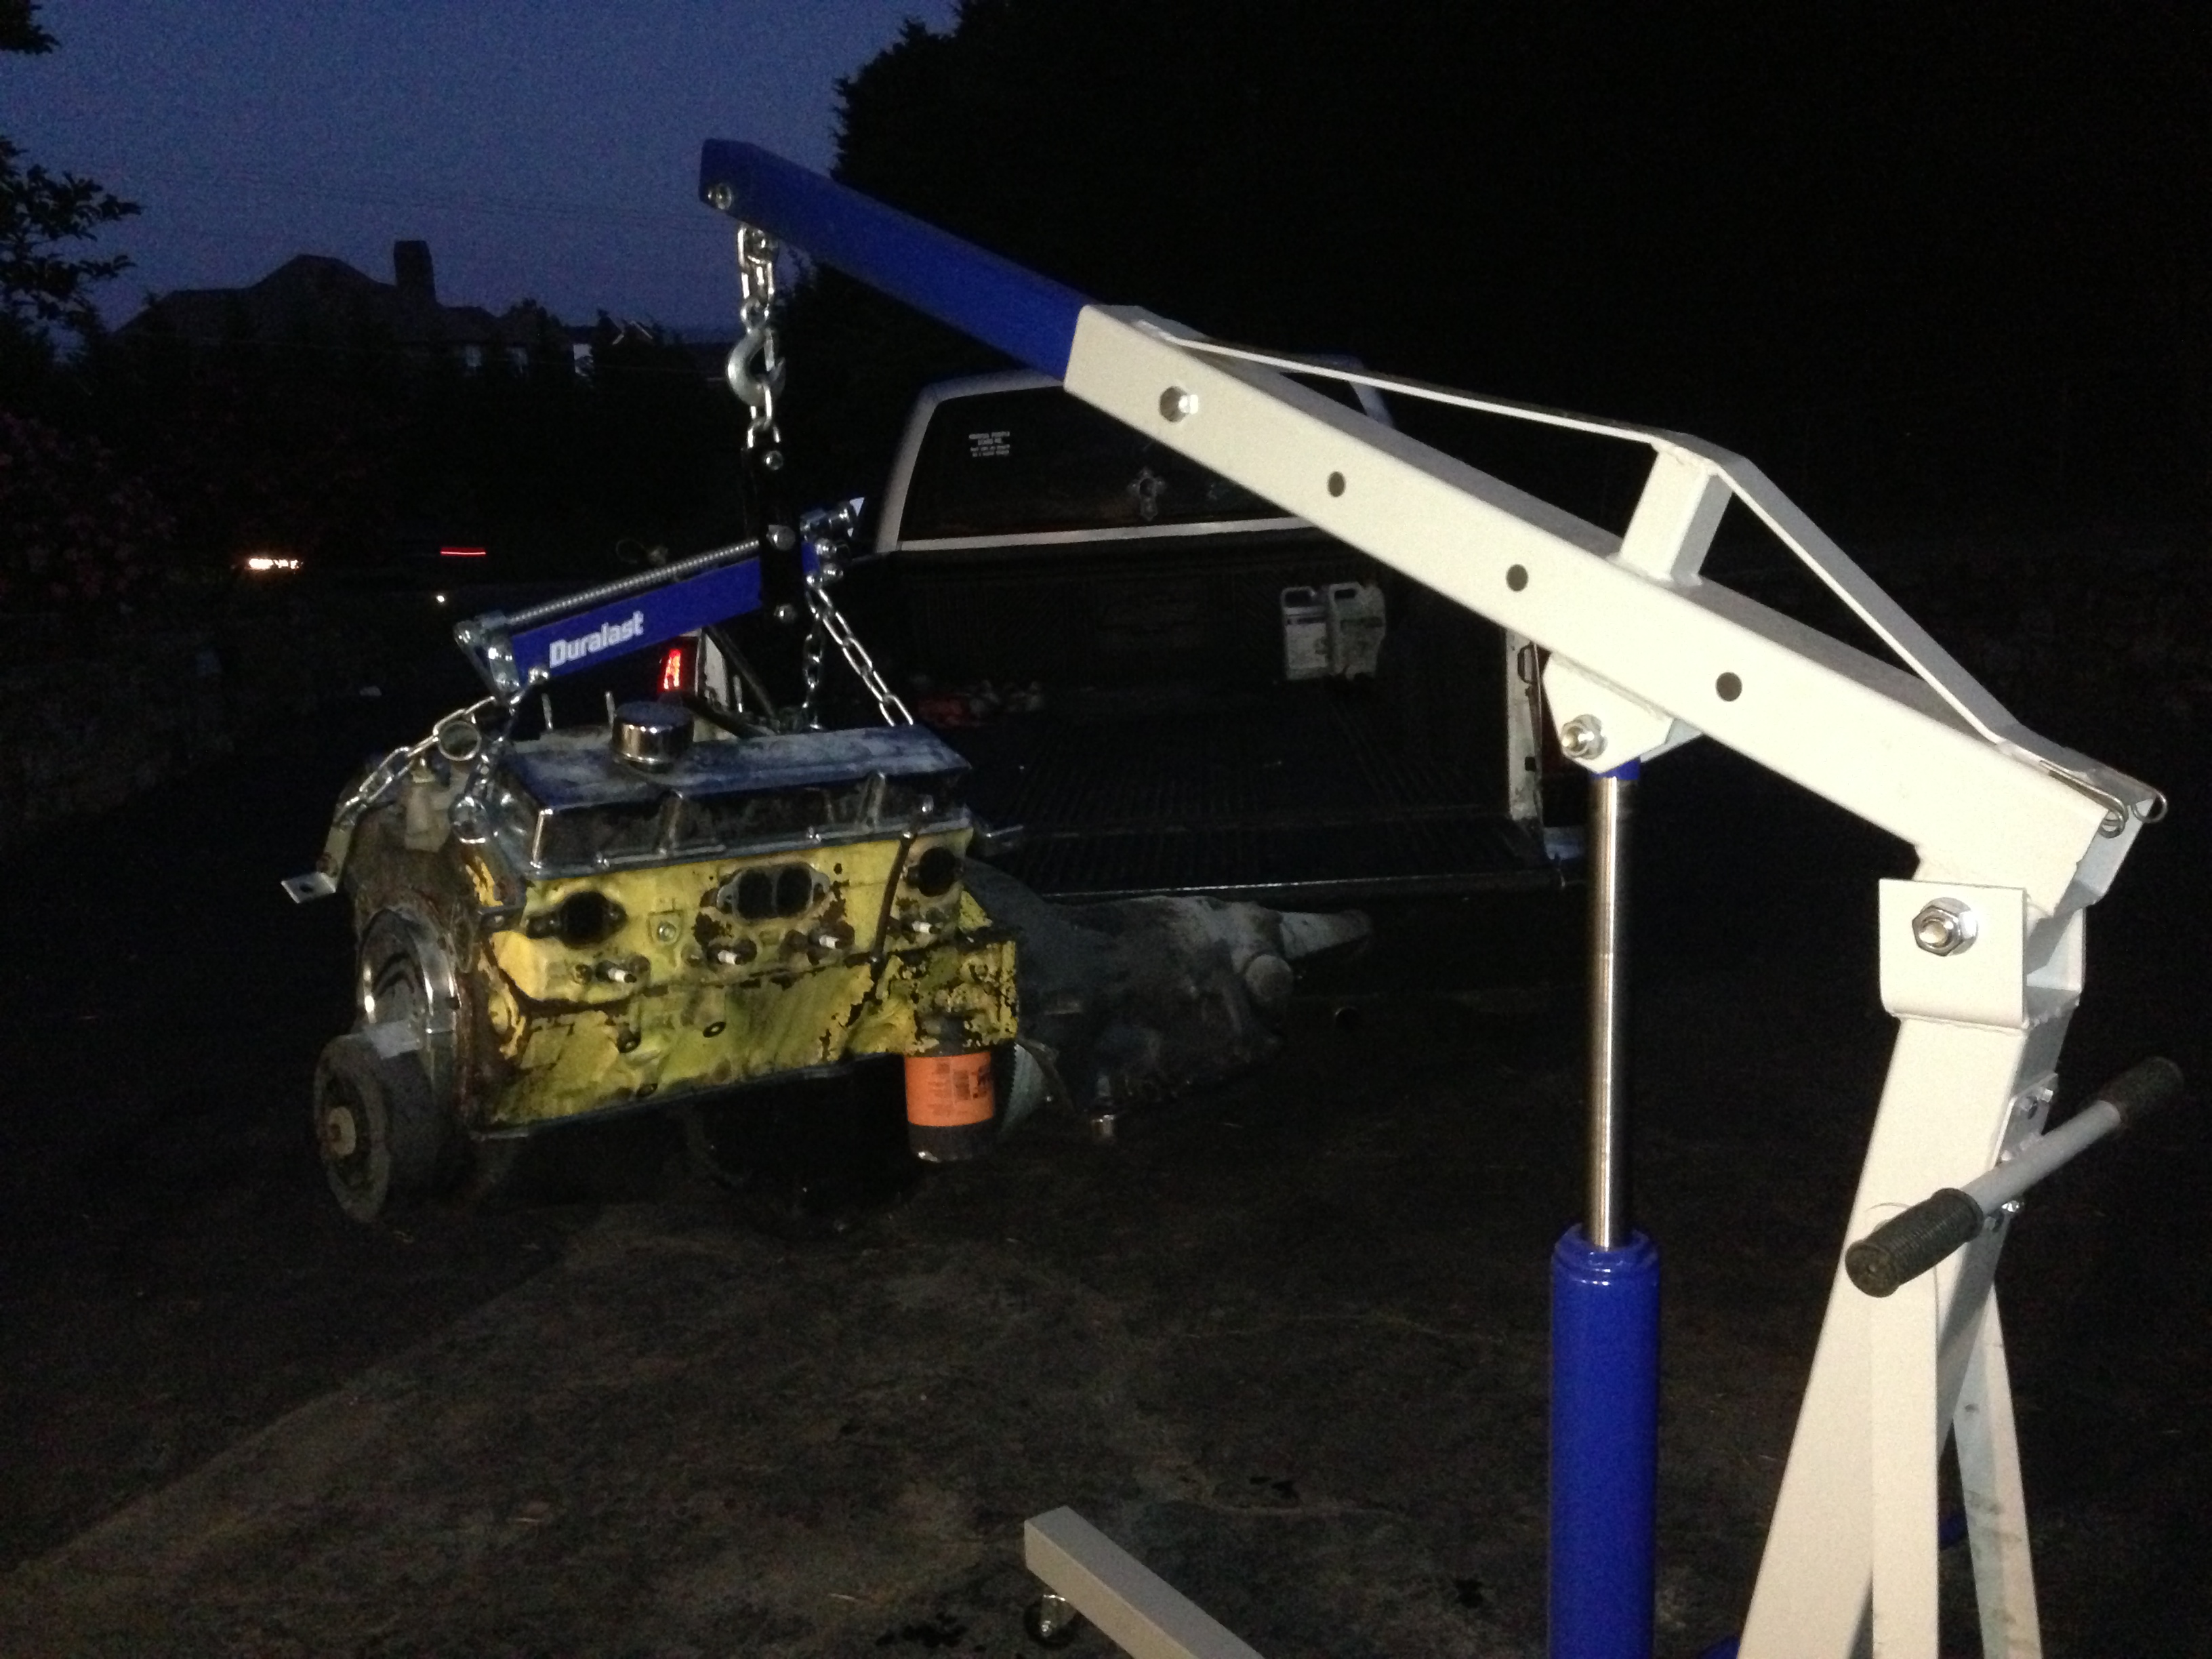
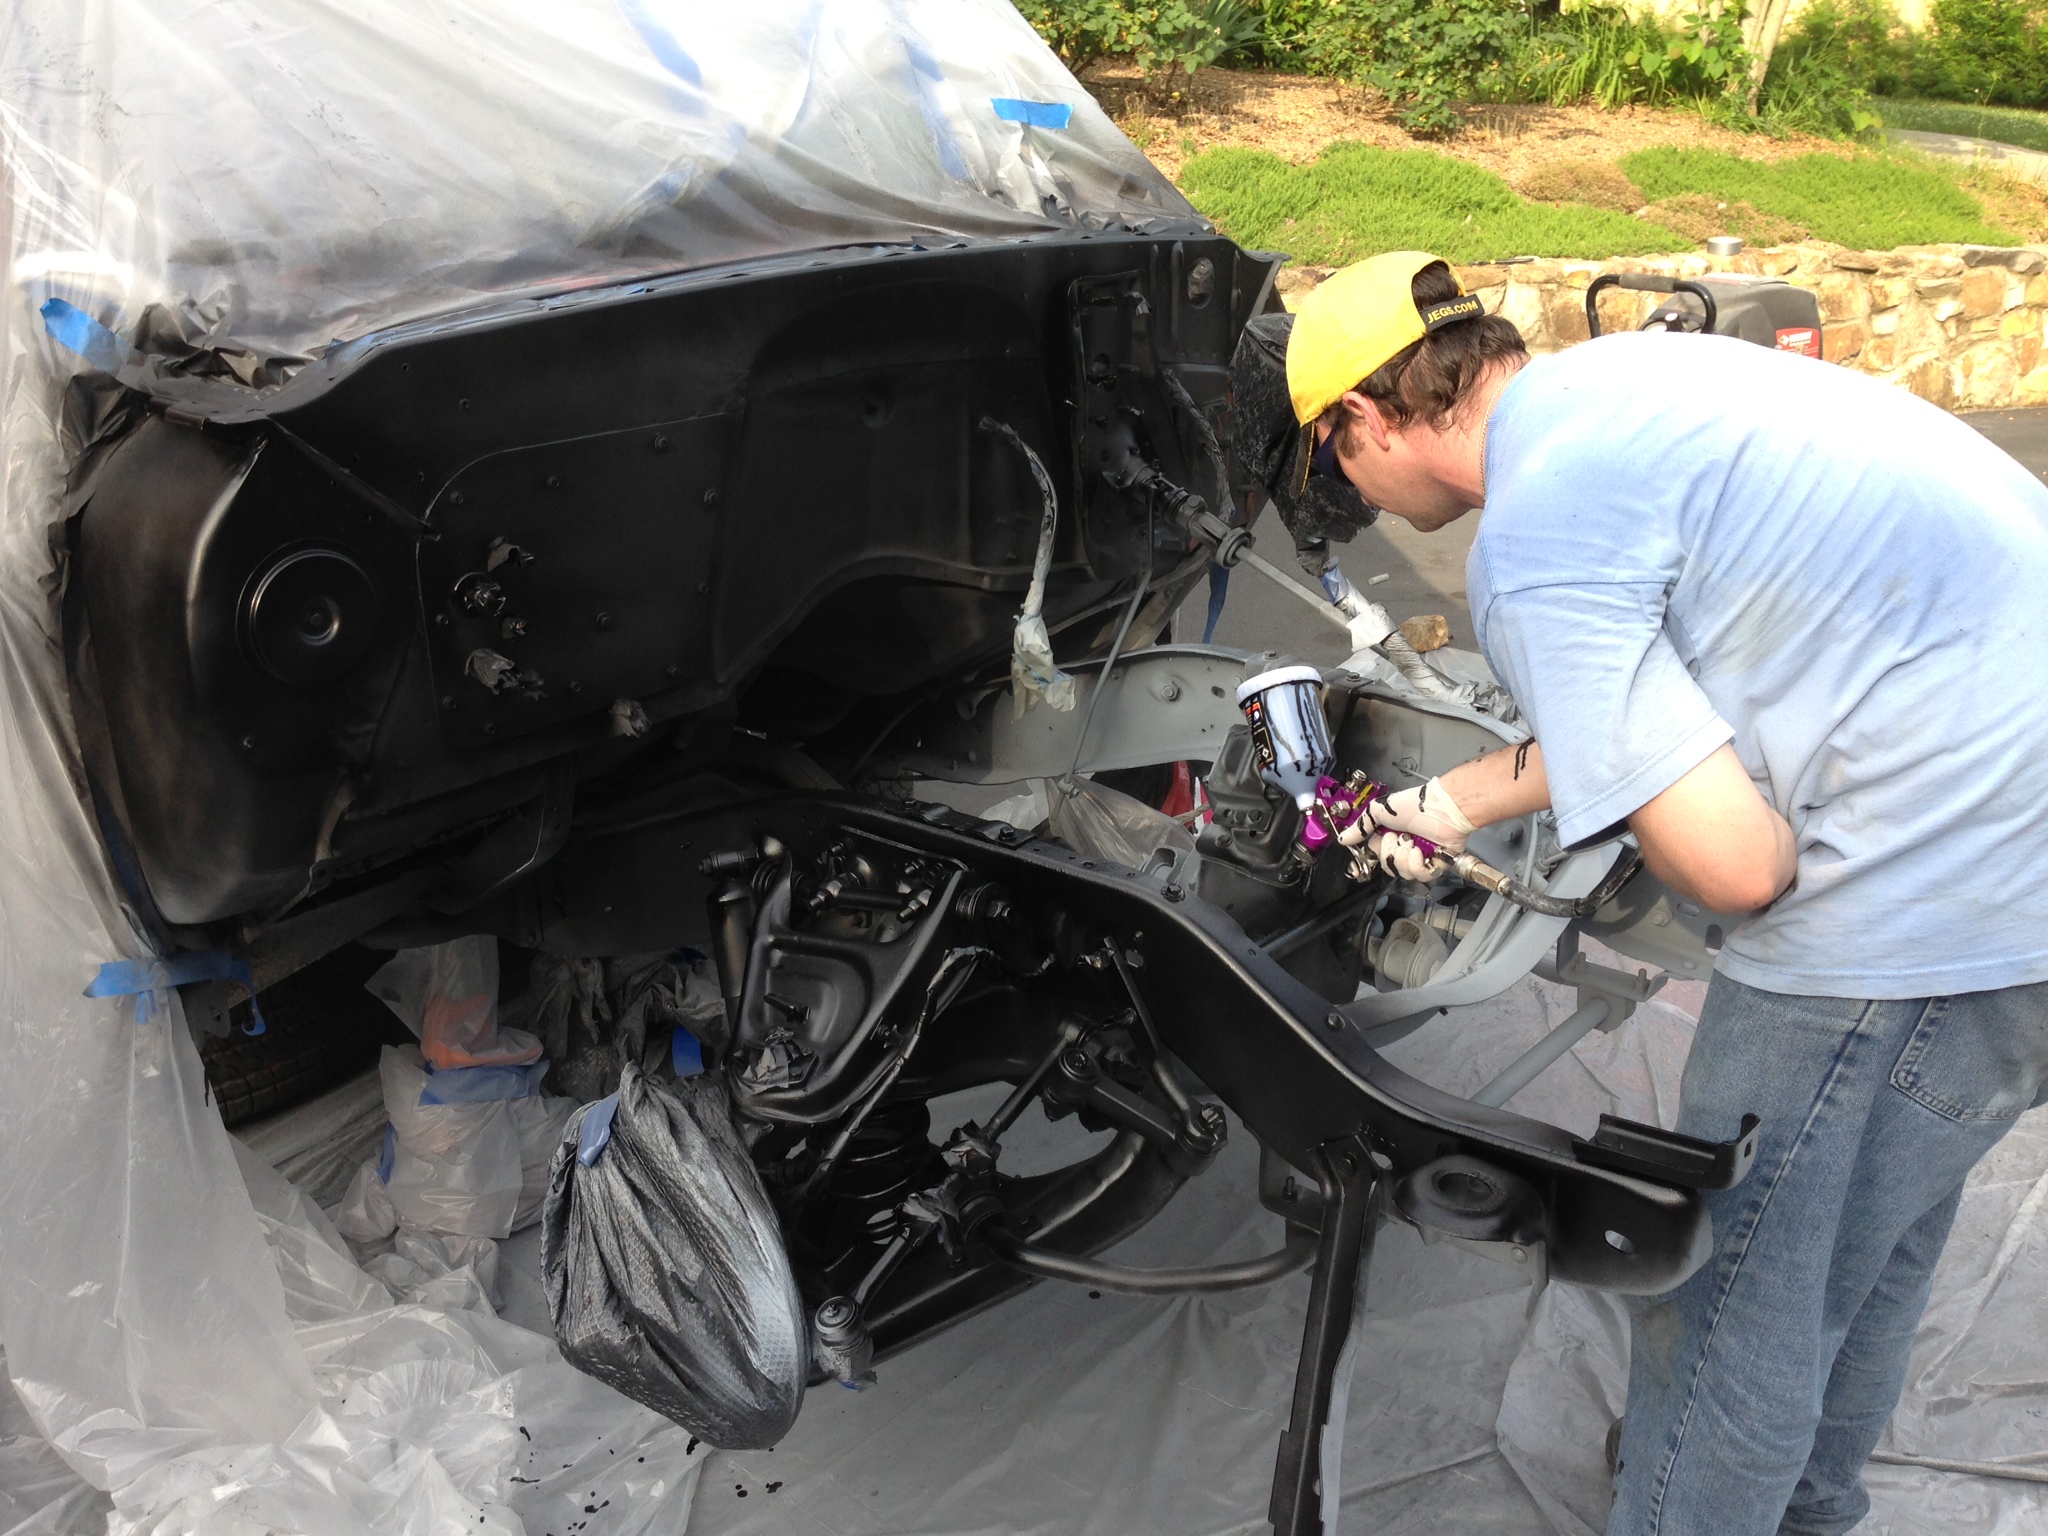
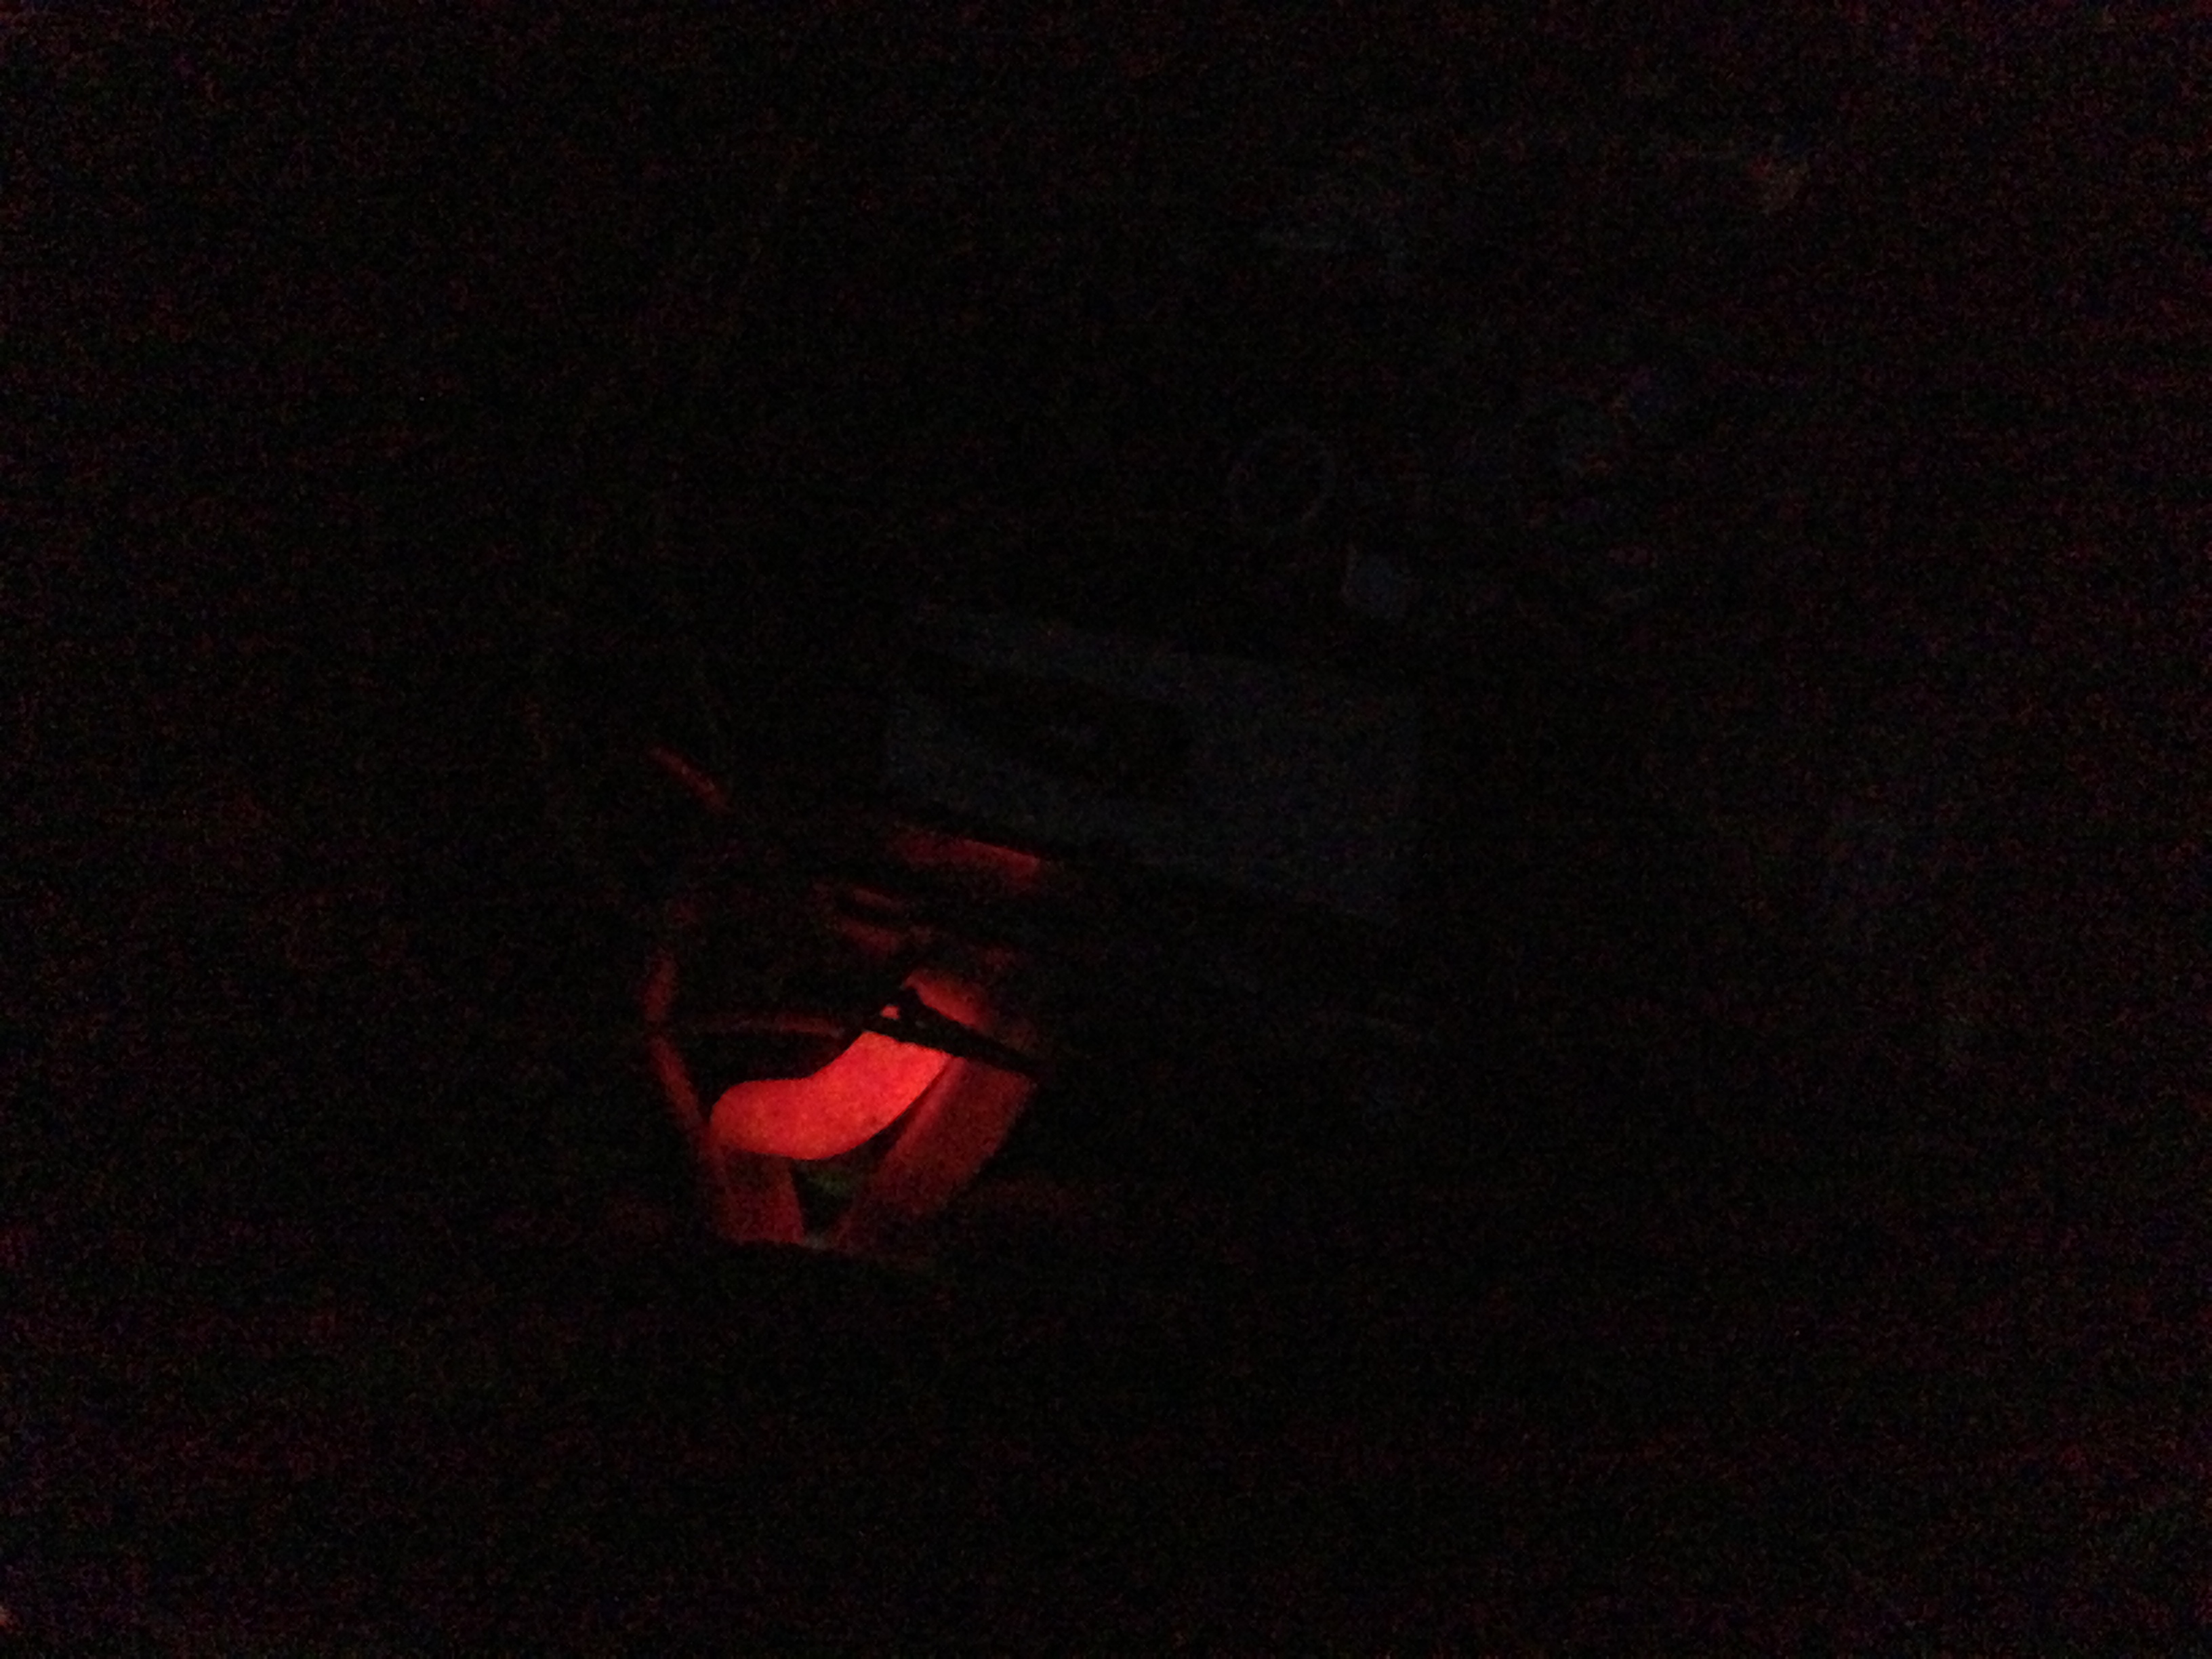
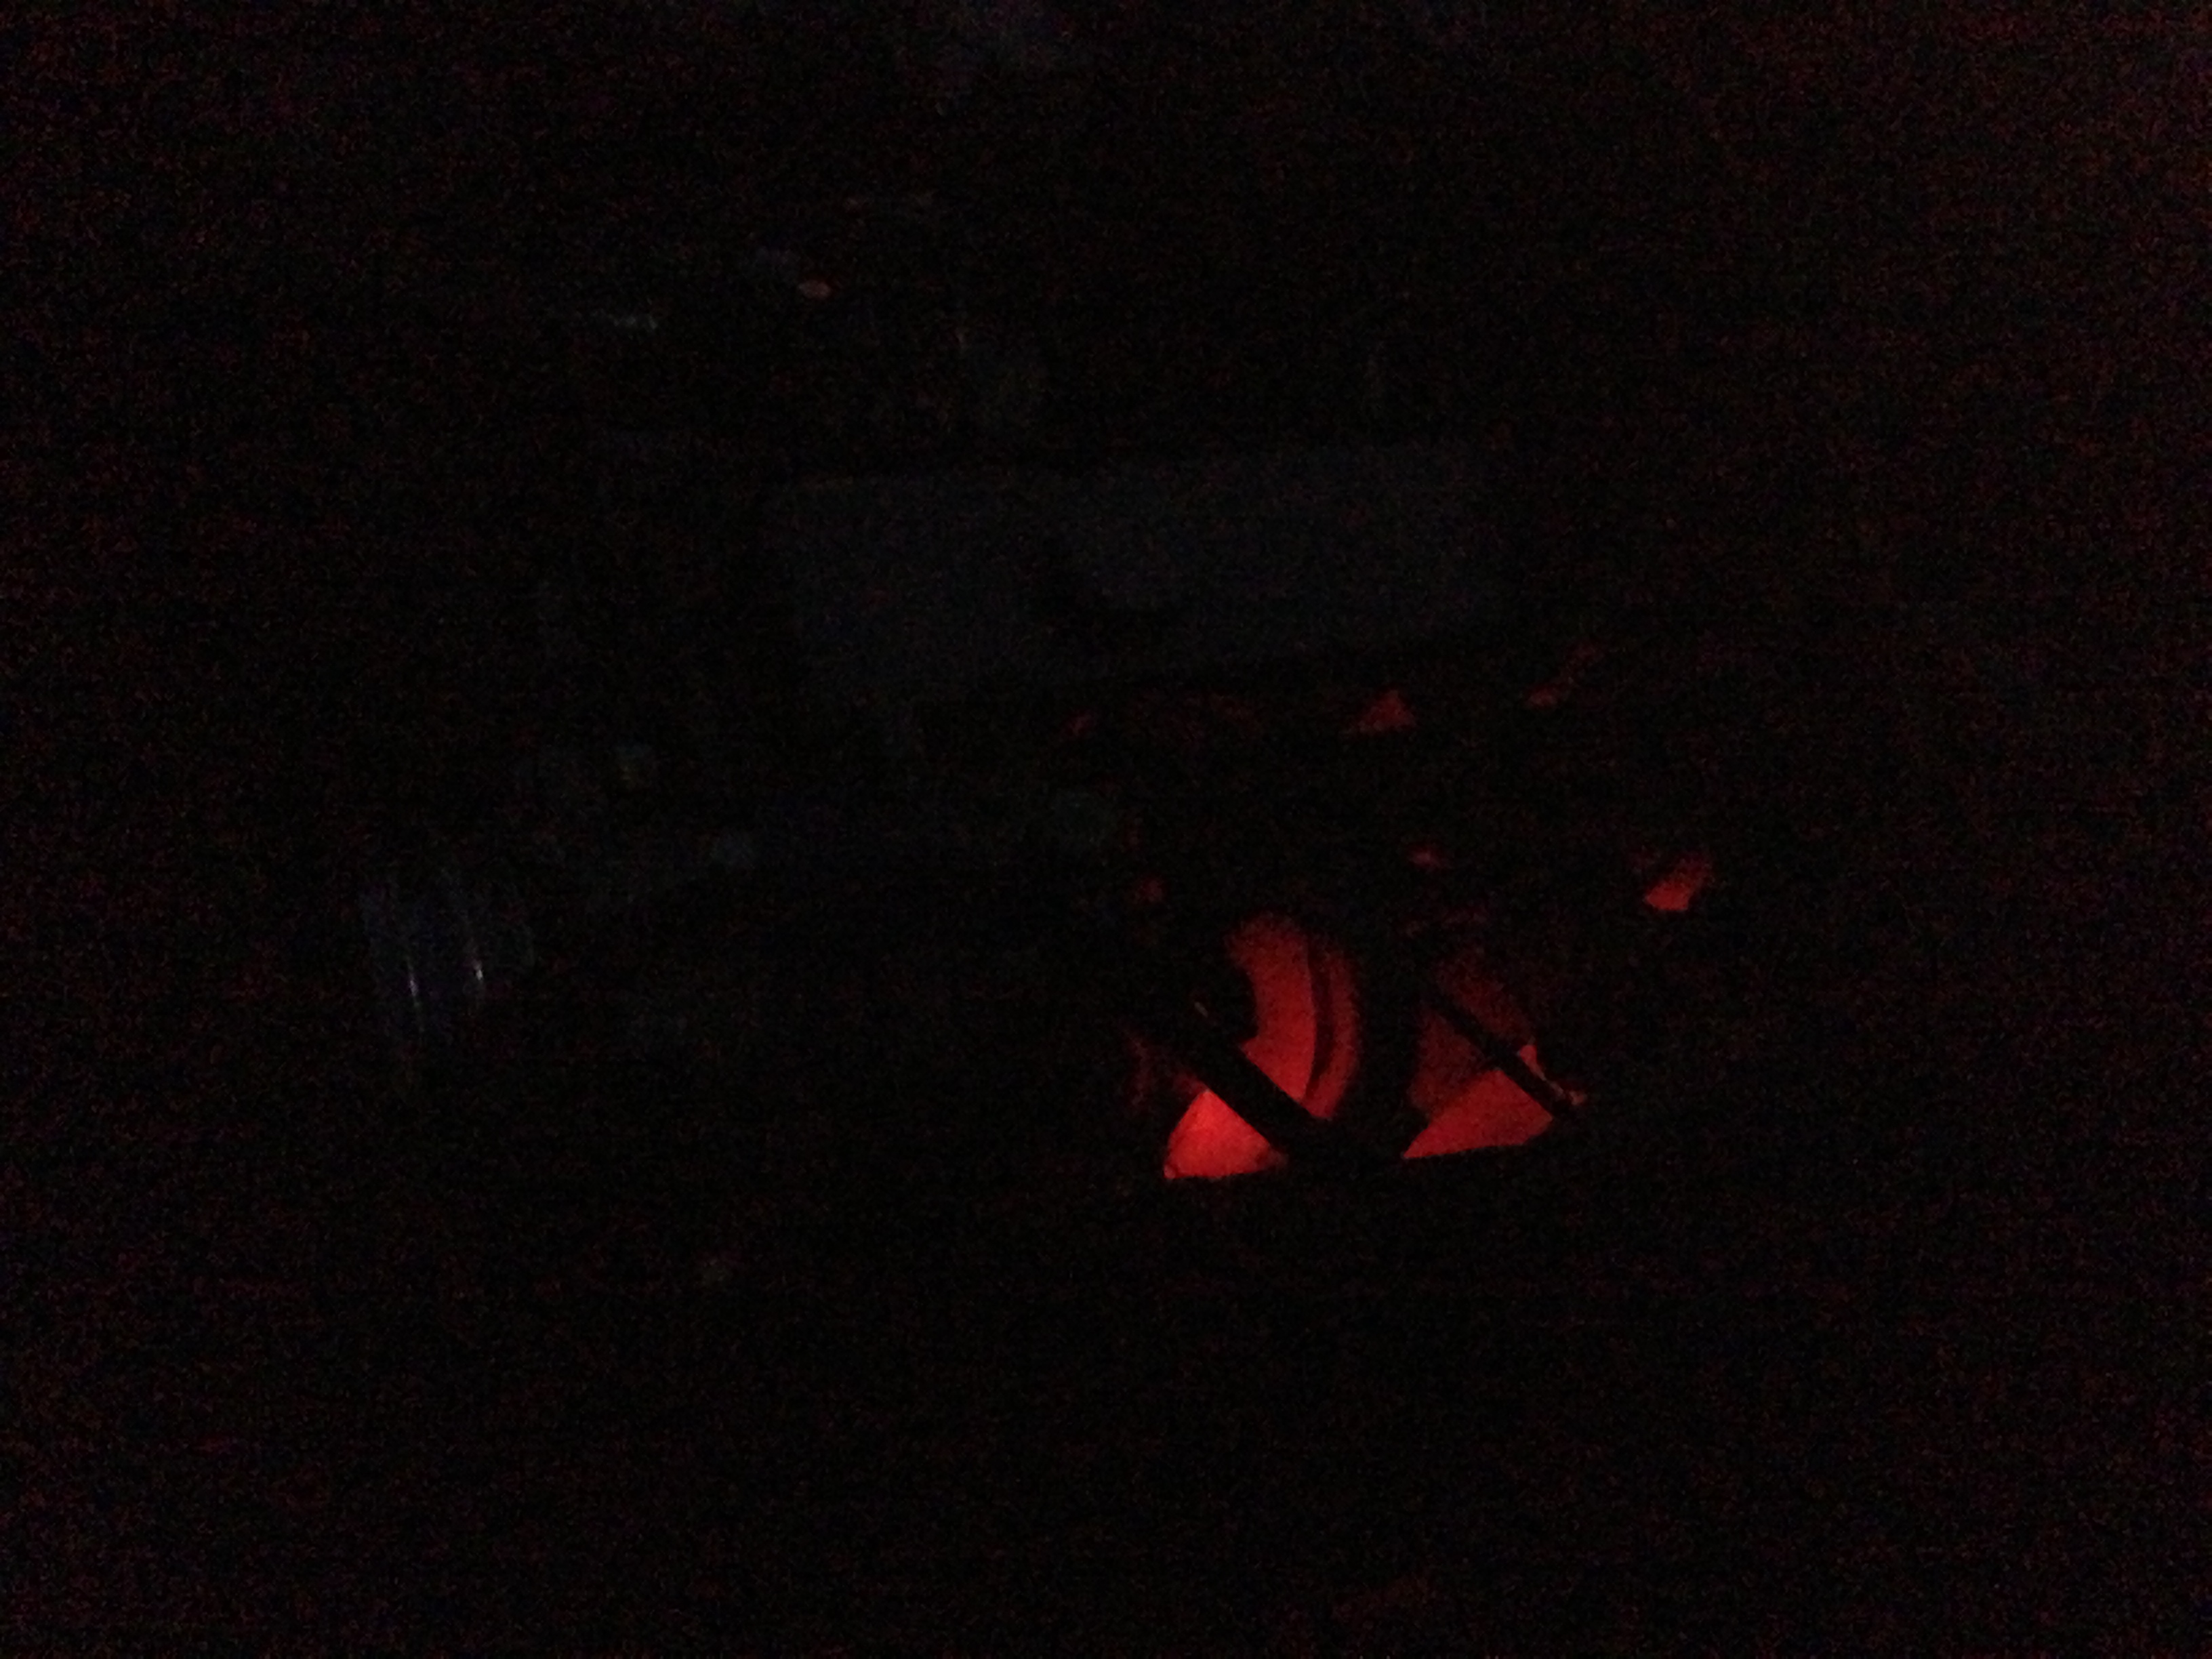
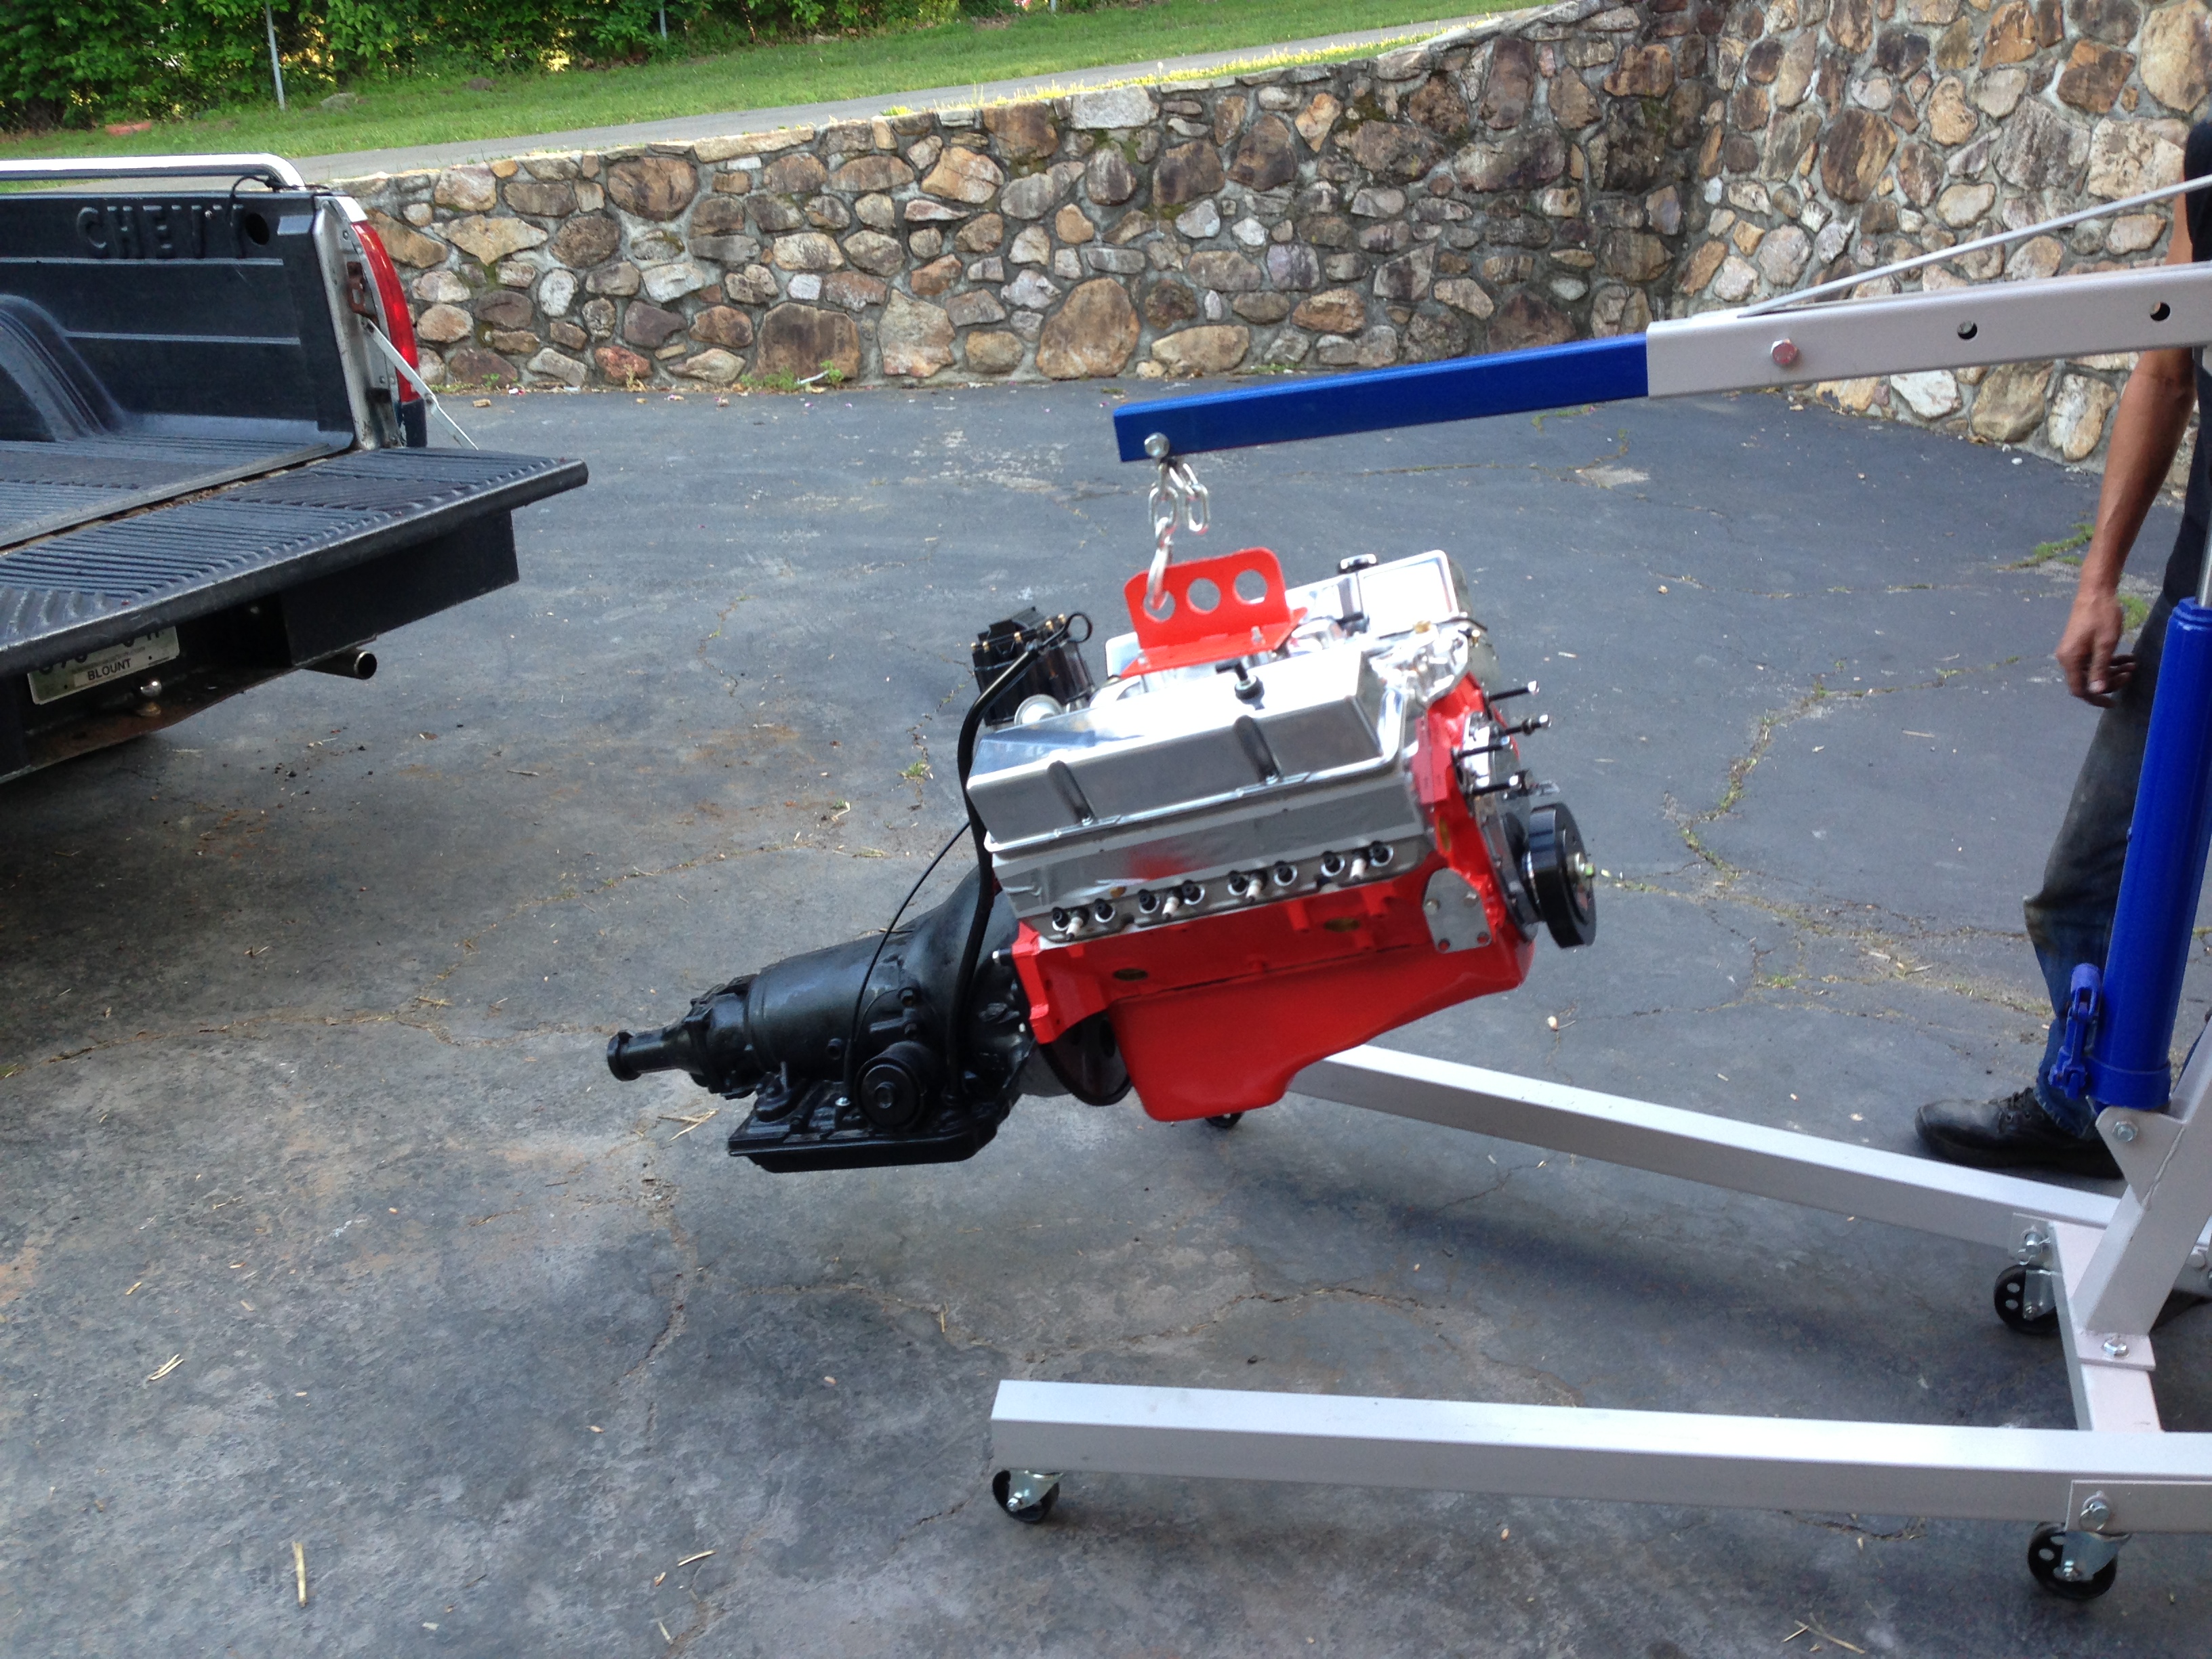
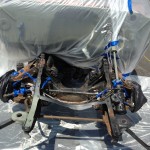
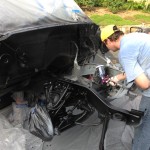
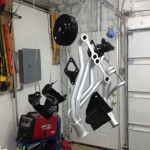
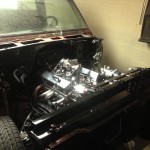
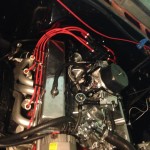
We dropped the new engine and transmission on the rails and put on the fenders and whatnot. During the break-in of the new engine the headers were glowing. It was pretty roxxors. And yes, the header paint seems to have held up for the most part. There are a few spots, but nothing major. After break-in we did the final adjustments on the rockers etc, and installed the rest of the accessories. I got some new weather-proof project boxes and migrated the large collection of new relays and fuses (for the fans, headlights, foglights, and AC components) into those after painting them black. Much neater now! The new AC system has about 40 billion parts, and a lot of them went in at that point. (that one sentence represents like 2 weeks of work). Around the same time, I installed a Lokar floor shifter on the new 700r4. It looks really cool, but getting the trany support to line up with the new transmission didn’t work out quite as planned. I’m still a little dubious that everything is going to work right, because I wouldn’t describe the mount as “square” if you know what I mean. I will be unsurprised if after I actually get it moving if I need to take it to a shop to get things straightened out.
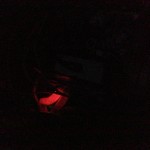
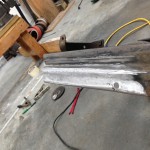
The headers during break-in
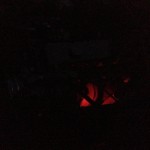
More glowing header action

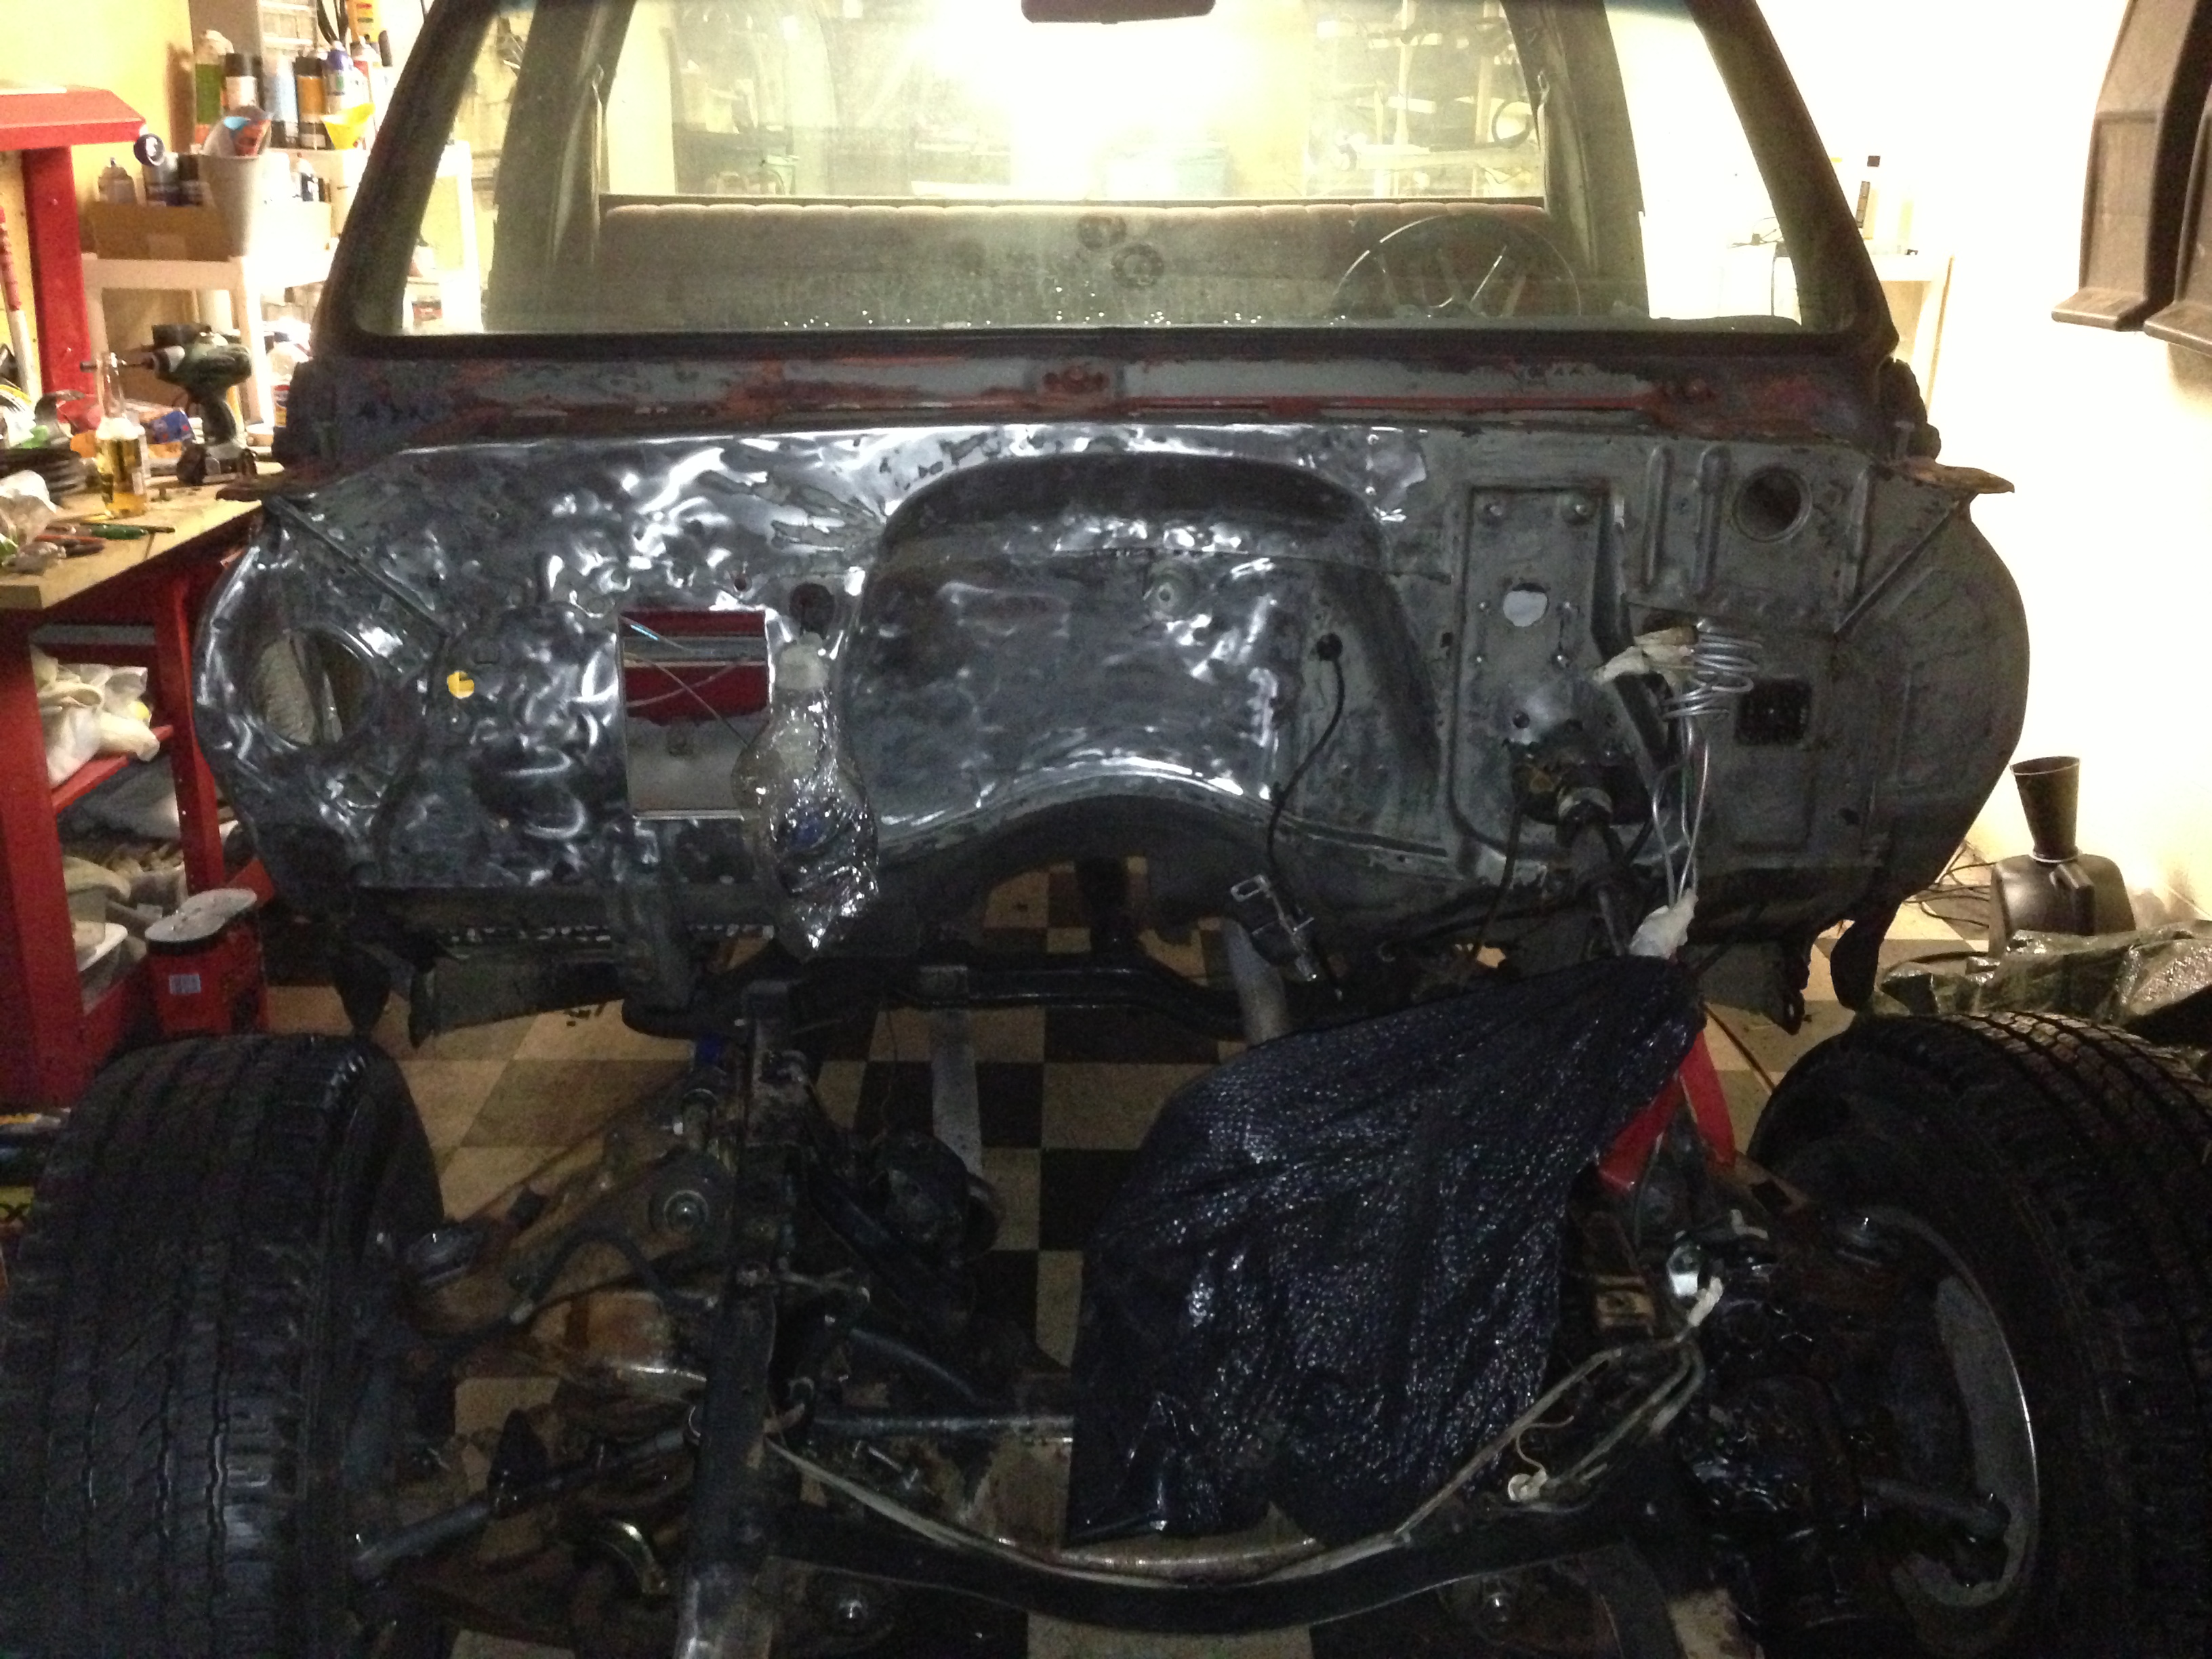
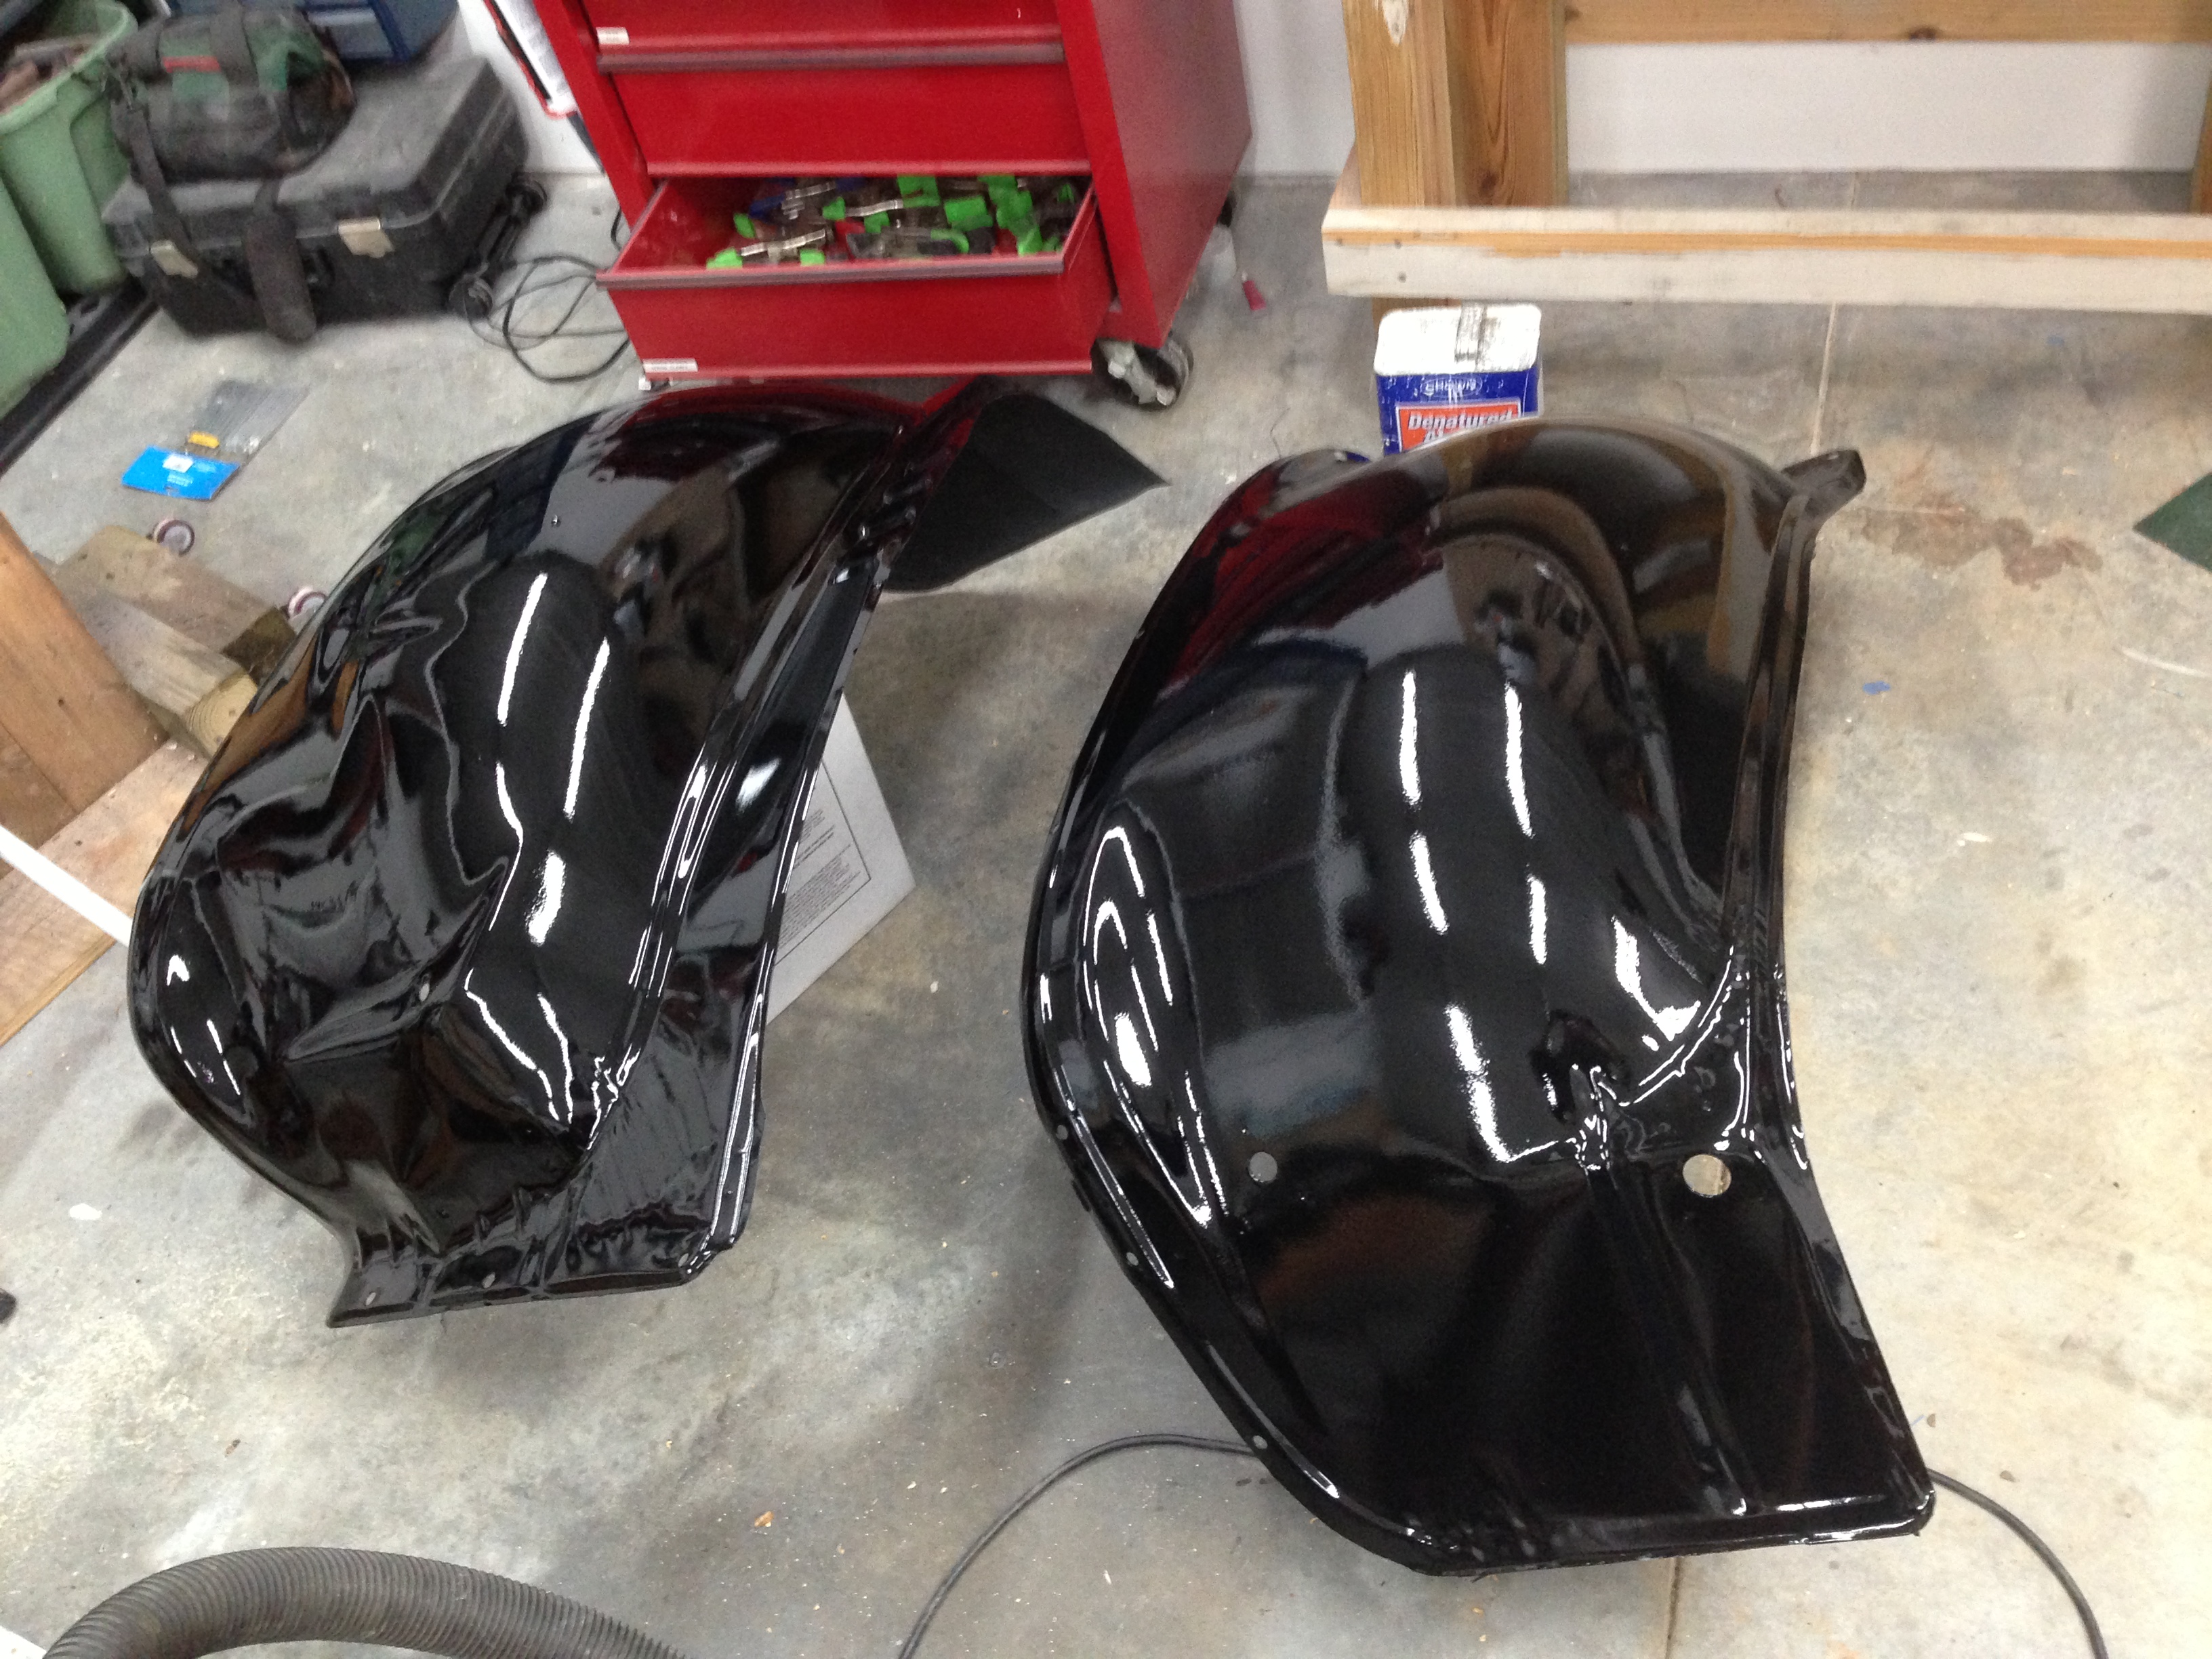
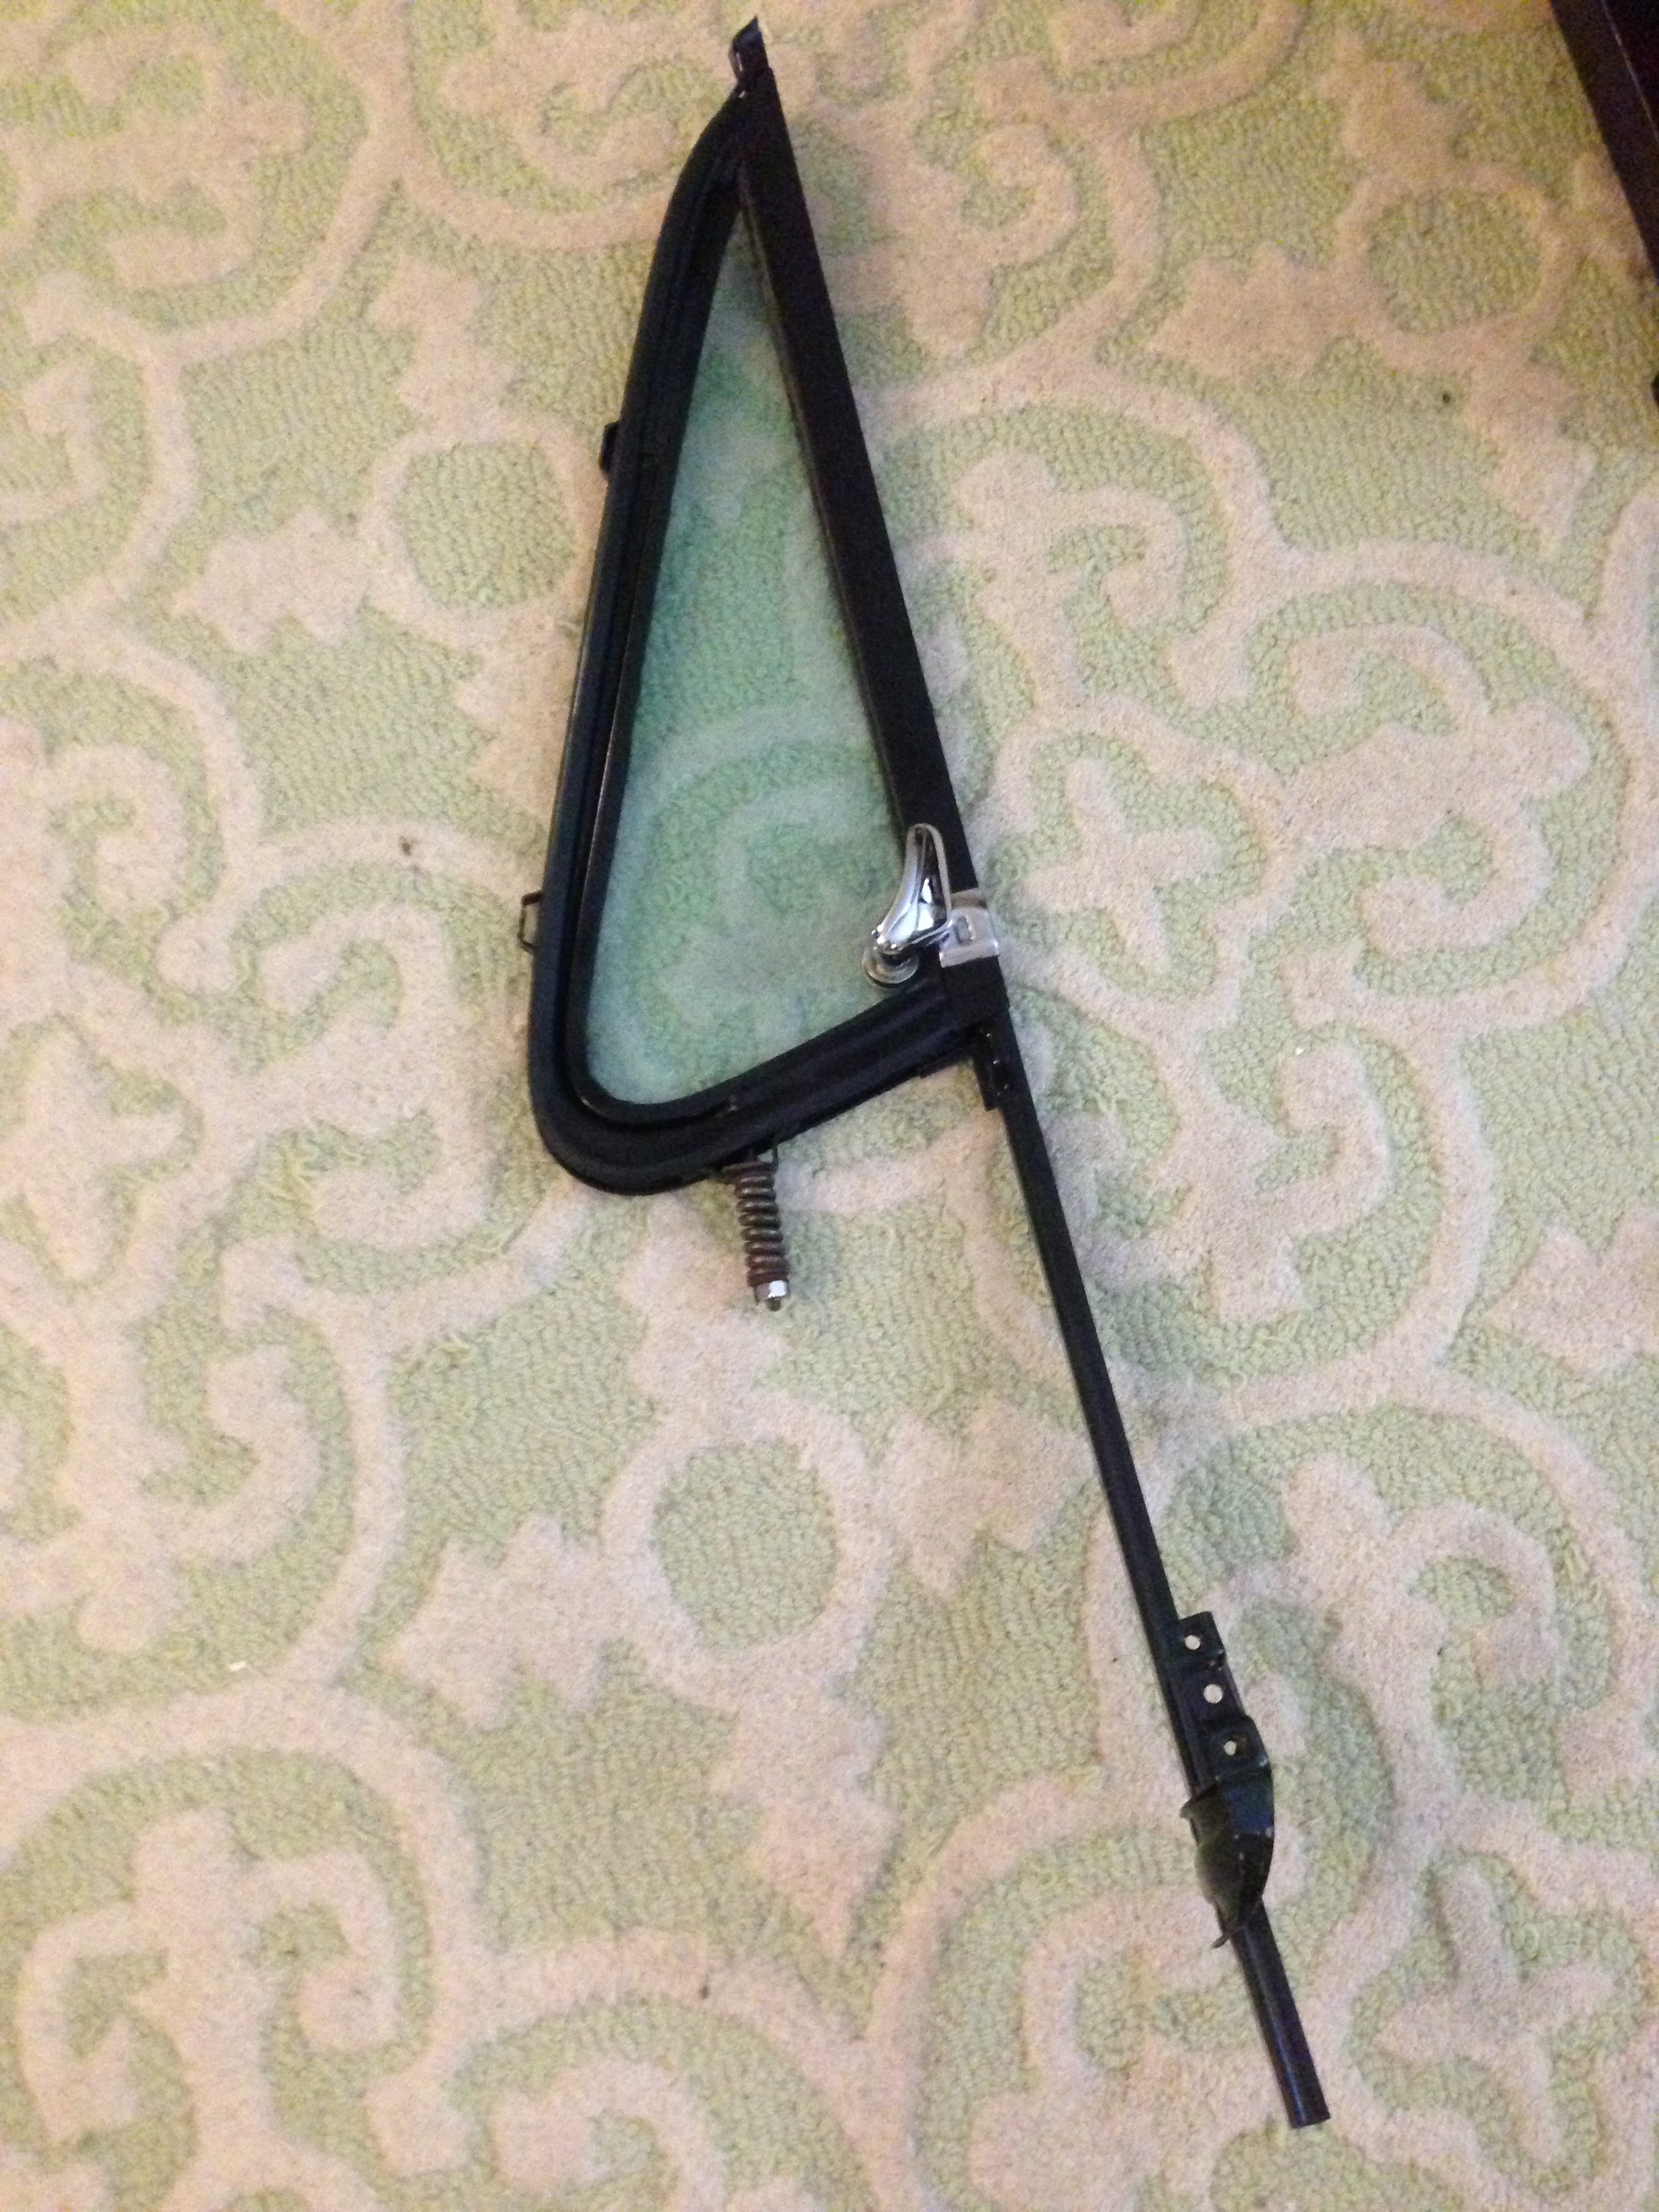
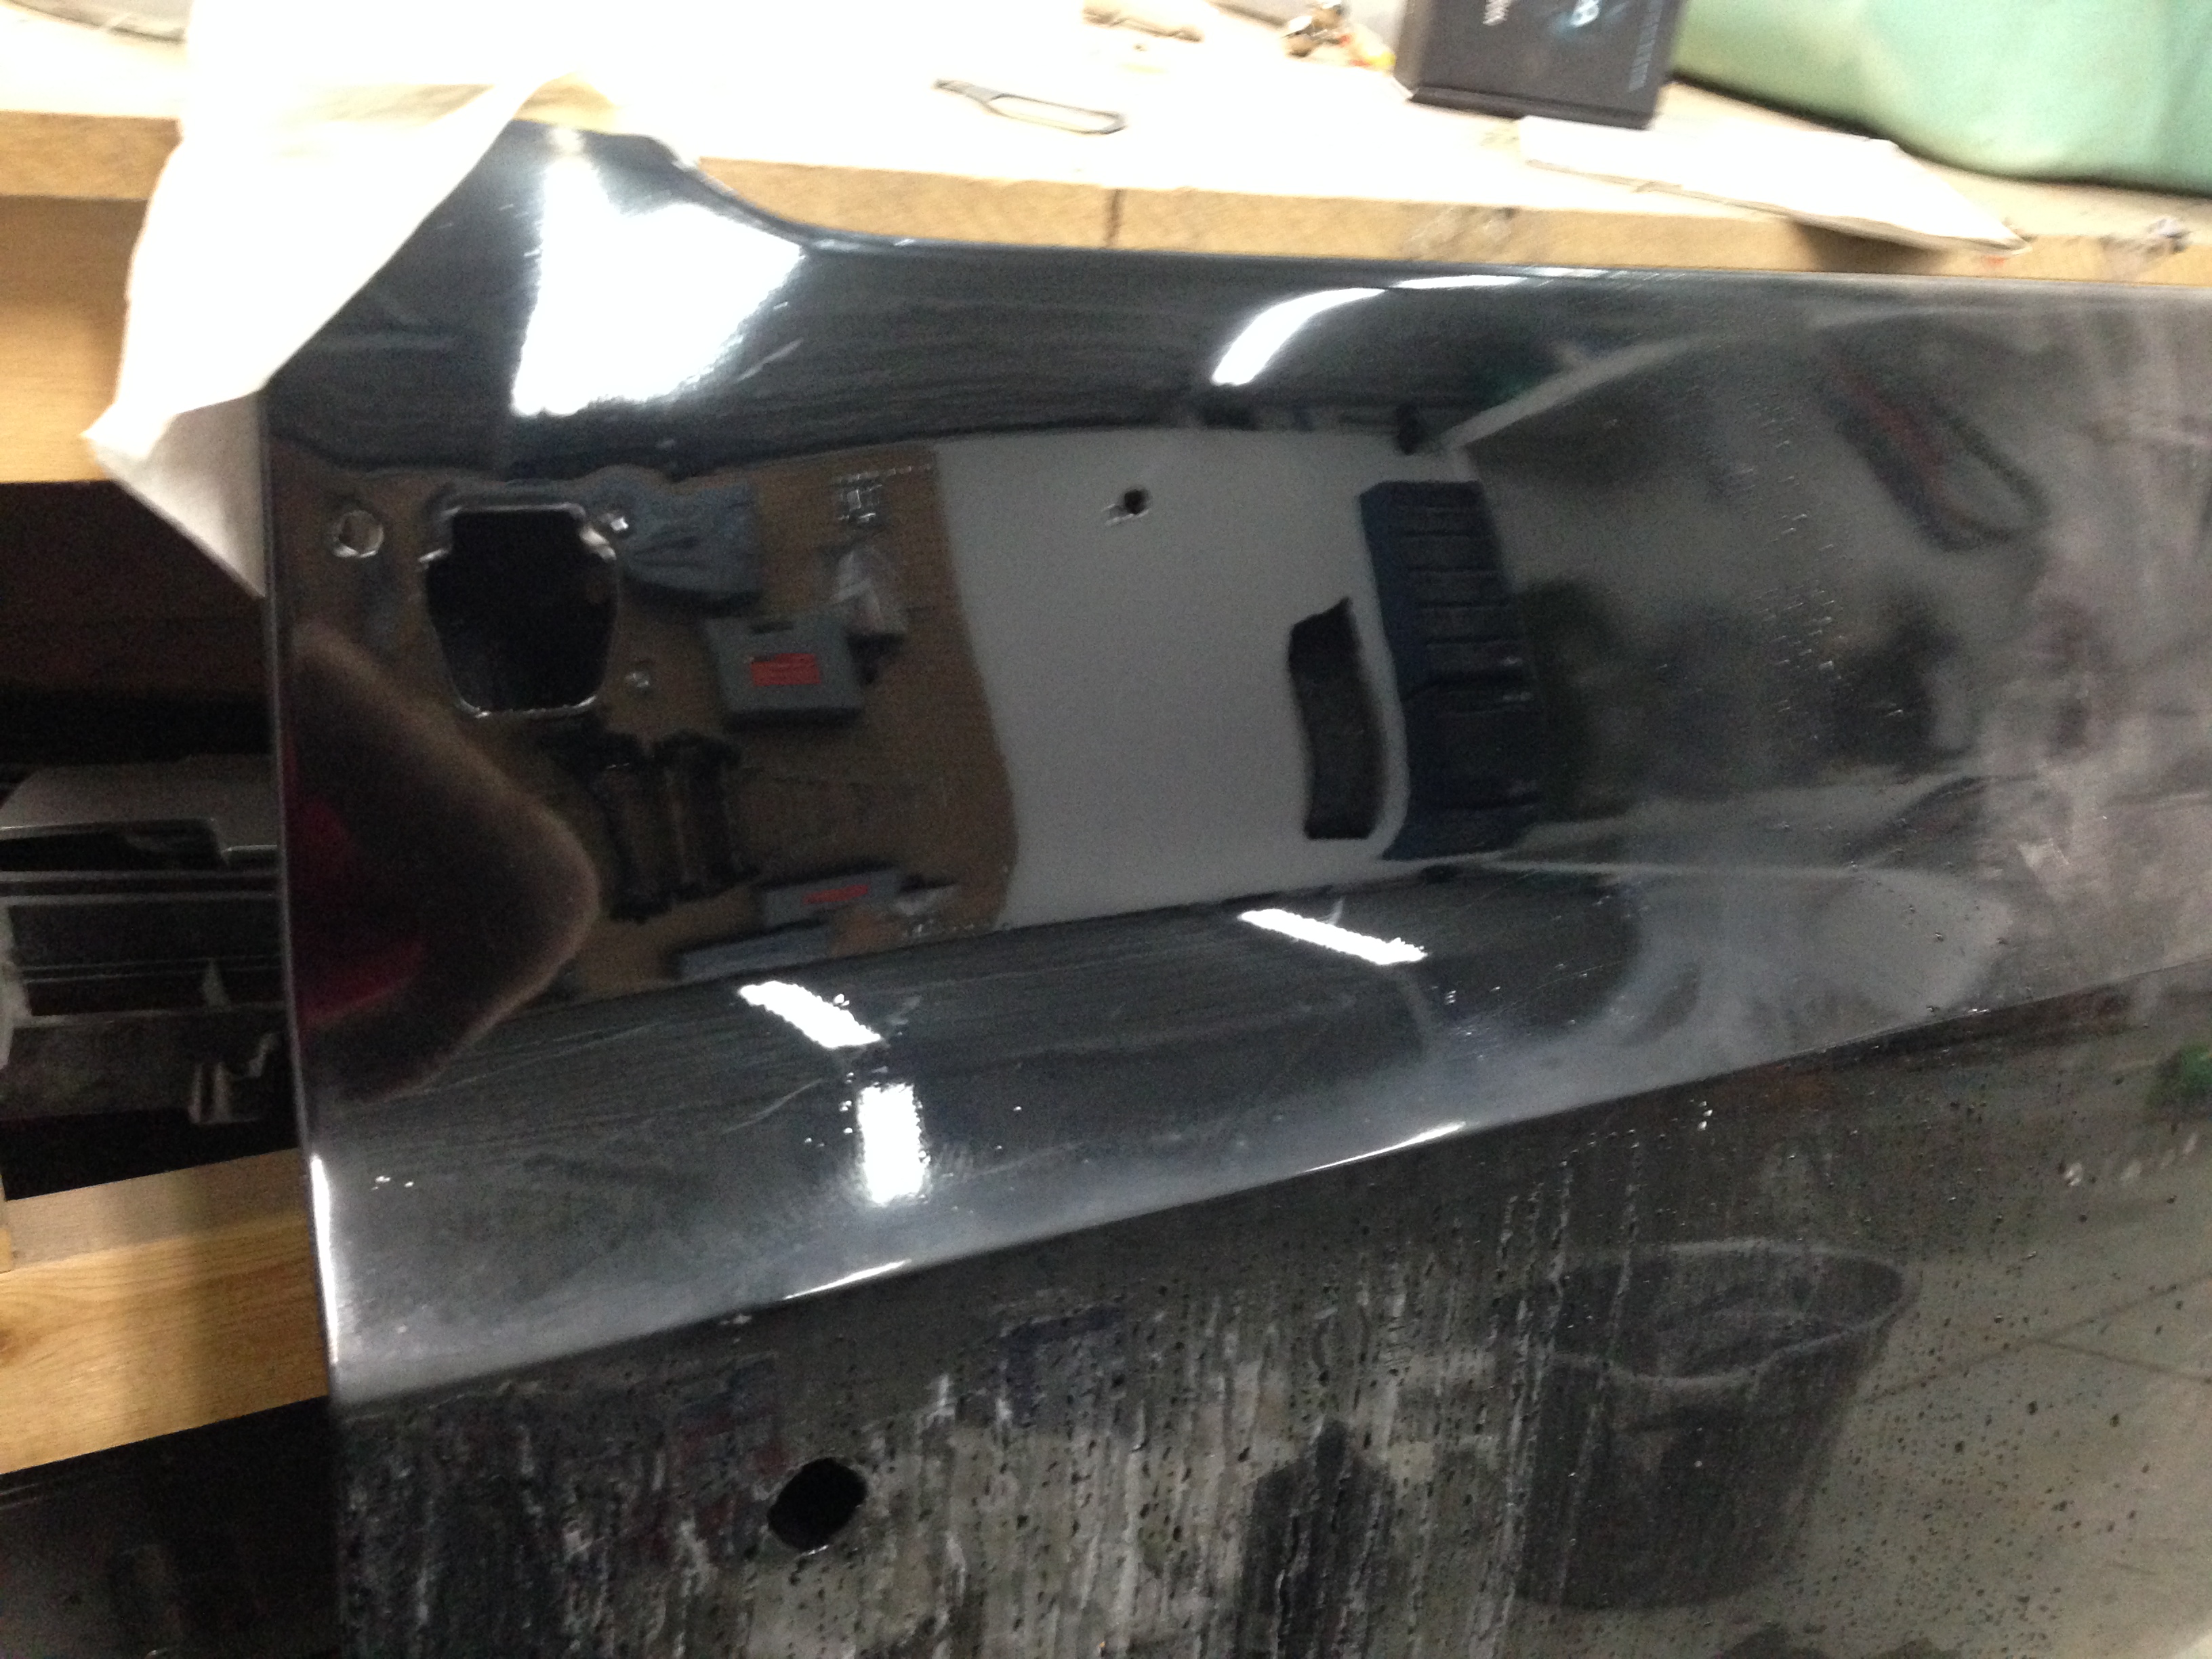
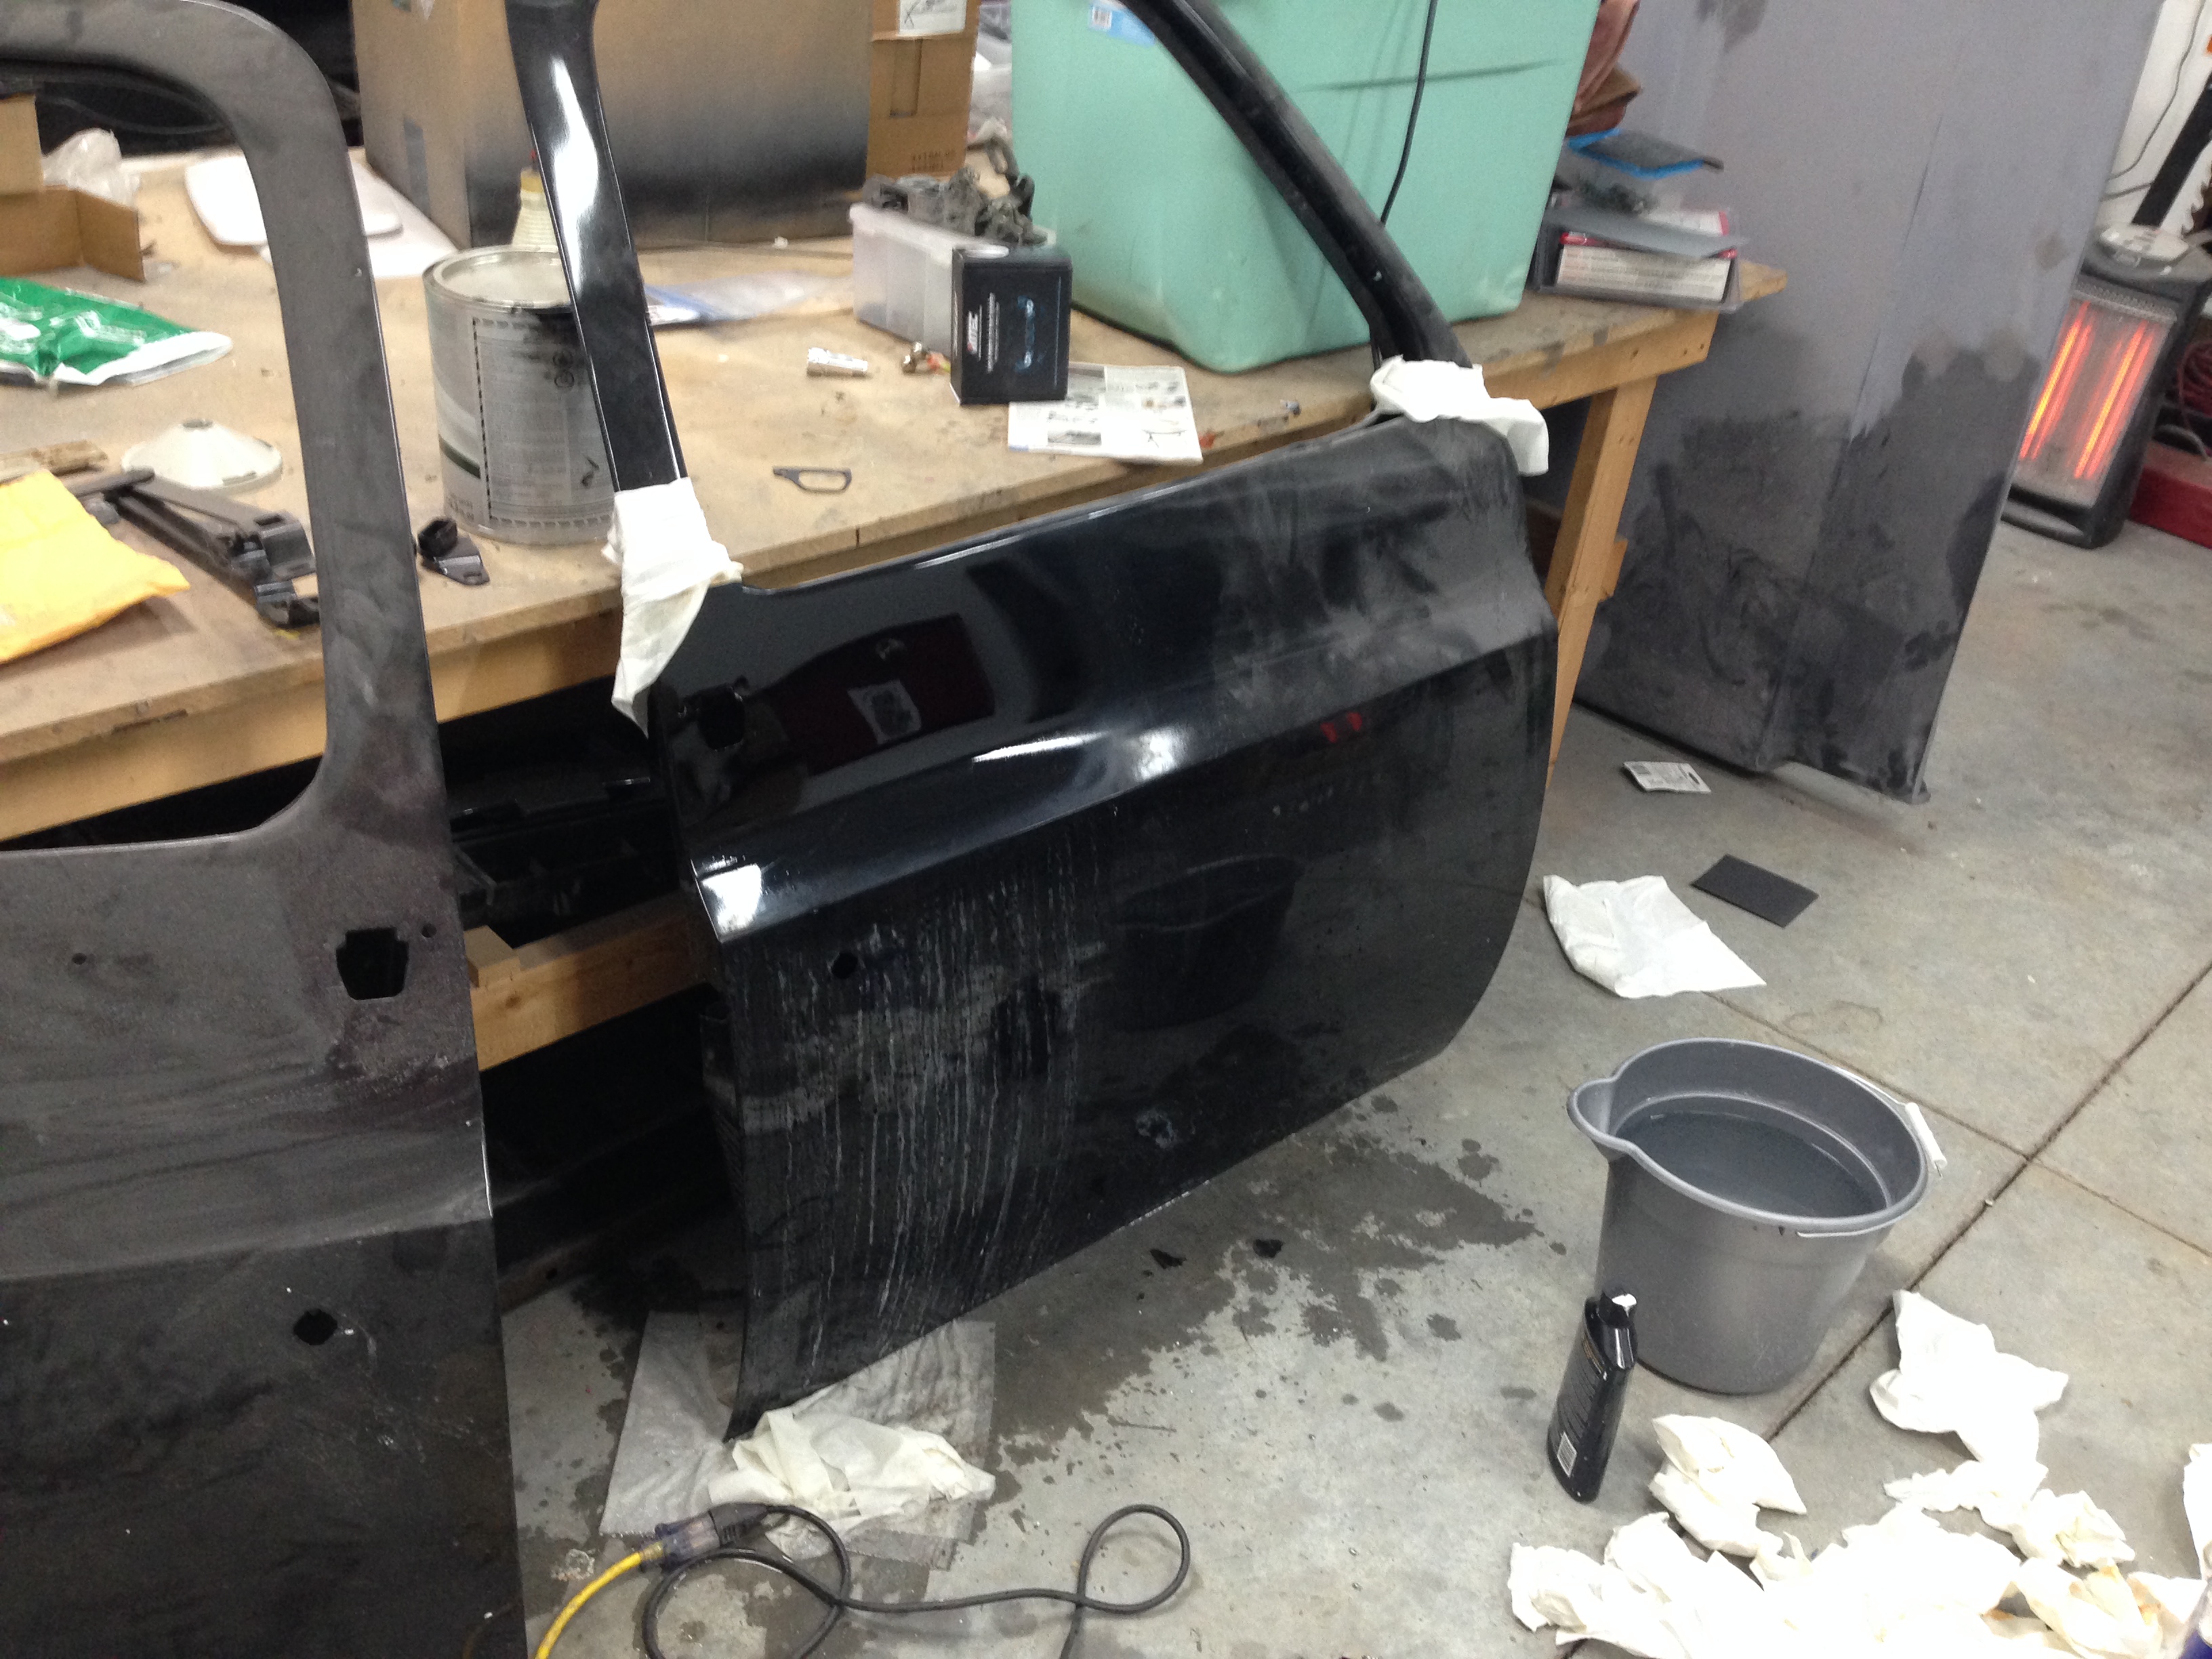
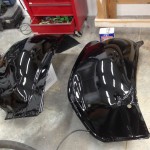
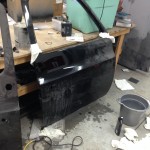
I also started migrating the inner door components to the new door shells. This involved a lot of stripping, painting, and new rubber installation. I now have brand-new (looking) vent windows! I still have to finish the installation, but a lot of the hard parts are done. I also installed some sound deadener. Since I didn’t want to have to wetsand and buff around the door handle, I went ahead and cut and buffed that area. It looks great until you get RIGHT up on it at which point you can see the aftermath of the huge number of dust motes trapped in the finish. I’ve resigned myself to the fact that at some point in the future I will be stripping and repainting the whole thing, but for now, it is fine.


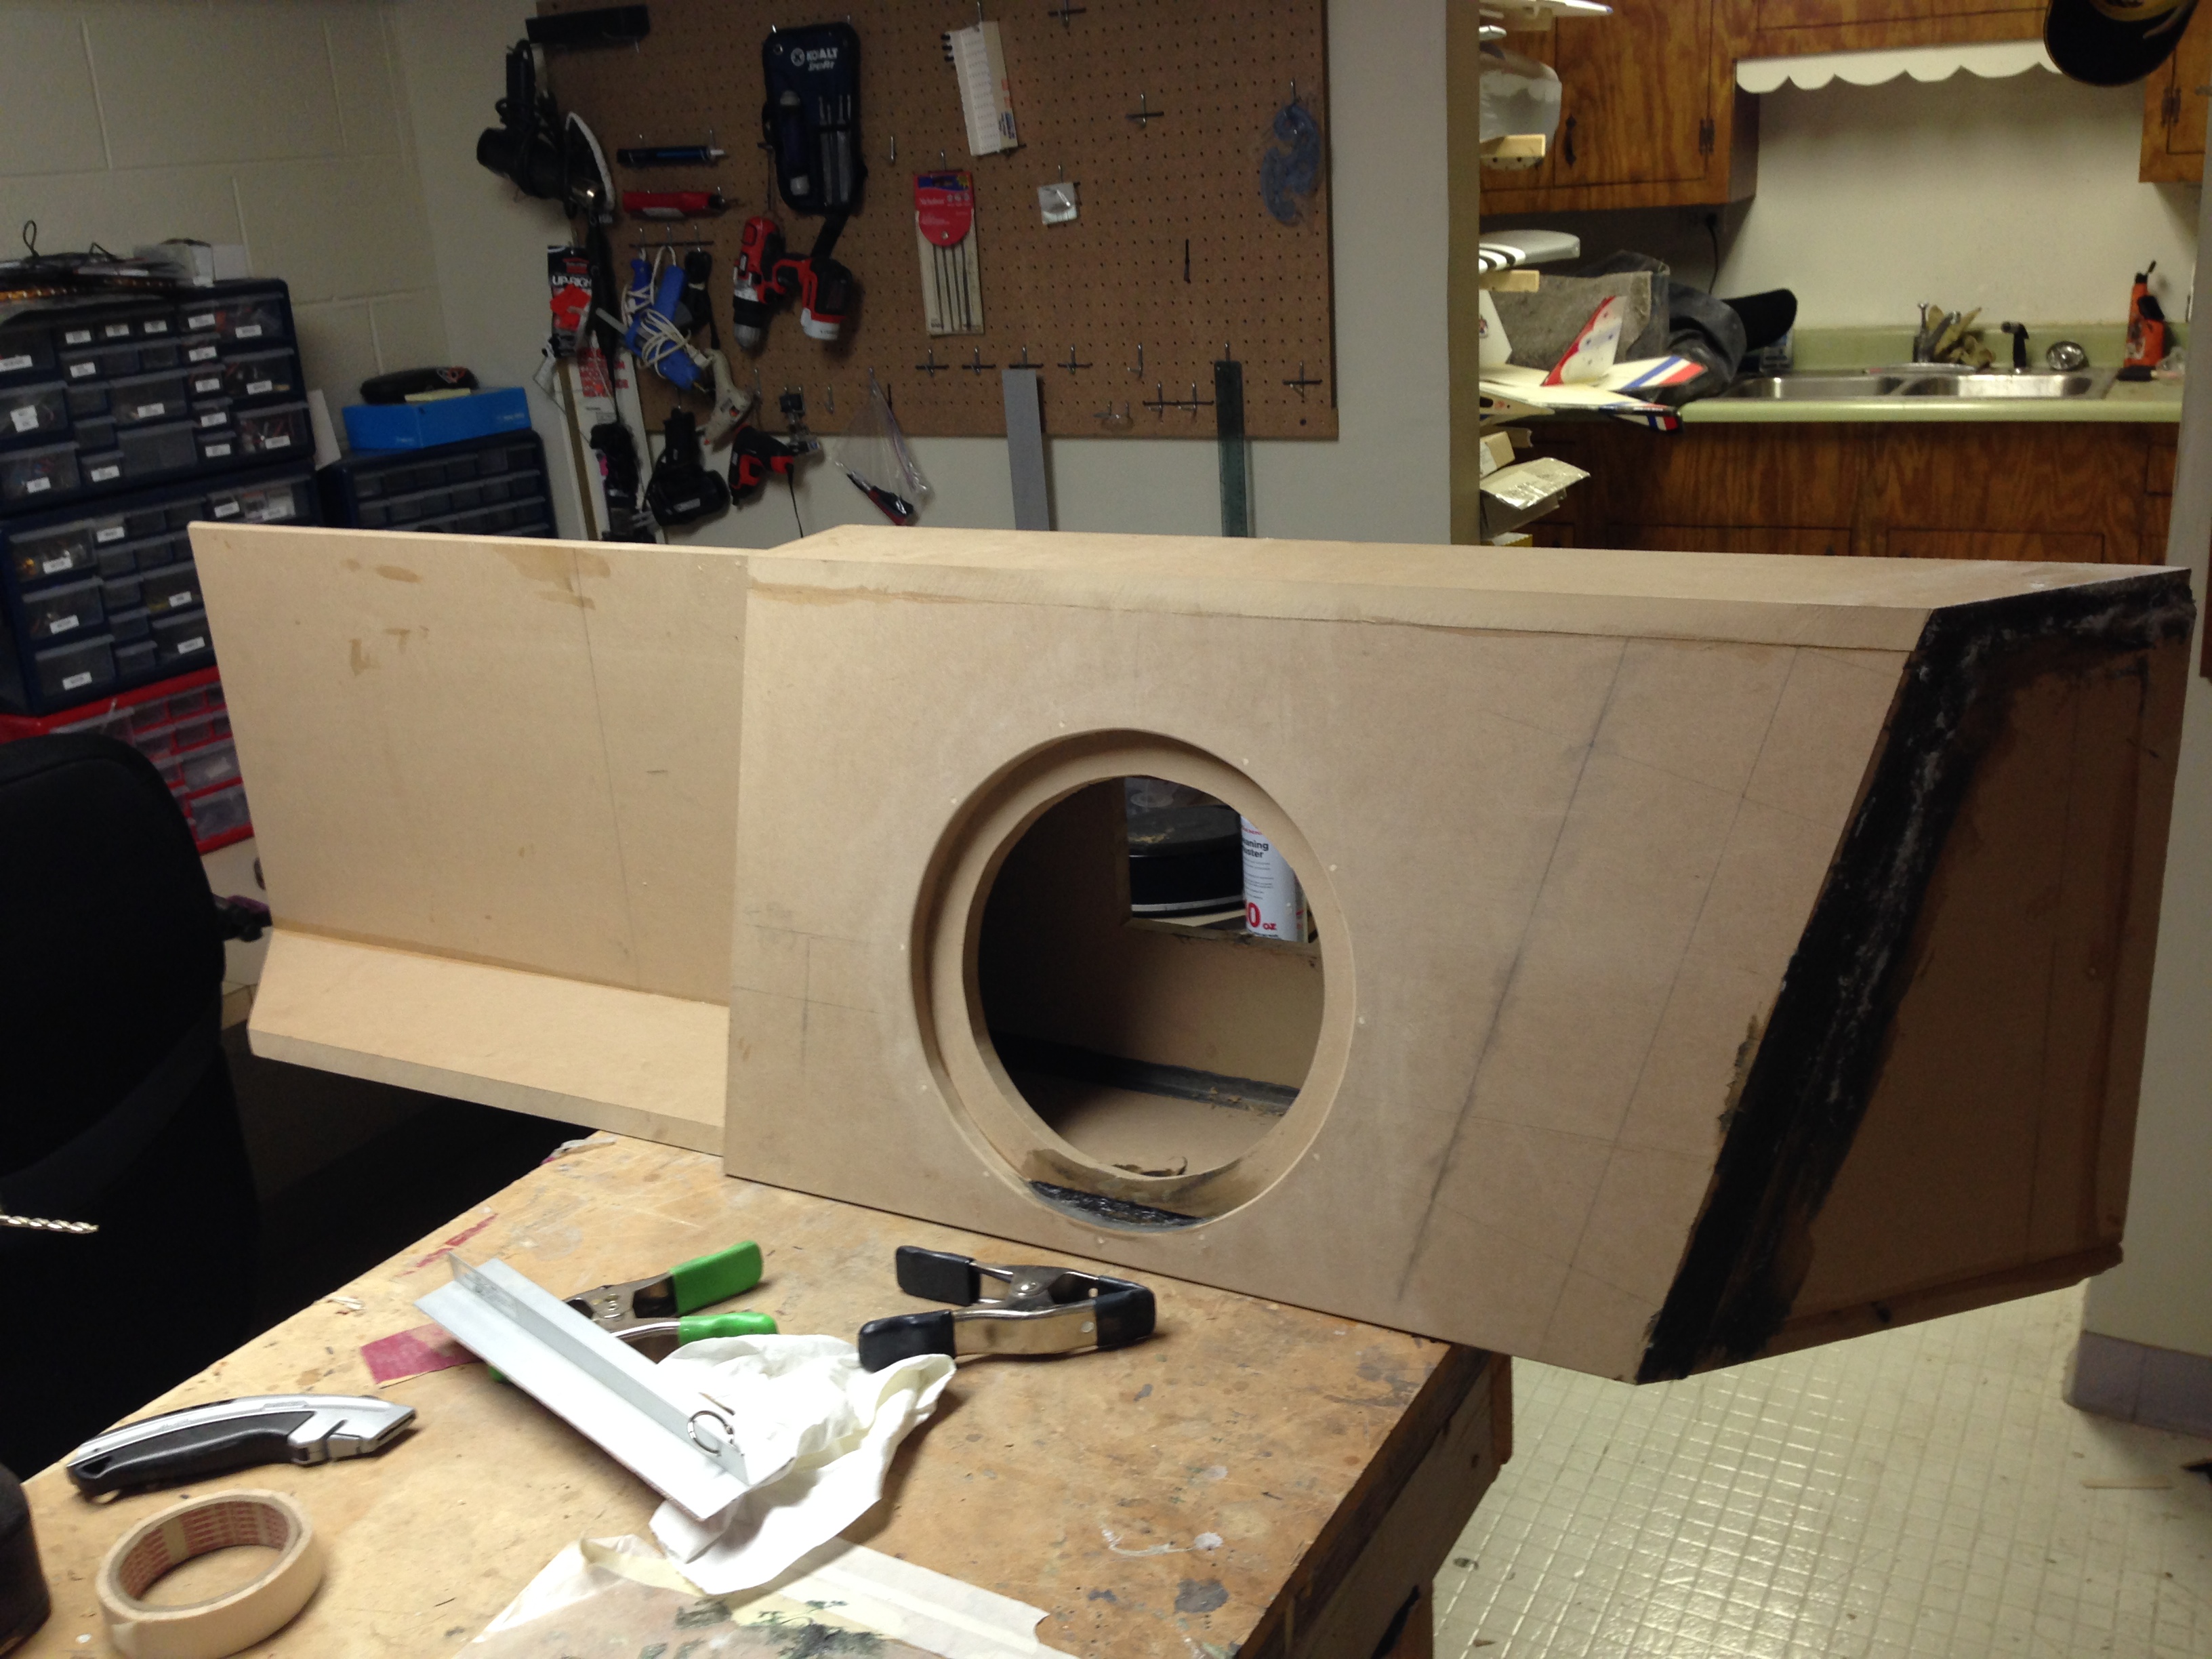
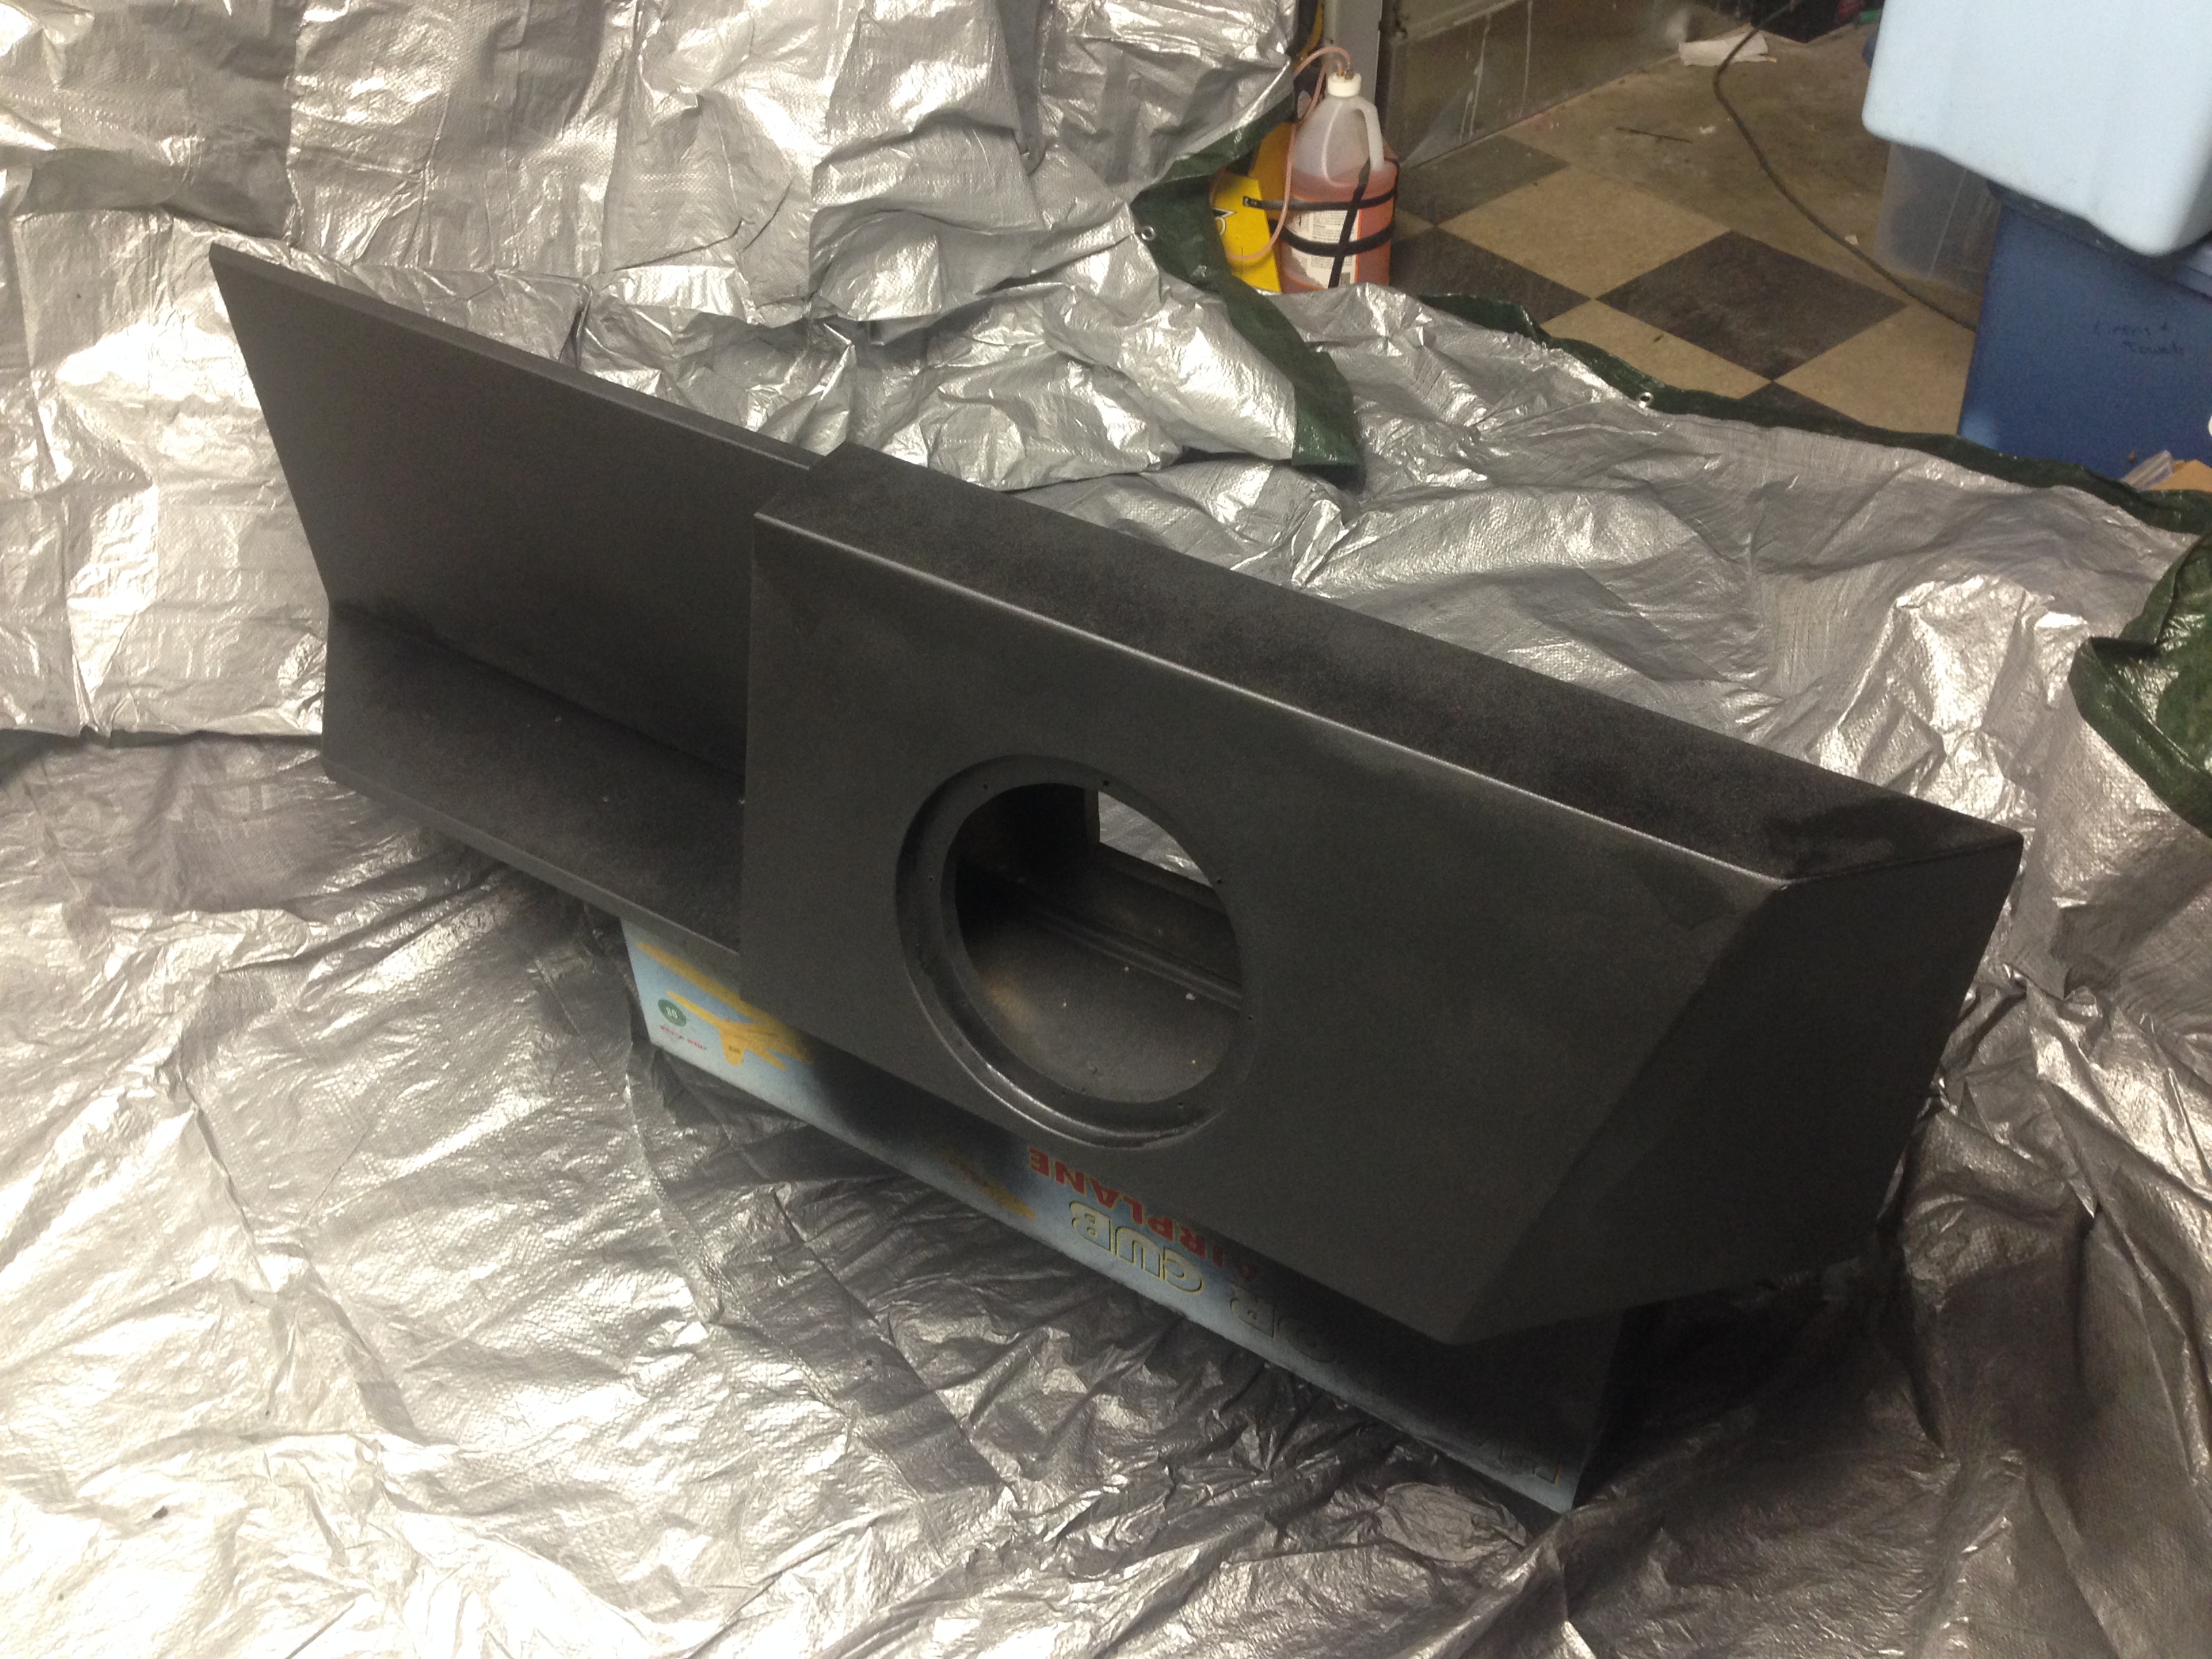
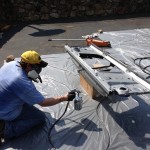
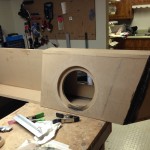
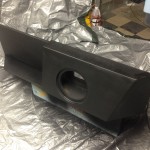
I needed to run the power and speaker feeds for the new amp before doing the carpet and sound deadening, so I went ahead and tackled the amp box. With some help from some good friends, I modeled it in Sketchup and cut it out of MDF. It is a PERFECT fit. I’ll be finishing up its bedliner coating tonight.
So anyways, that is where we stand Jan of 2014. Next up is finishing the rest of the interior like the steering column paint, dash area paint, and the bedliner for the back of the cab. Then it is carpet and sound deadener time!