Tons of Interior Stuff
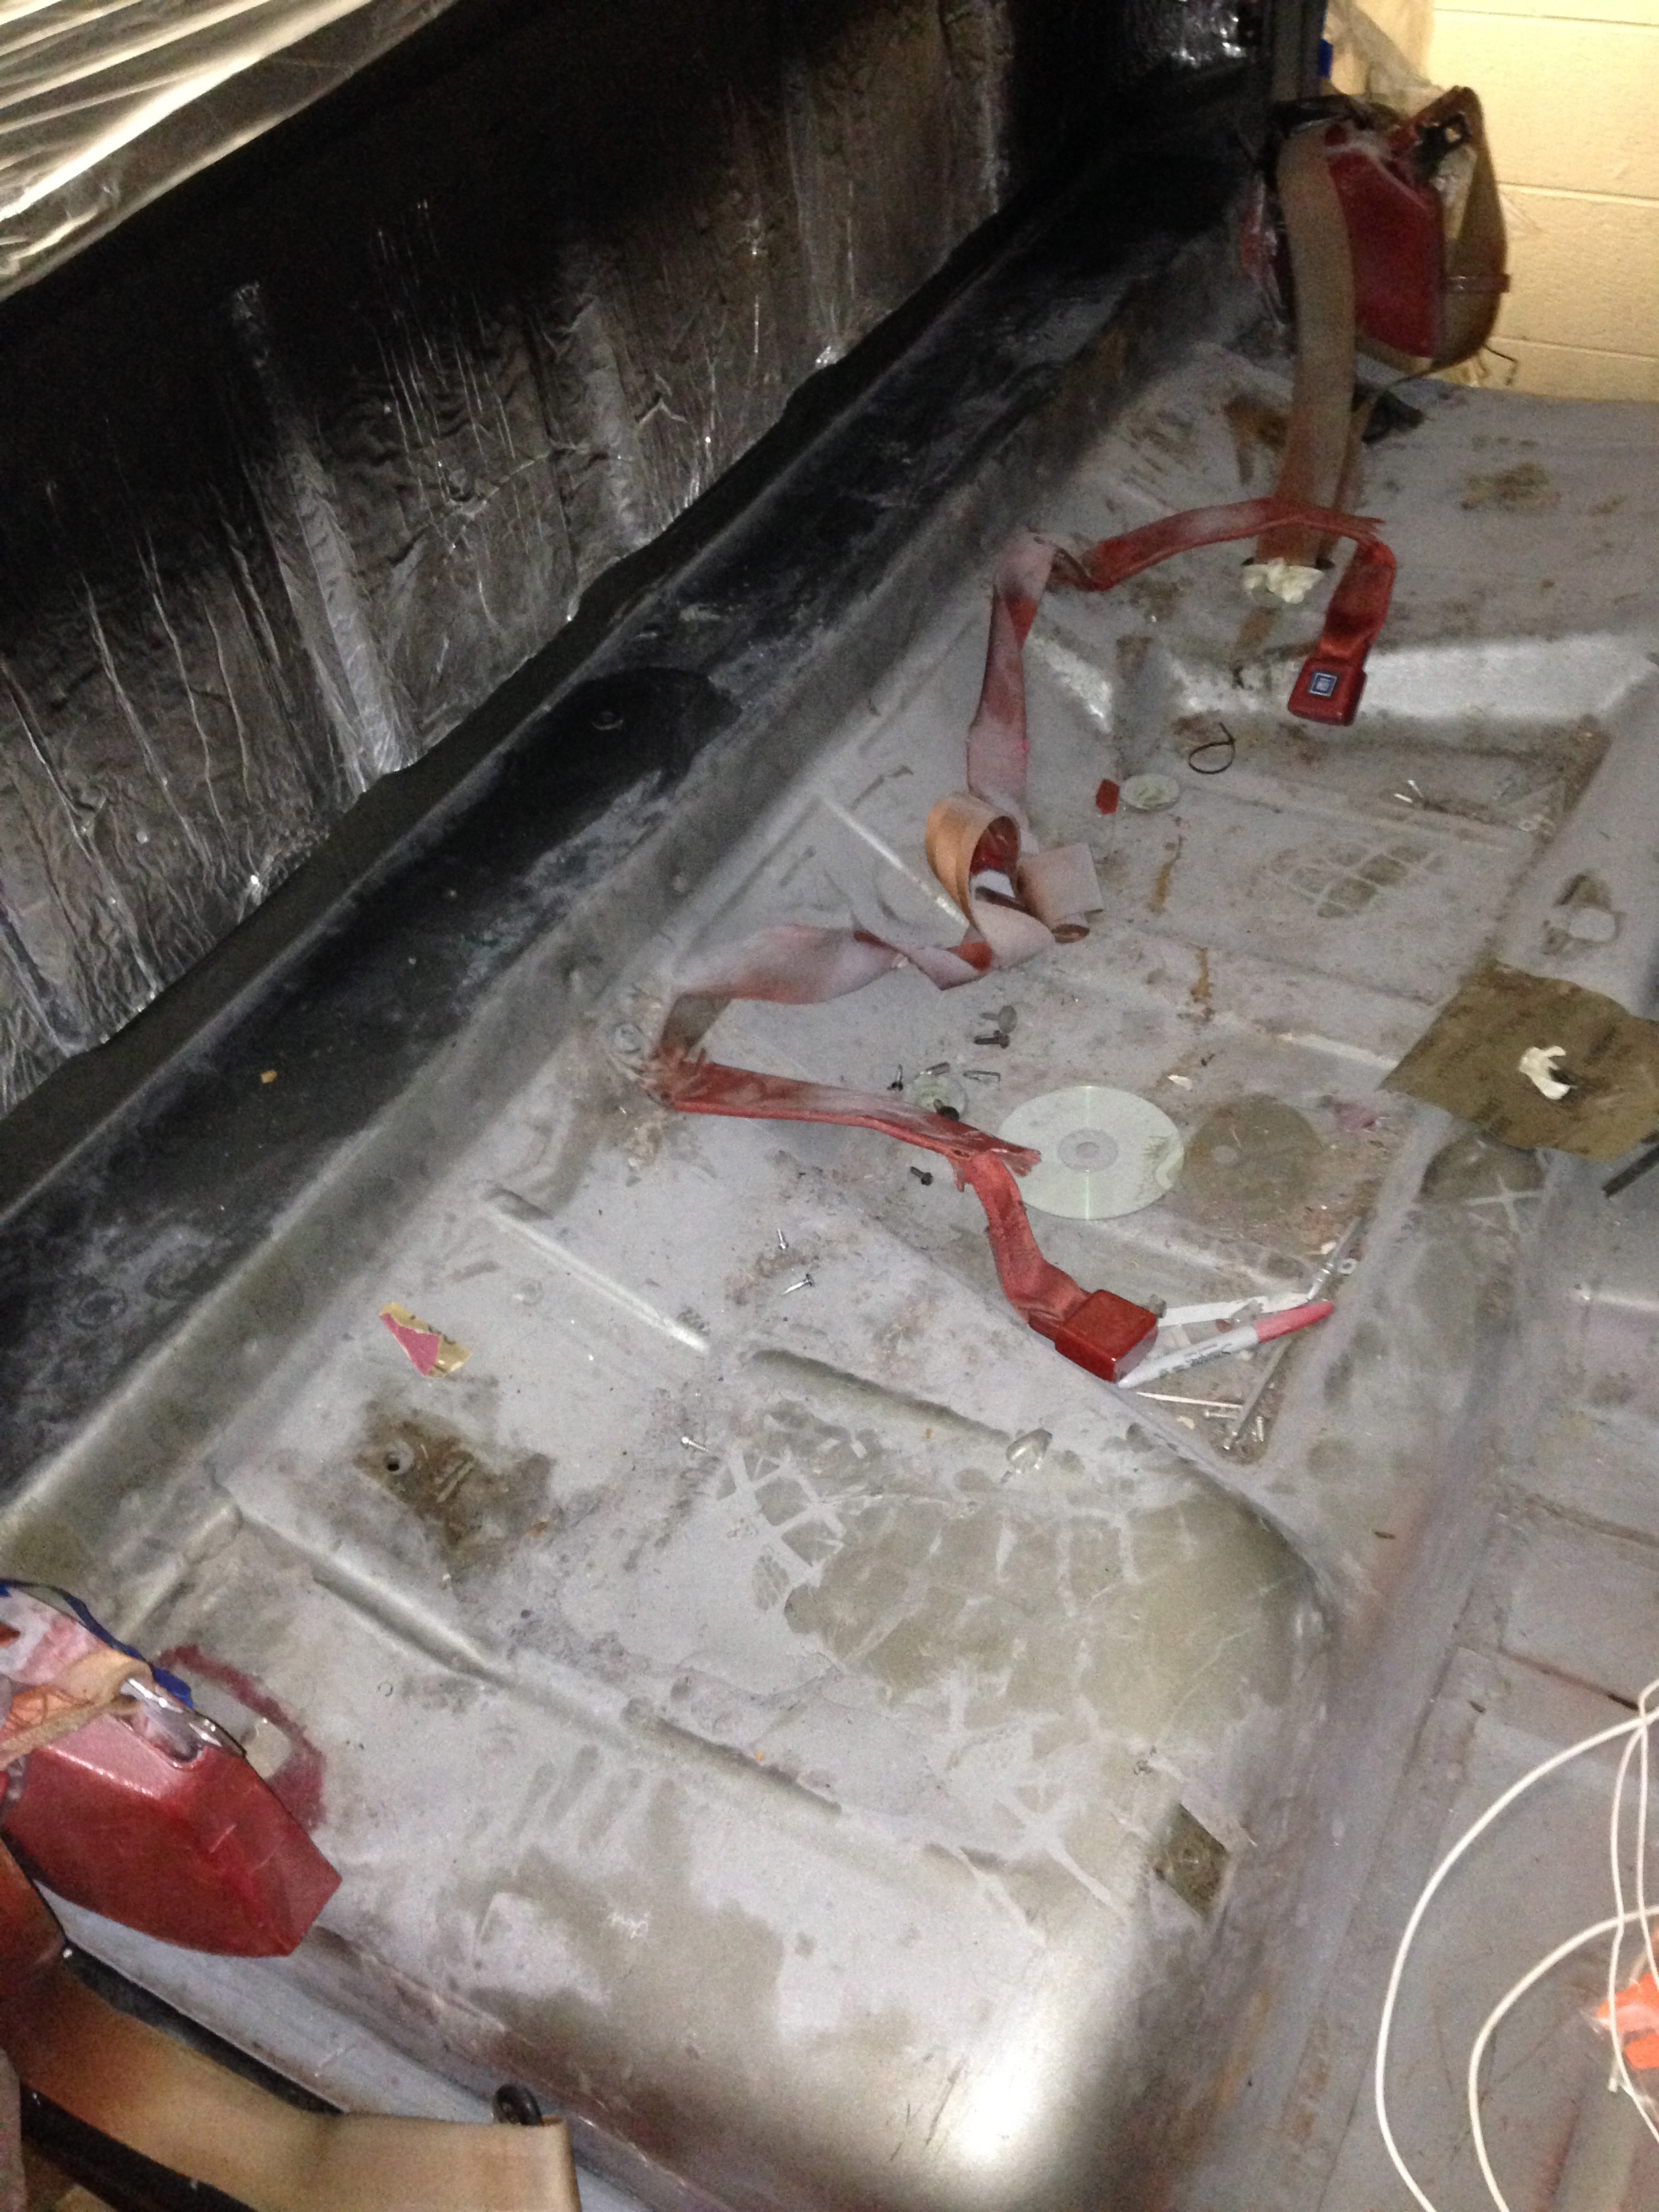
Big weekend! We were supposed to go to a wedding, but the planes got delayed due to weather, so instead I did truck work. Got lots of help from a buddy of mine, so things went faster than expected. We vacuumed and wiped down the bare floor and tackled the sound system runs first. We ran a set of Stinger 6 Channel RCA Interconnects to join the head unit to the amp behind the seat. We also ran the wires for the speakers themselves and put in a chassis ground for the amp.
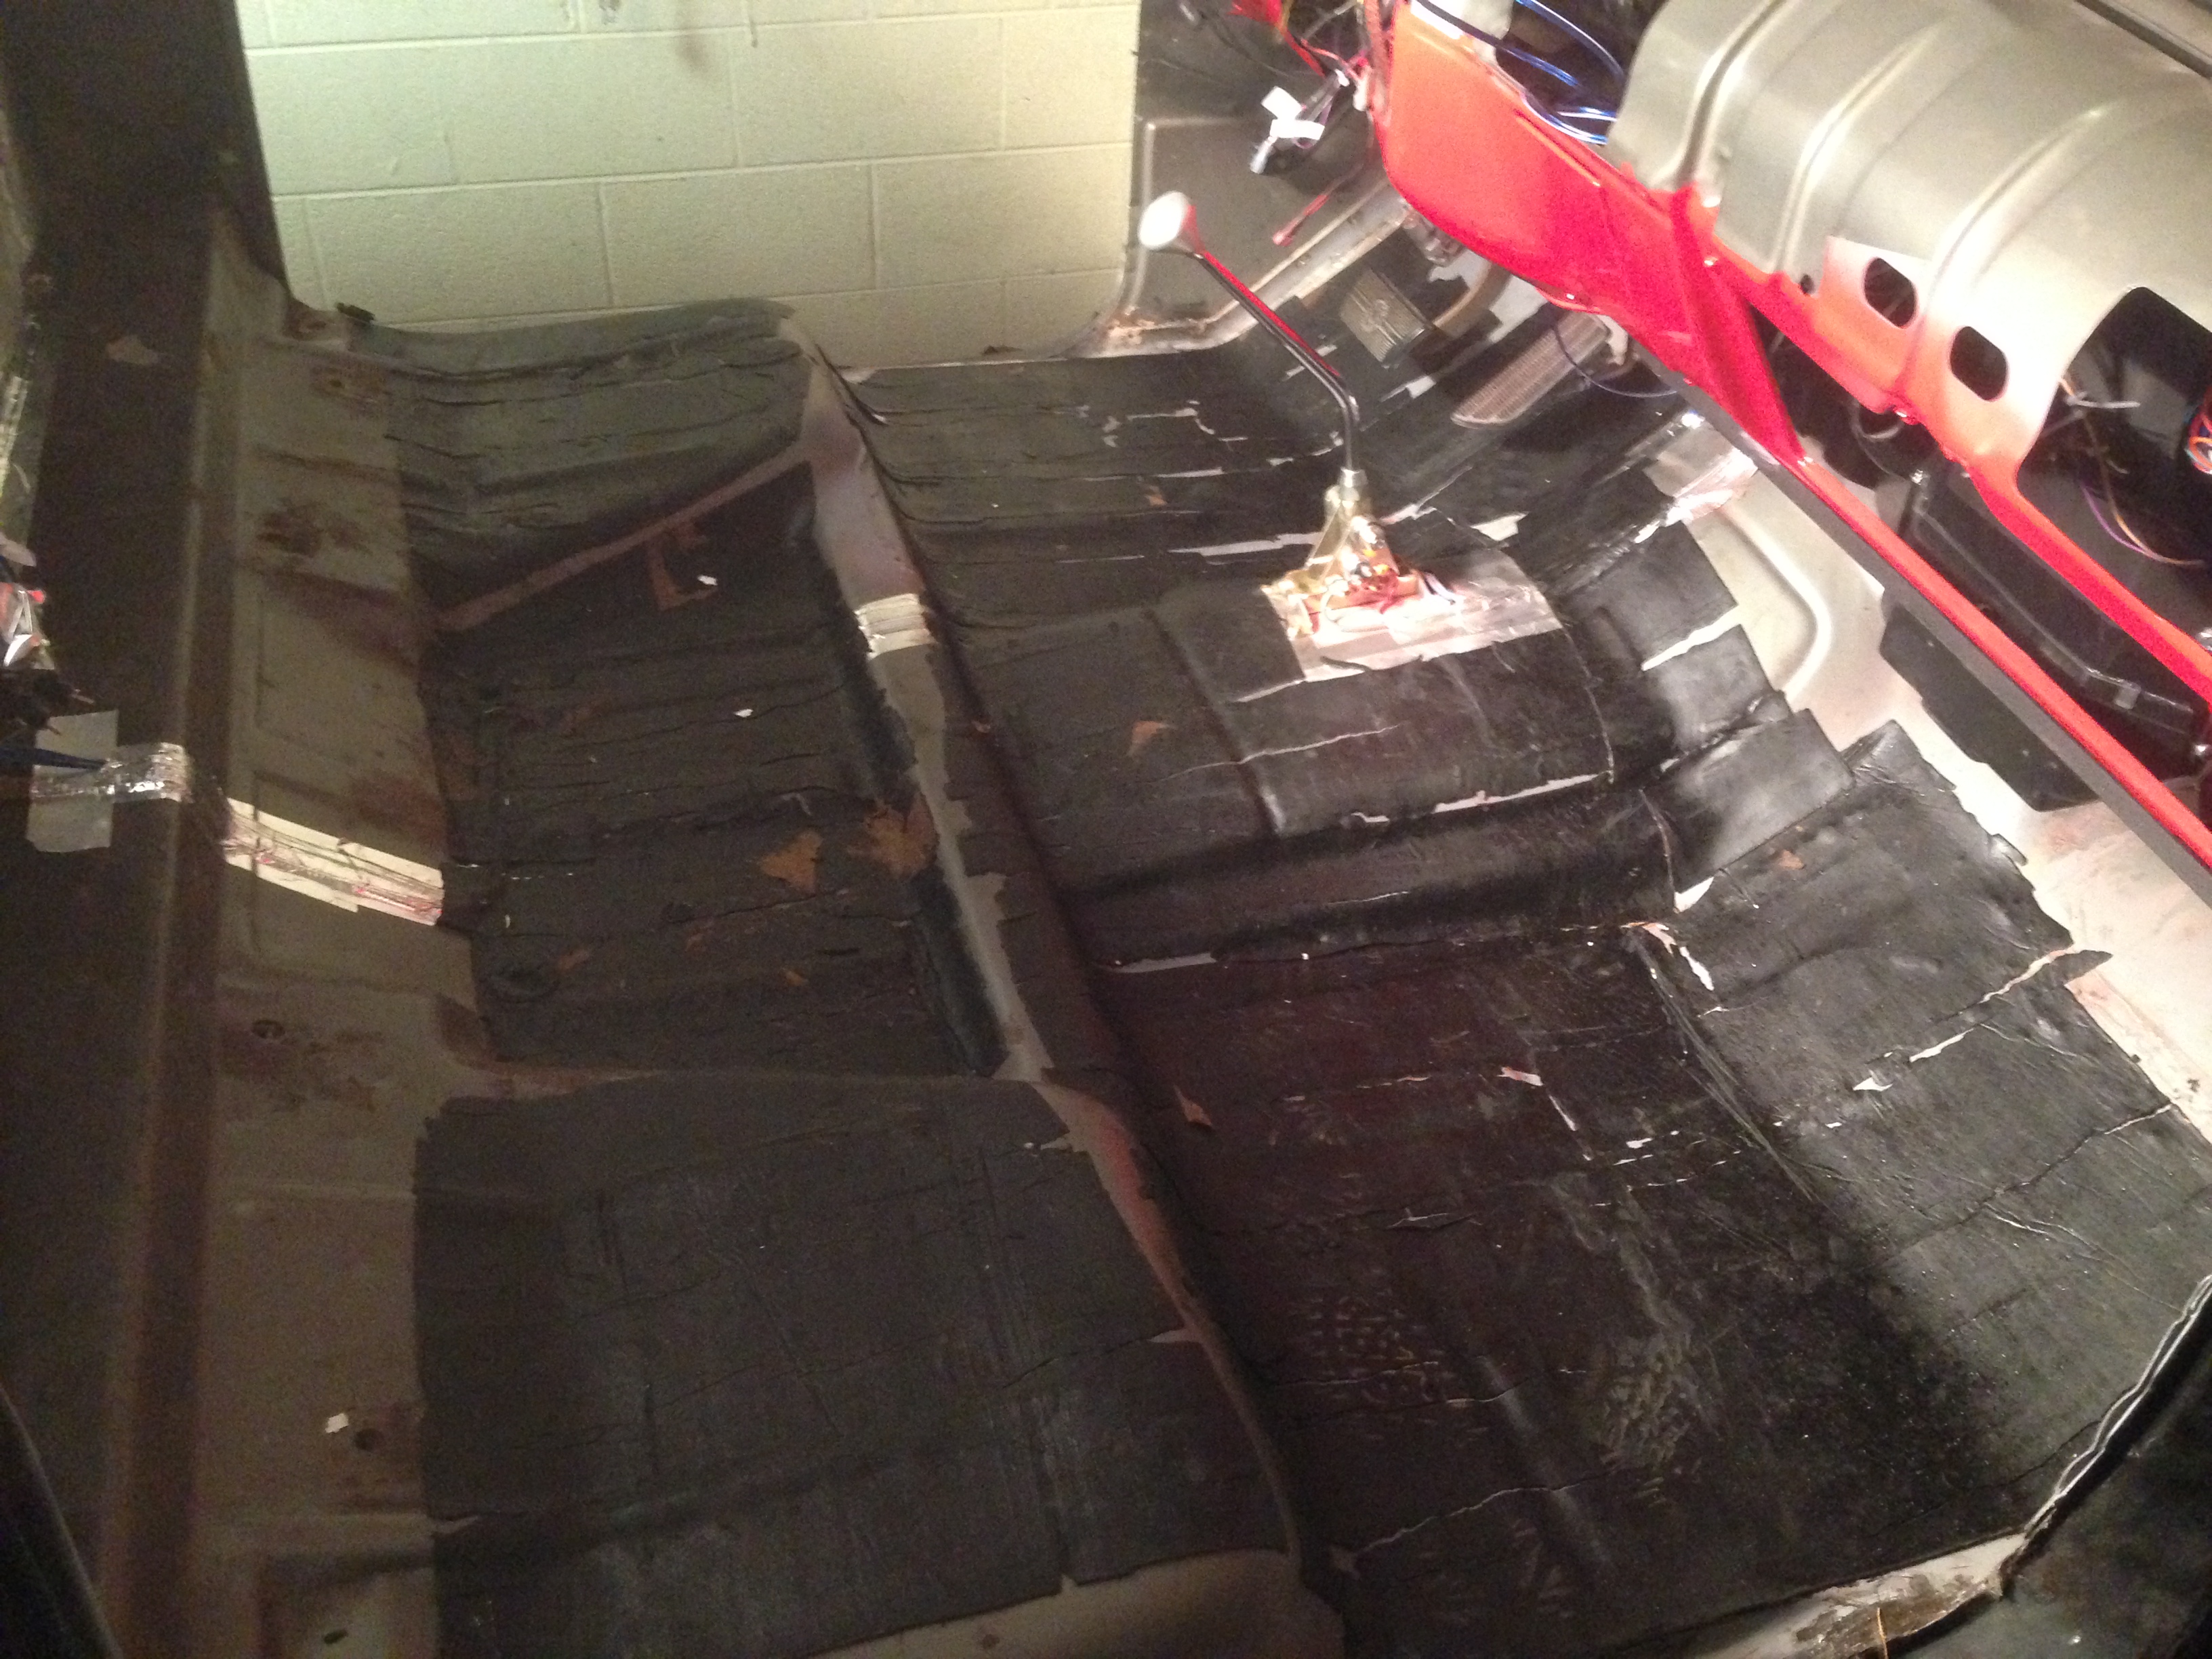
We then began the extremely labor intensive process of installing the EVA sound deadener. What we learned is that EVA doesn’t have a great shelf life. I bought the carpet heat shield and sound deadener many years ago. The sound deadener had become very very fragile. It was like working with ancient parchment. We ended up having to use a heat gun and a lot of elbow grease to transfer it slowly one section at a time. It took about 2 hours.
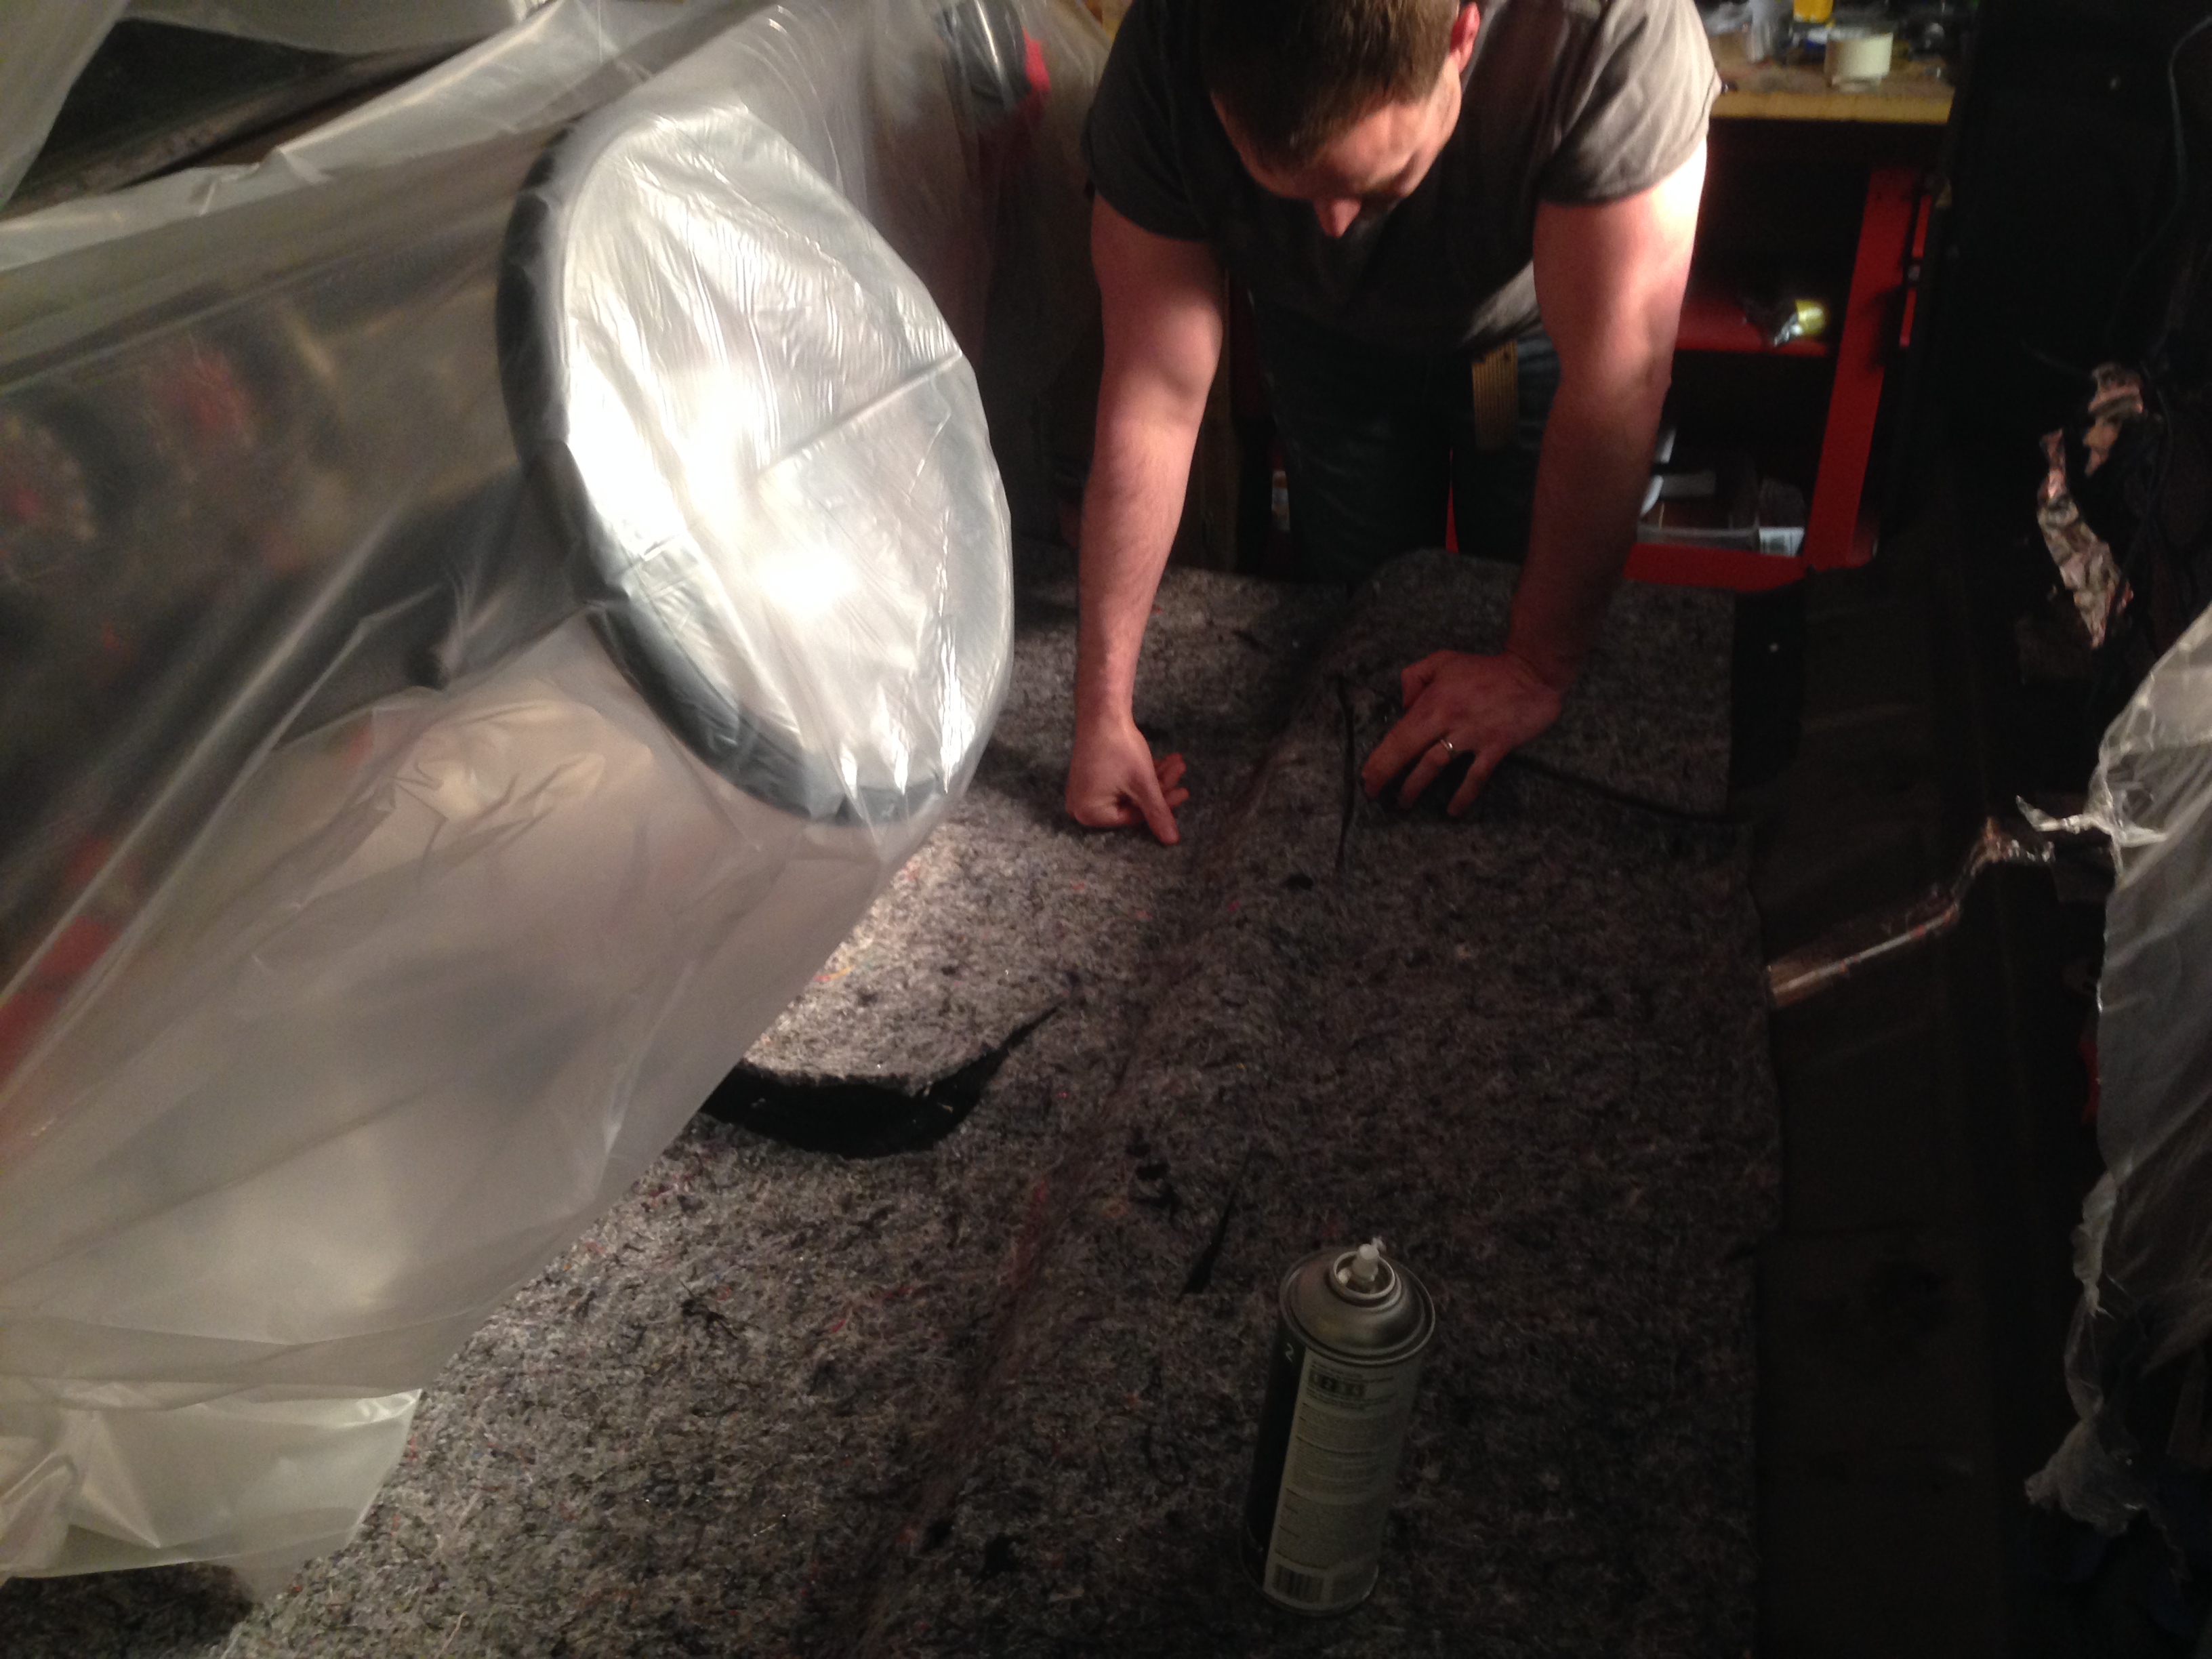
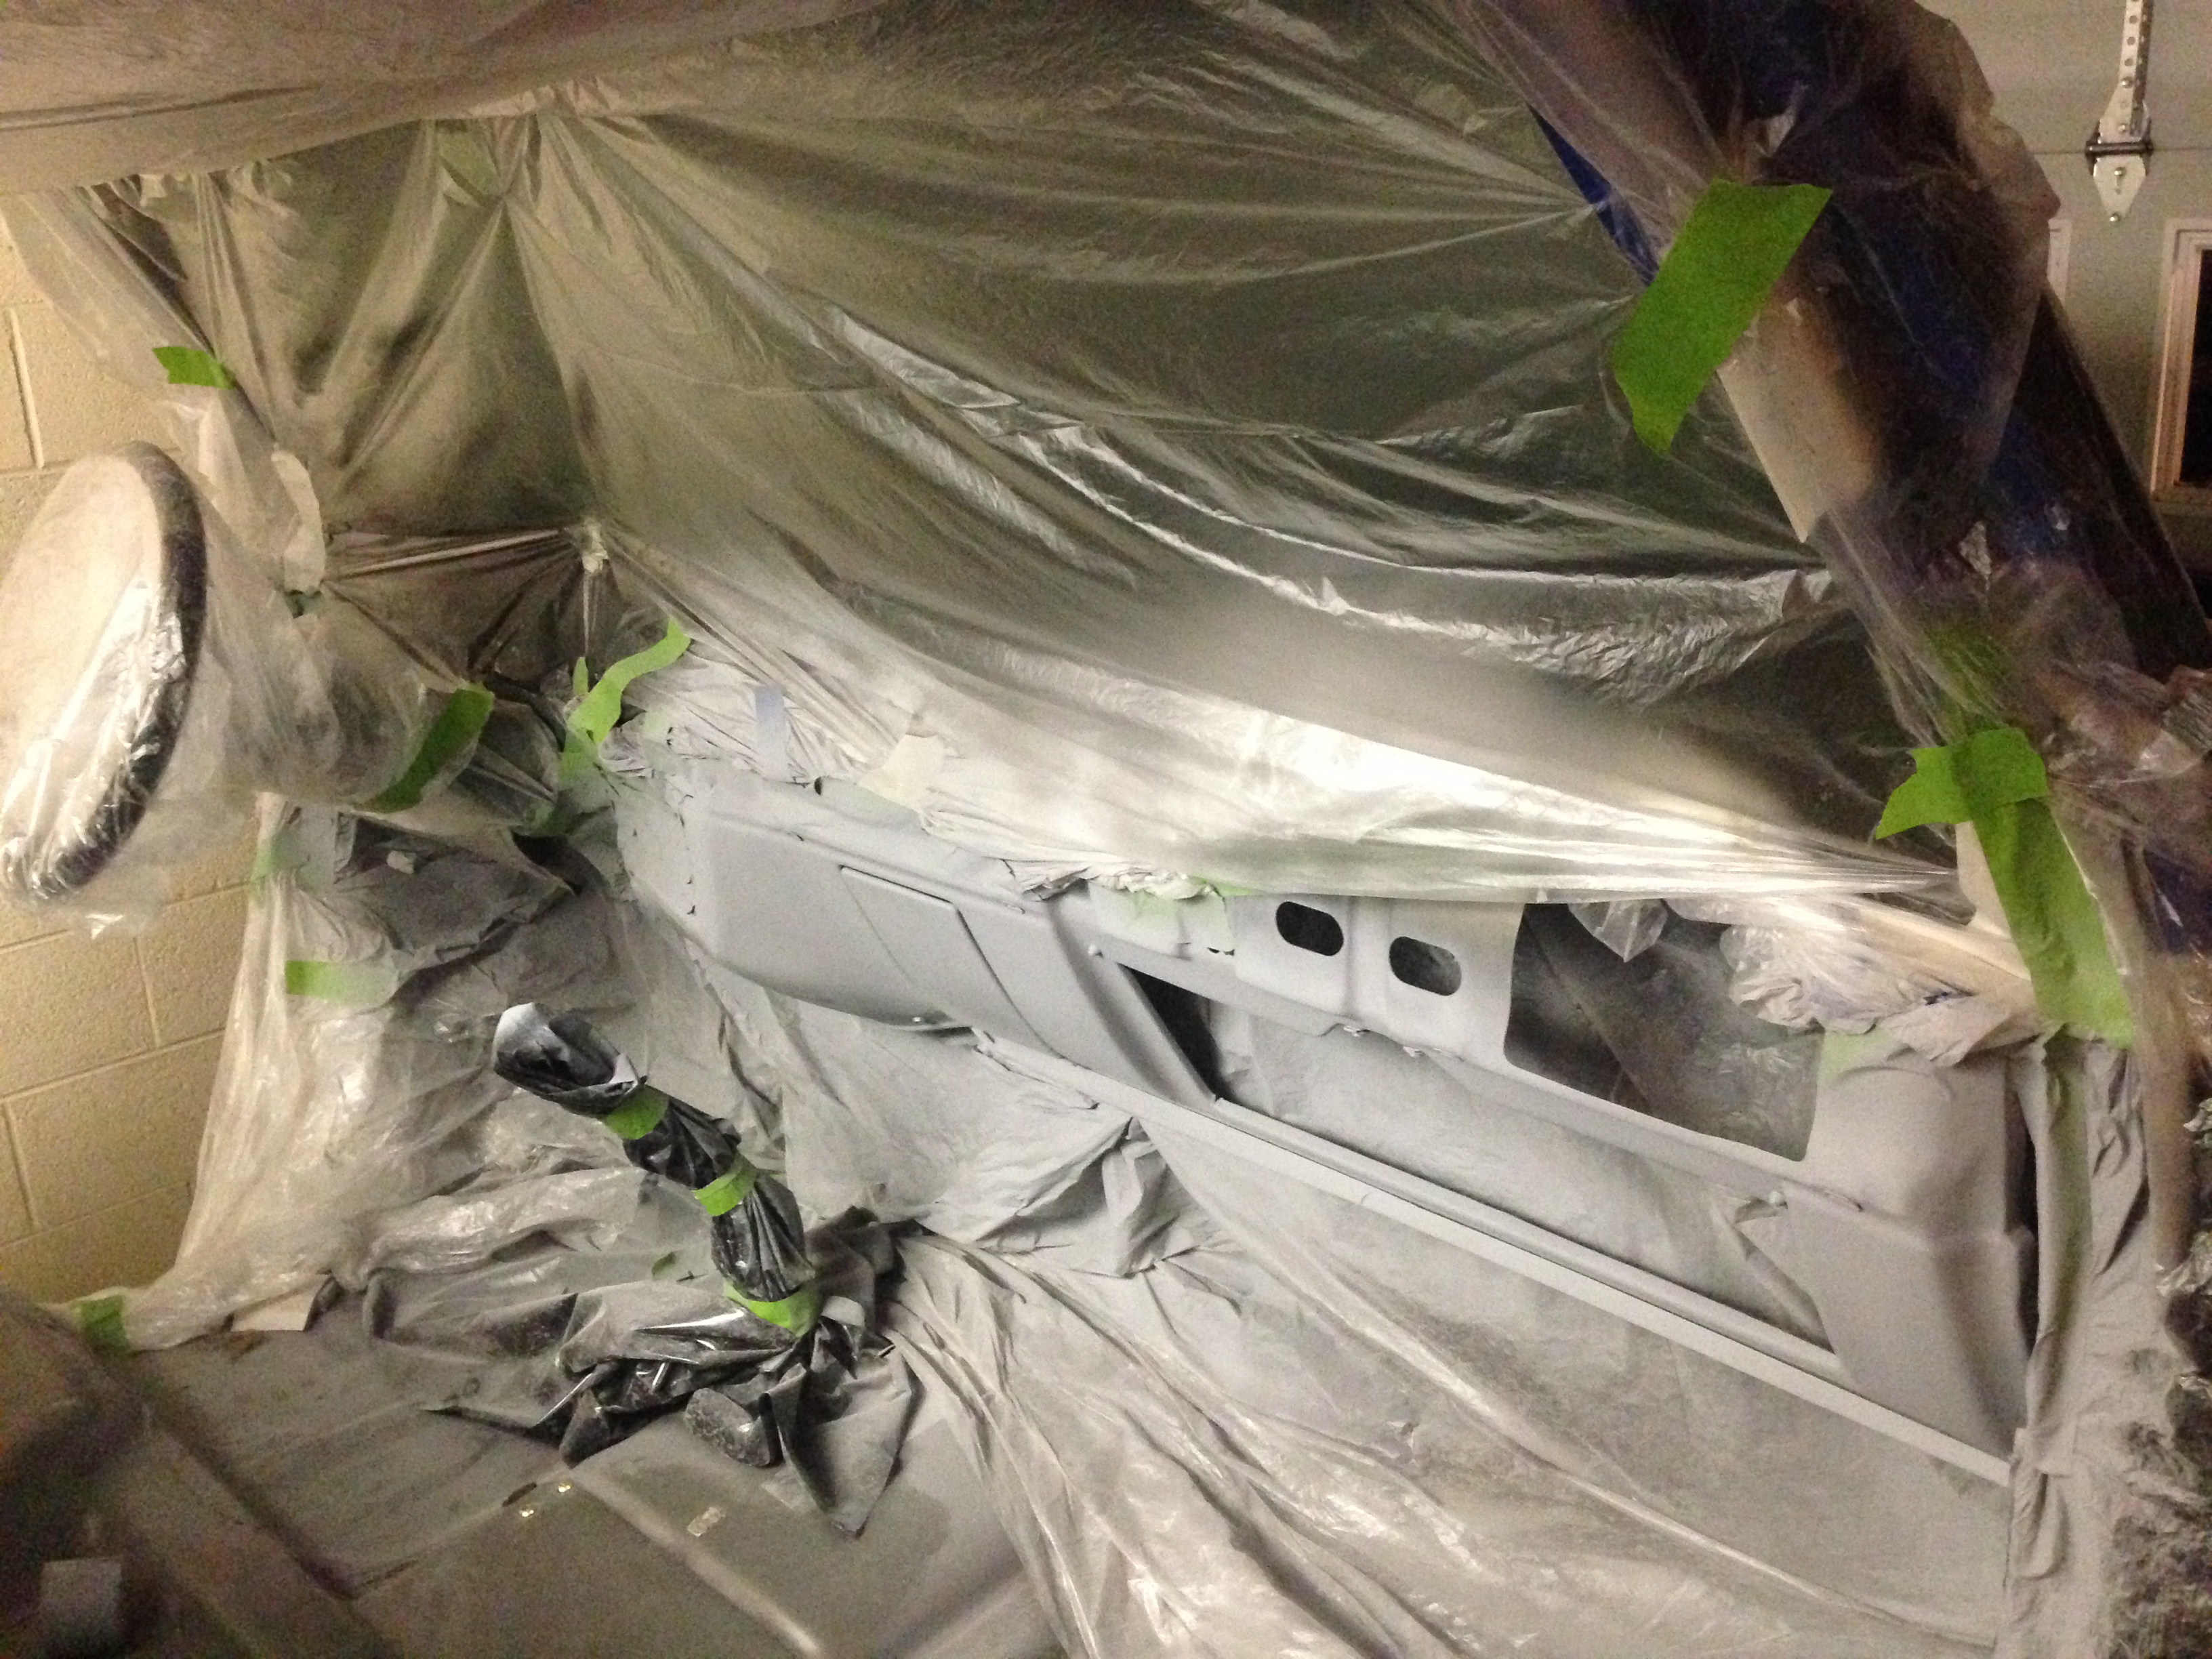
The heat shield went a lot faster, the only tricky bit being getting the shift lever disconnected for the Lokar shifter (we ended up removing the 4 screws that mount the shift plates to the base and then disconnecting the shift arm from the lever arm). Then we slowly cut away the section for the shifter. We used Loctite spray adhesive to get everything to stick. That was all we got done saturday, so sunday I tackled the remainder.
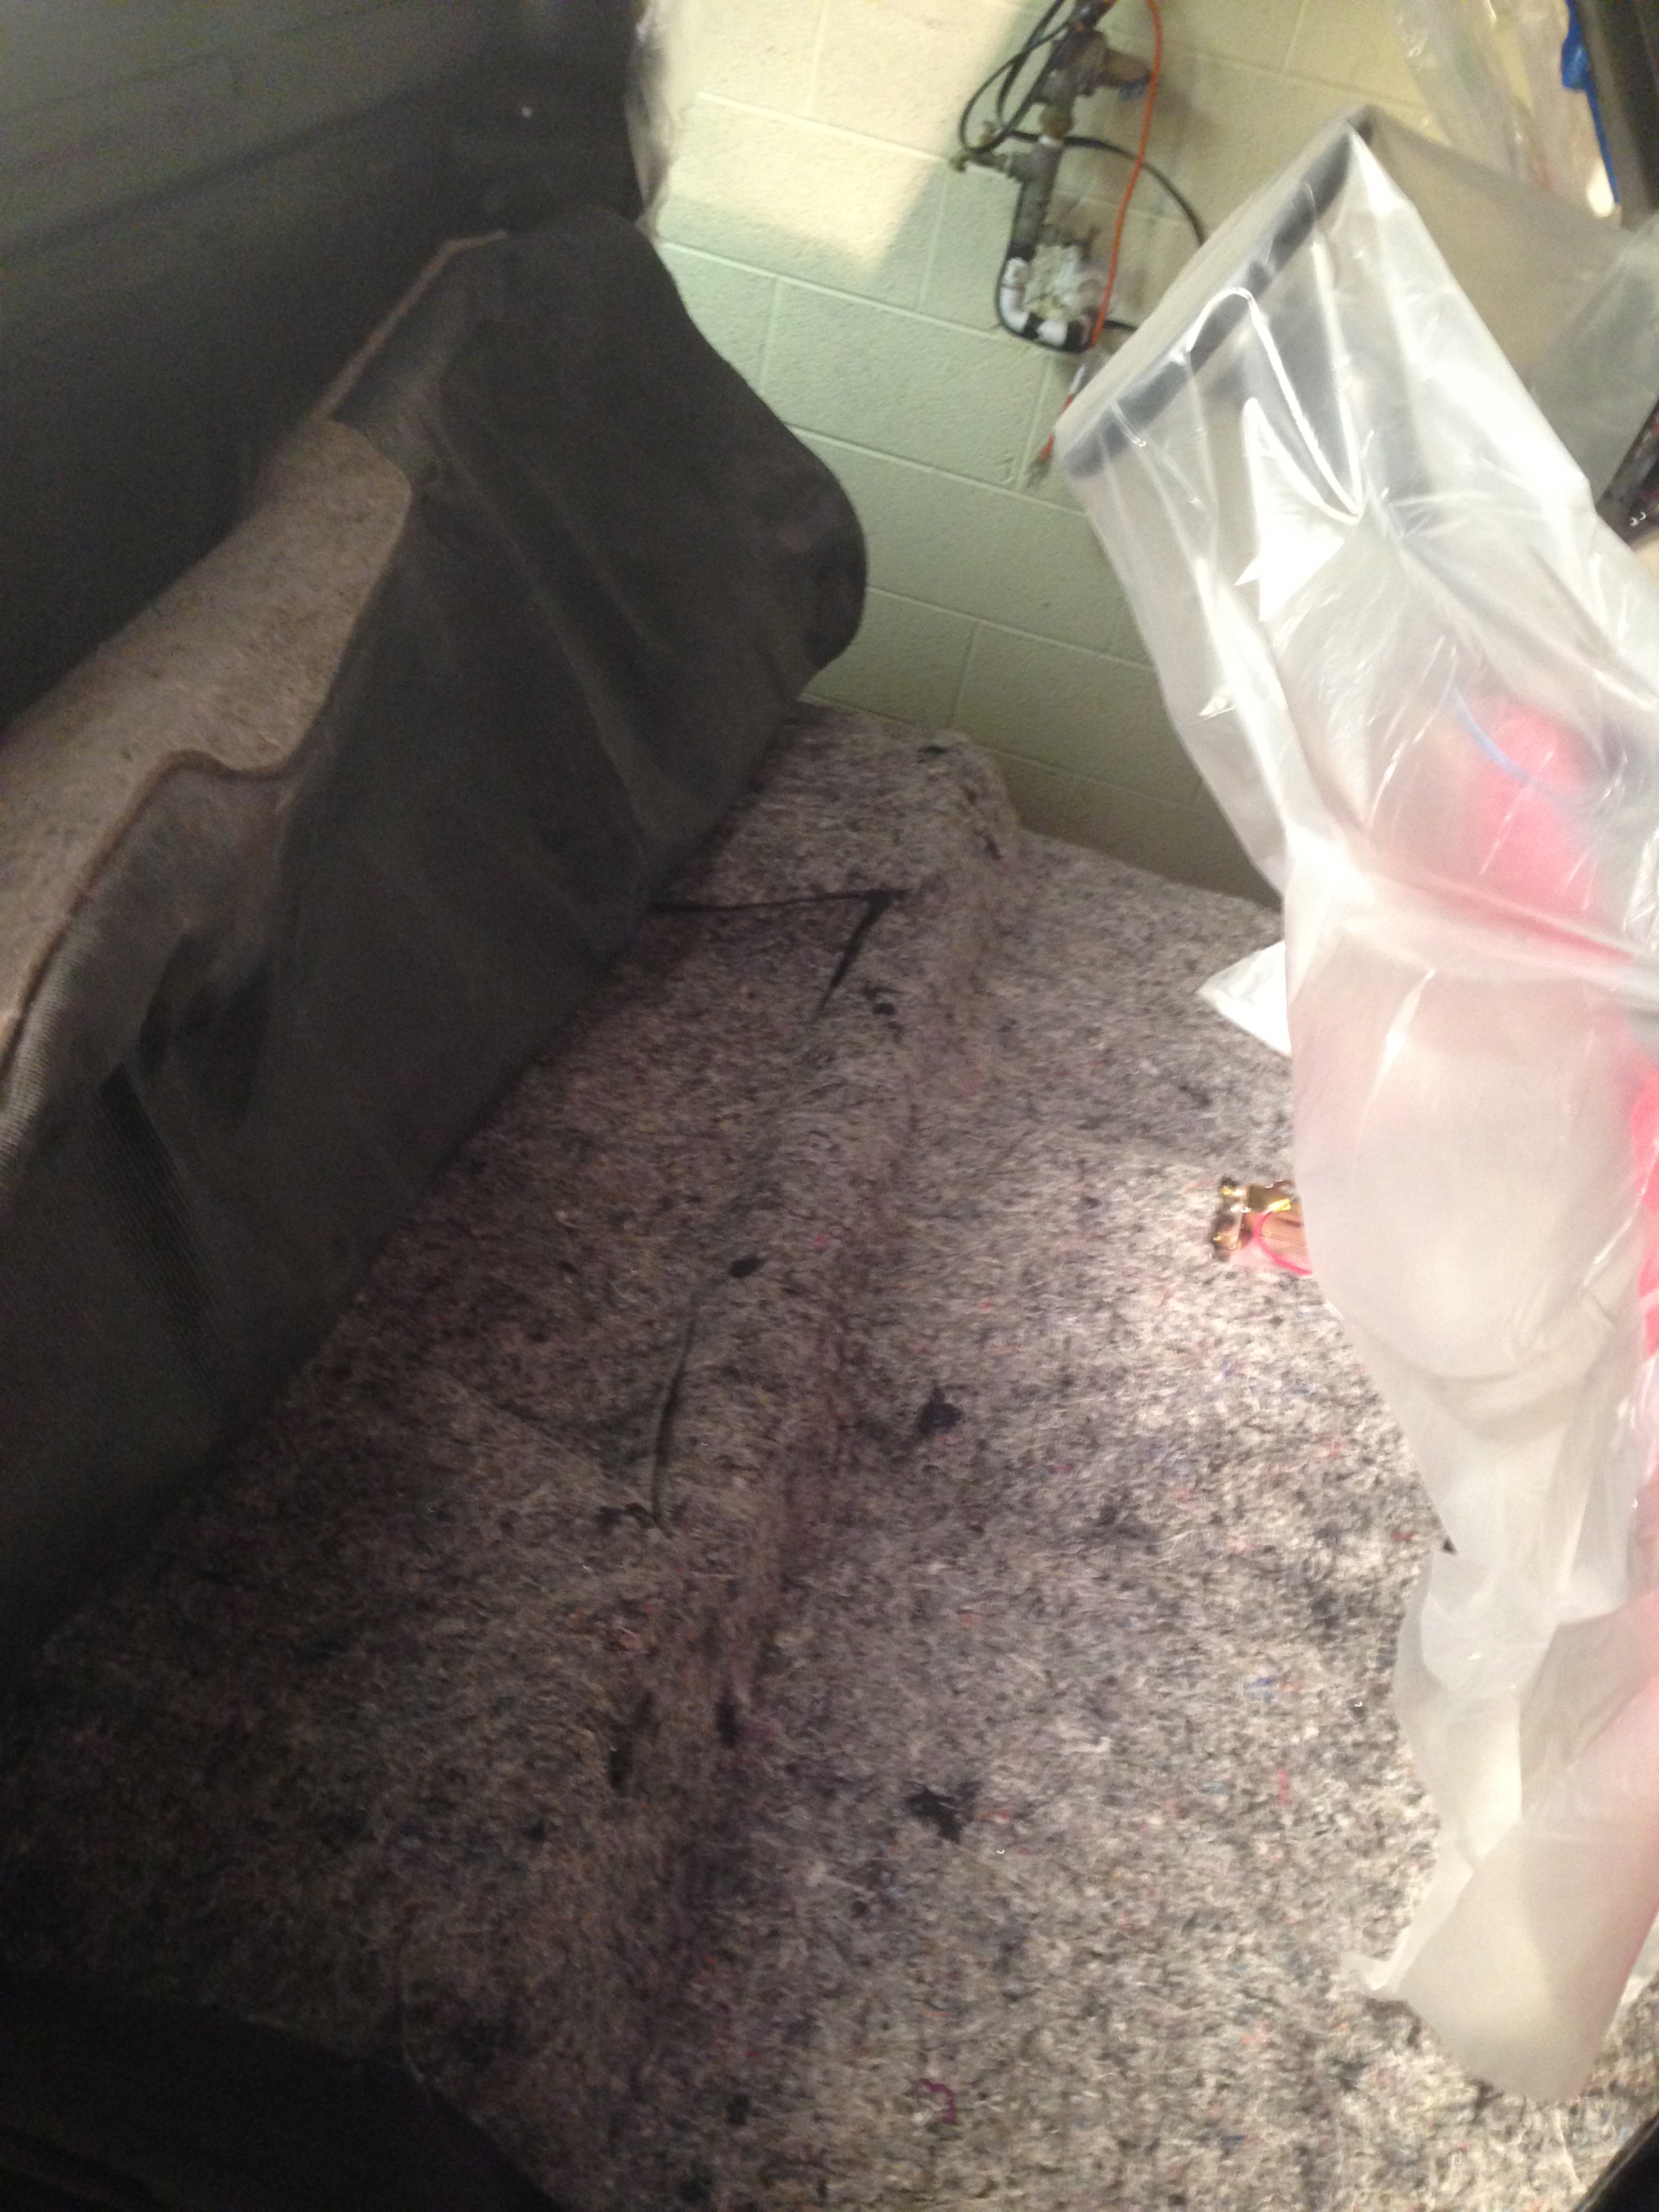
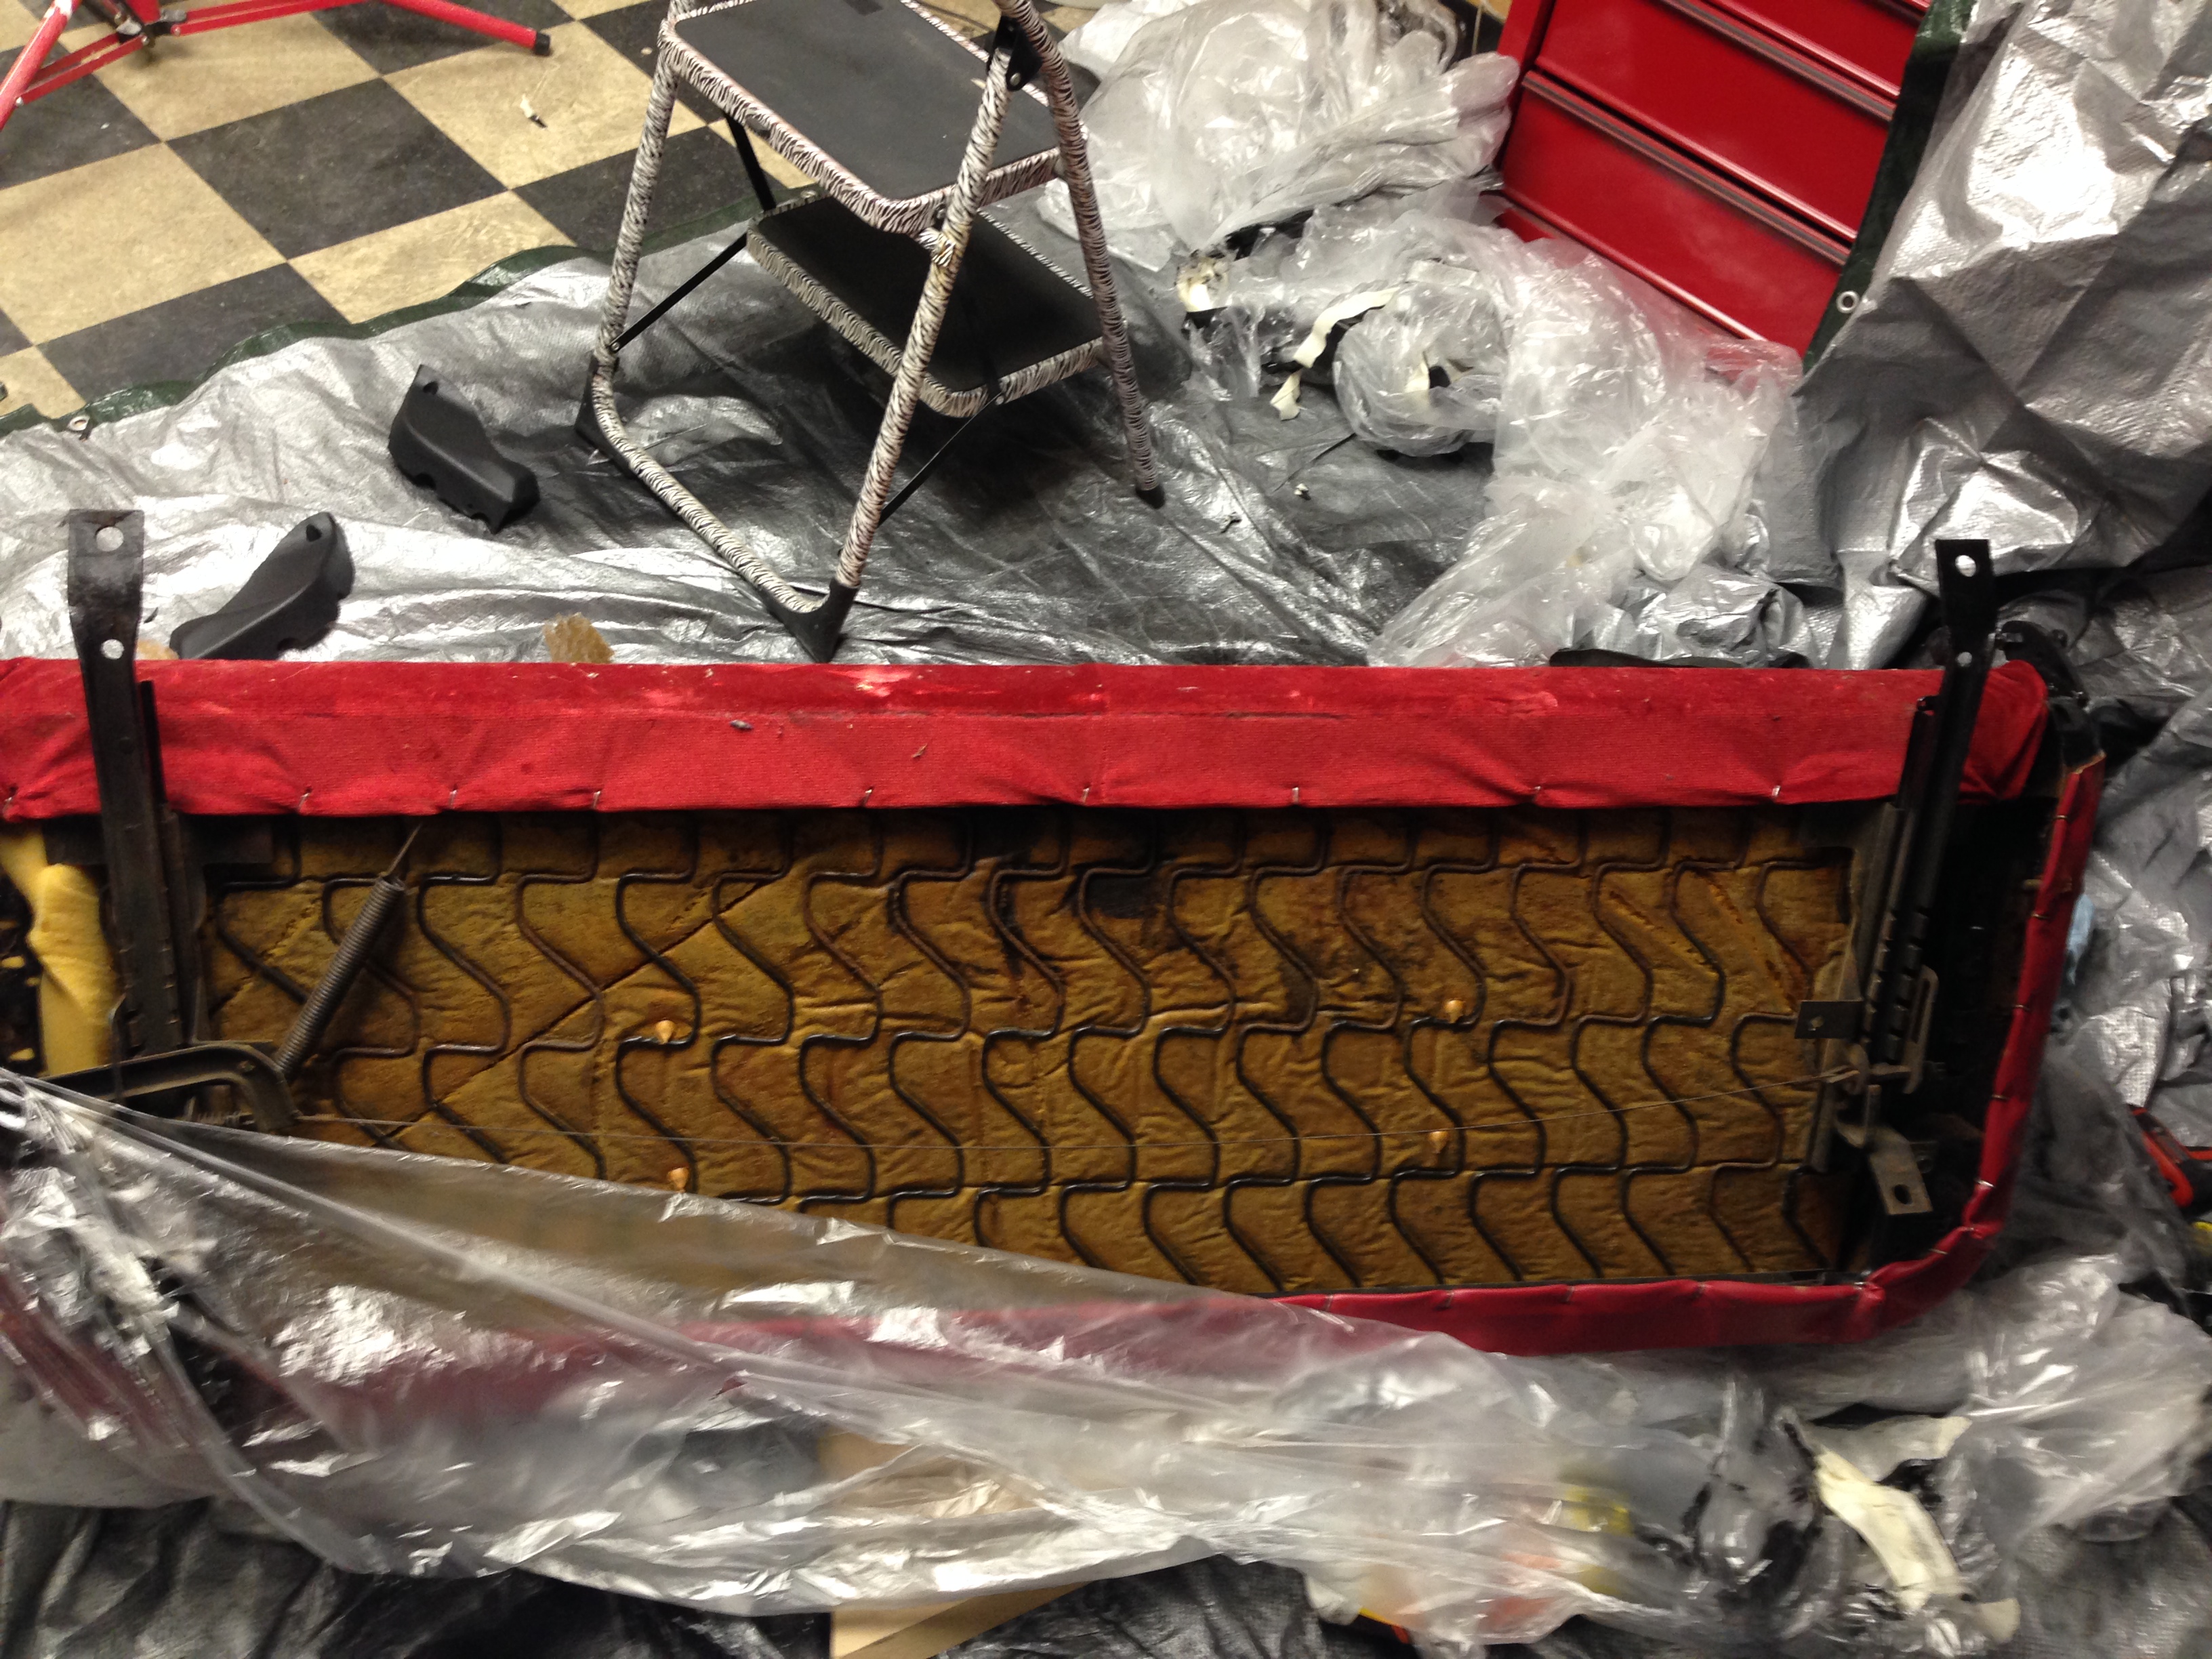
The carpet was next and the several years it spent in storage had taken their toll. There are a few creases, but I can live with it. I decided to key off of the “humps” where the seat bolts in since the carpet had preformed areas for those sections. Once I got those glued in, I did the rear section and then moved forward. I took a lot of time to be sure to get the shifter area and highbeam cutouts as close to perfect as I could. I left the upper 6 inches or so unglued so I can easily access wires and whatnot. It came out really nice!
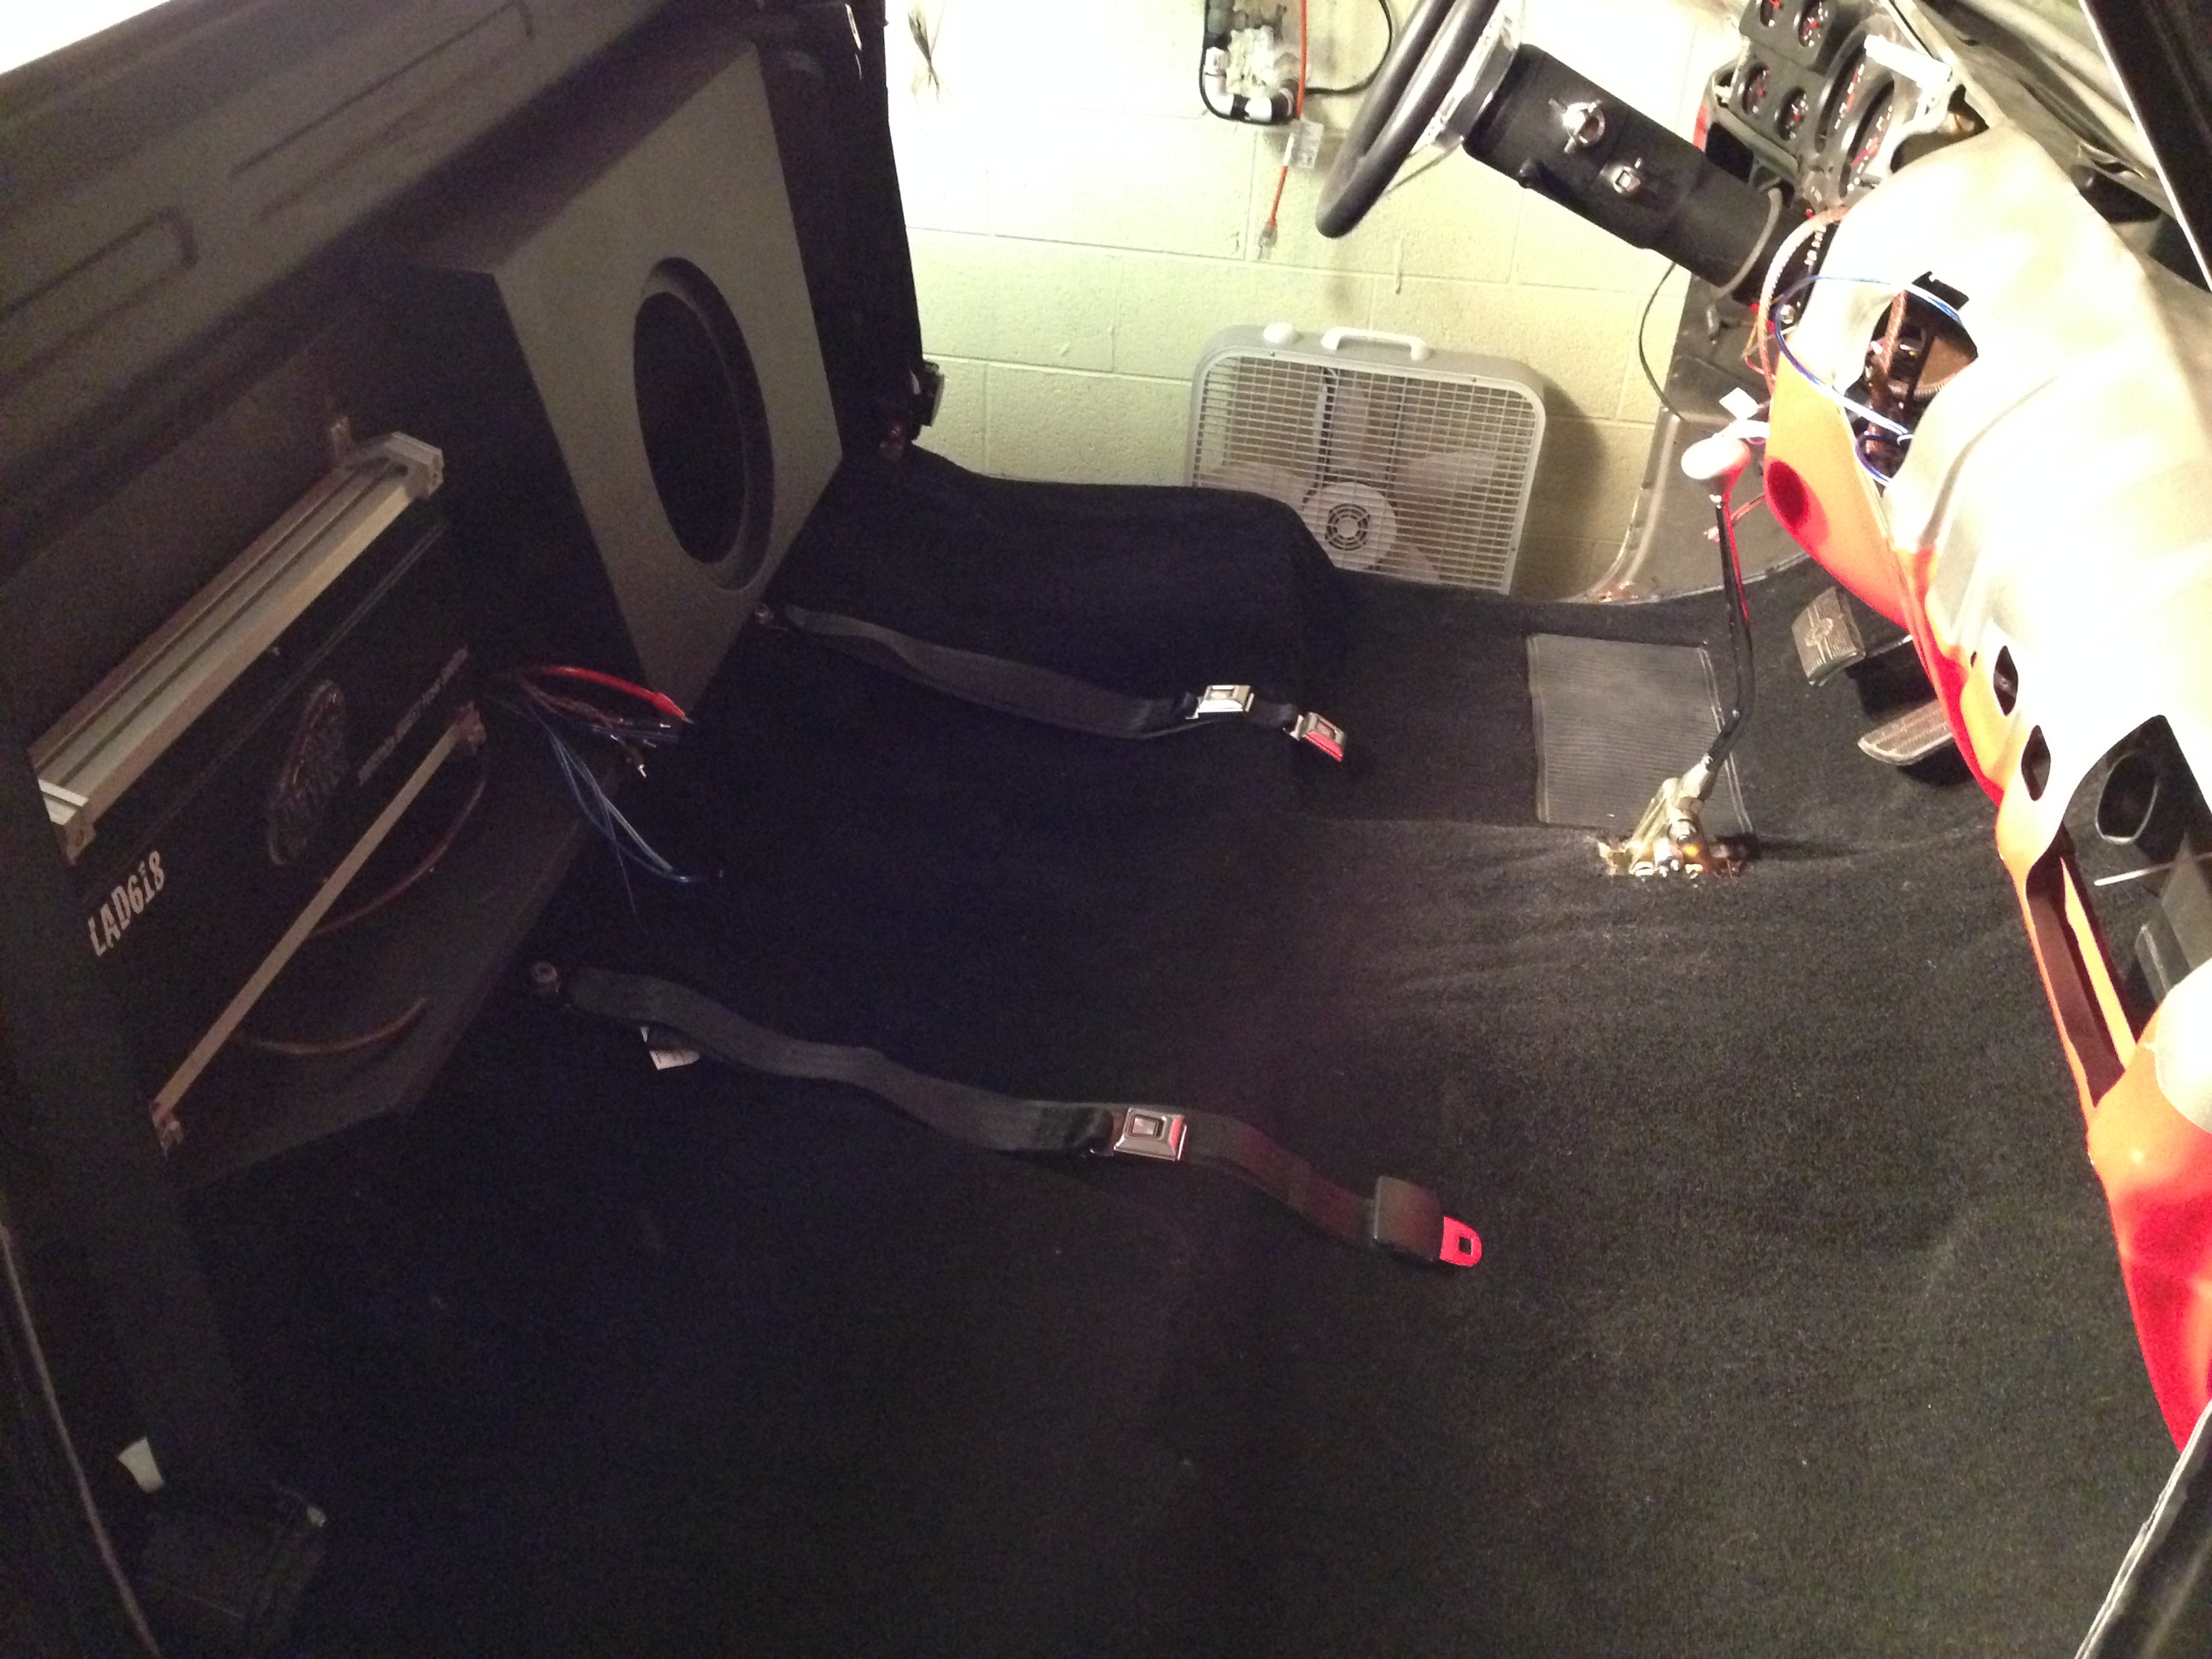
Next on the list was seat belts. I bought the set from LMC, not realizing it was a “universal fit” product. I won’t say this was “hard” but it was a little confusing. A little detail here in case you’re doing a set of these in the future: These truck have three belts. Two 3 point, and one lap belt for a passenger sitting in the middle of the bench. If you do the math, that is eight belt ends. Three points for each for the driver and passenger side and two points for the lap belt. GM doubled up on the mounting locations for the belts, so there are only four mounting holes. The primary mount for the shoulder belts were built into a kind of offset bracket. The universal belts don’t exactly match this configuration. Now, if you read the directions on the universal set, it clearly state you are NOT to double up belt mounting holes. Also, the 3 point is designed to be a direct floor mount though it does come with an L bracket if you need to change the orientation. Oh, and they use bolts with different threads than the original OEM holes. So, sounds like a lot of work. Whats crazy is that if you compare the OEM belt tabs and the new set you realize the new stuff is like twice as thick. After laying it all out I came to the realization that if I doubled up on the belt mounts and put the shoulder points on the L bracket I could install everything using the OEM bolts without having to do any mods. I still haven’t put the seat in so I’m not positive everything fits just right, but I think it will.
I also did a test fit of some of the trim and came to the sad realization that this crappy floorpan job I got is going to haunt me for the rest of this truck’s life. I had to cut a full 2 inches off the passenger side trim for it to fit the poorly fitted floor pan. The only fix for this would be to completely redo the rockers and floor pan. I just can’t bring myself to do that.
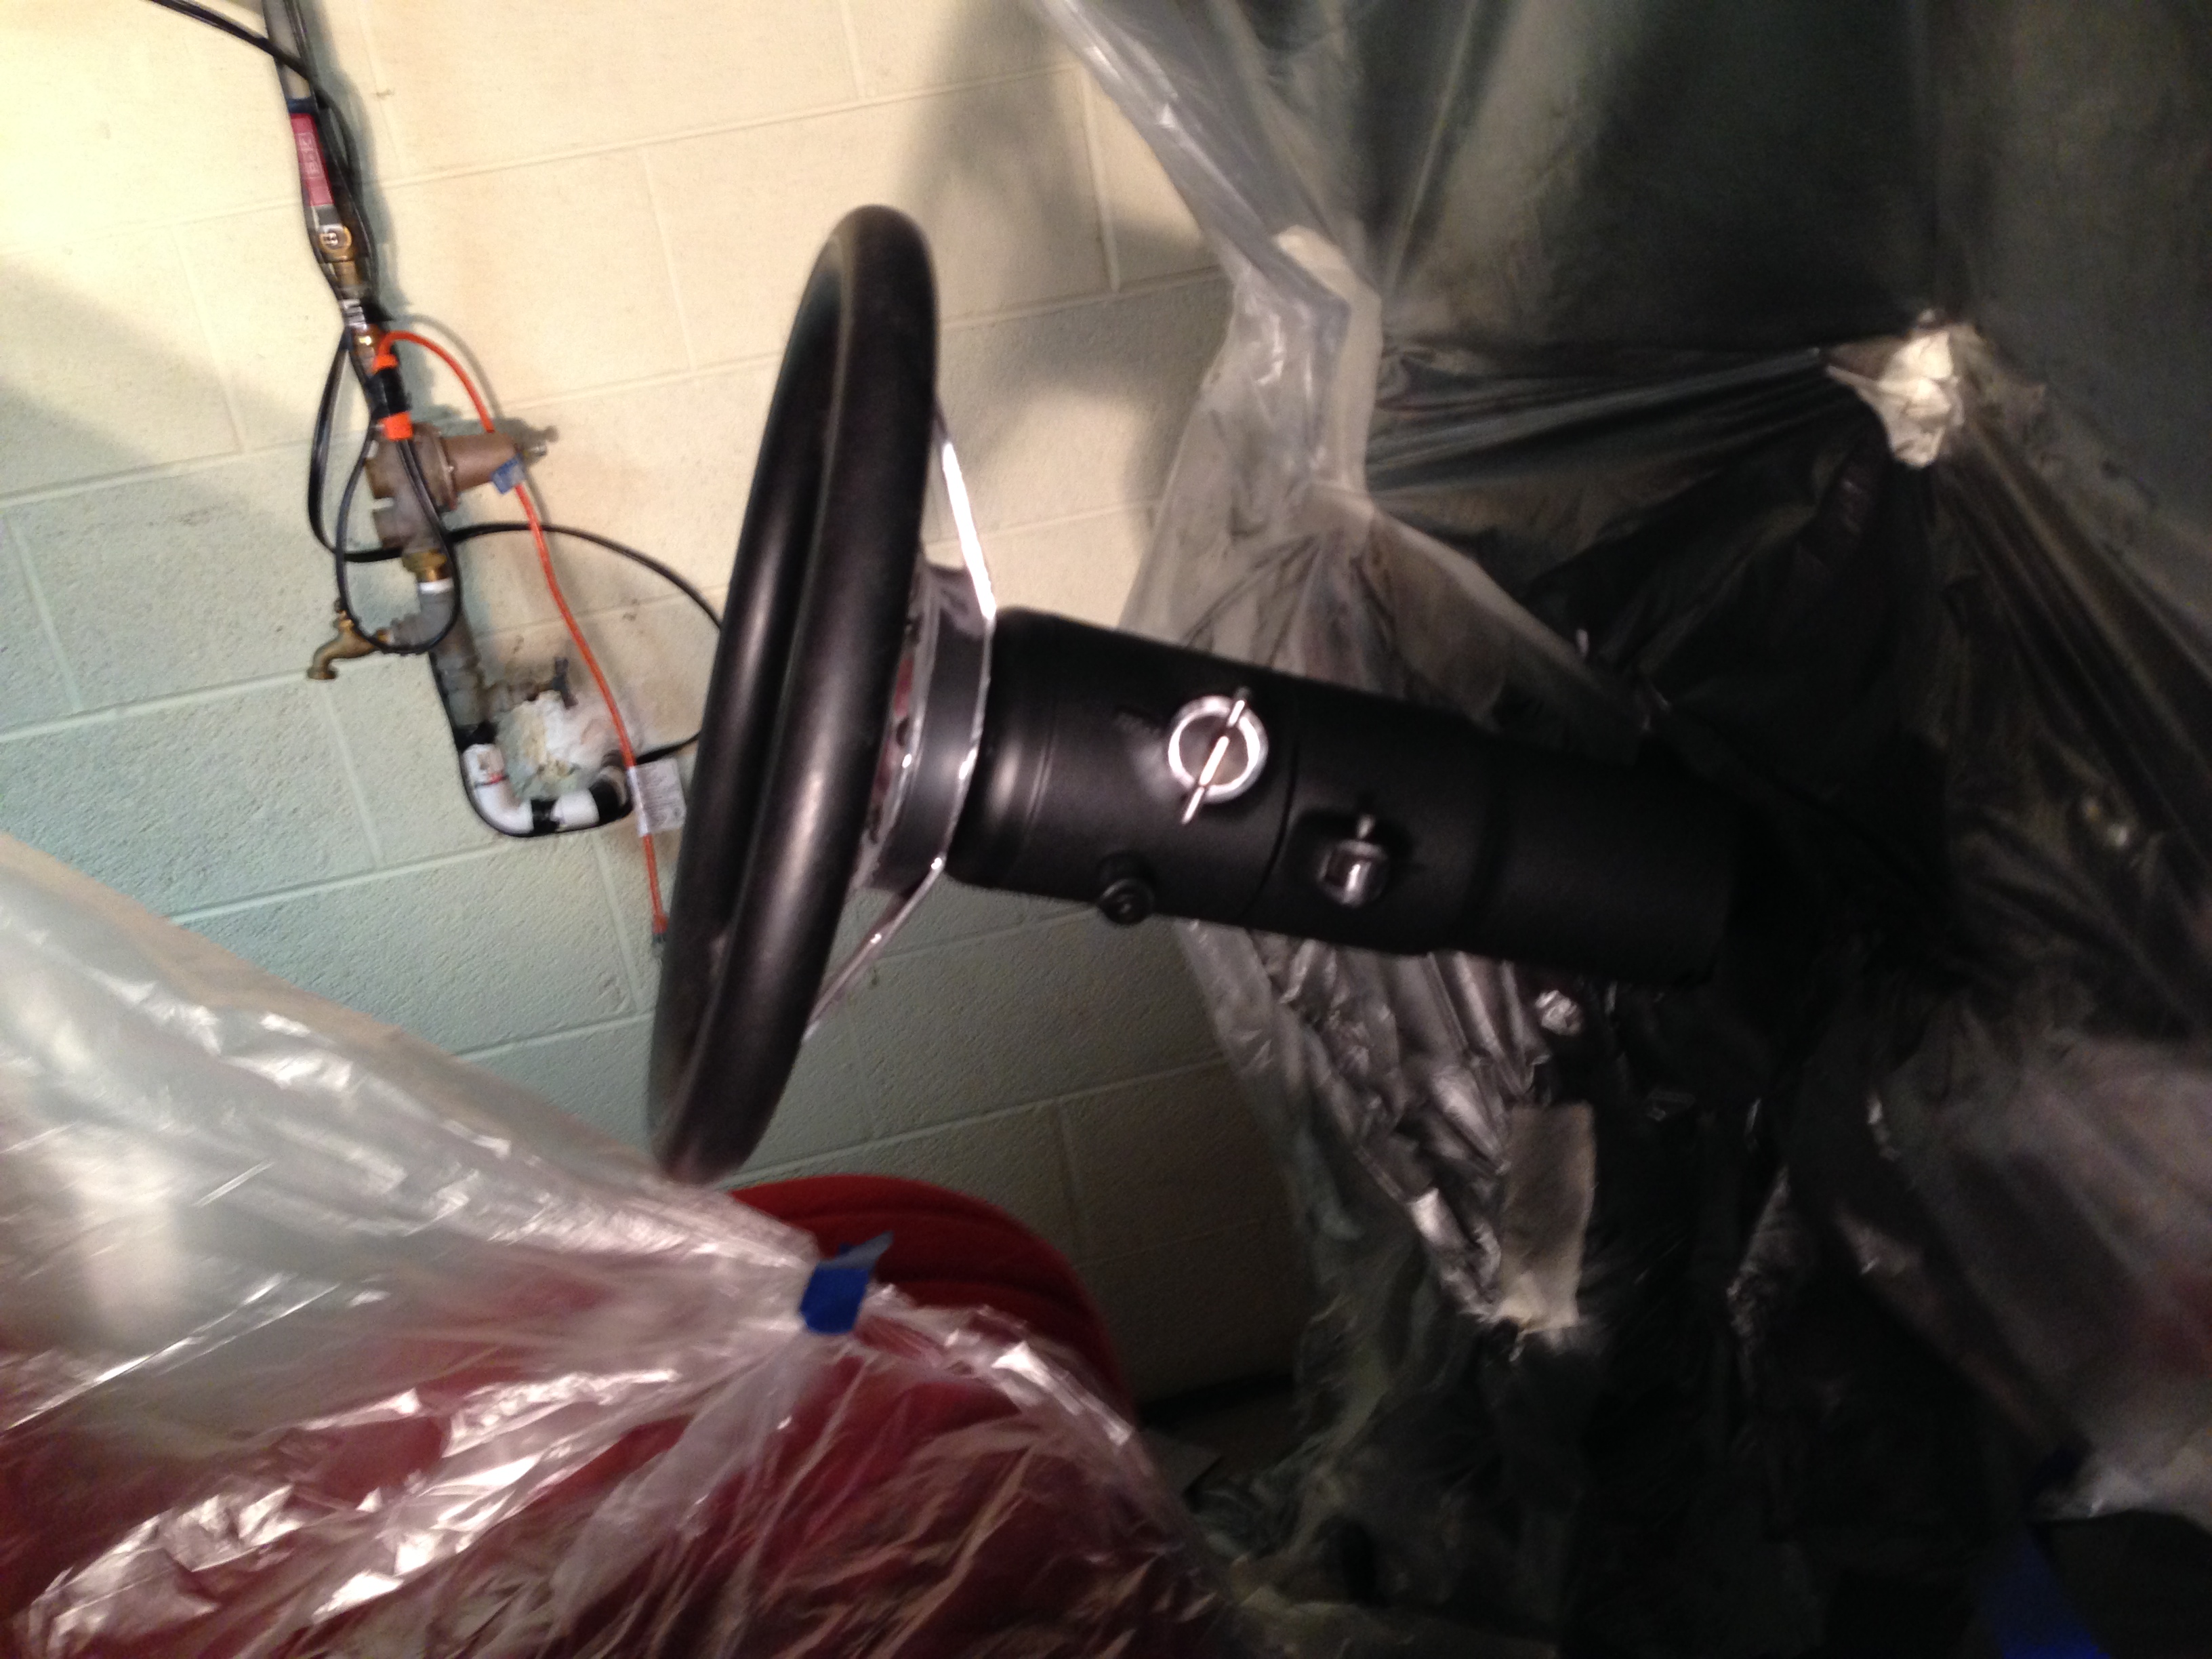
I got the new sub box installed too. I’m going to have to put in some splices because I made some of the speaker wires too short, but otherwise it came out great.