Dash Crystal Repair
The truck is back home! New floor pans and rockers have been welded in place – so my foot is no longer in danger of going through the floor. And that is nice. It makes me realize how much work I have to on the doors. They are pretty beat up – and one of them is gnarly enough along the bottom that it is in danger of doing some rubbing on the rocker. In fact some of the new primer is already warn off. New door shells may be in my future.
But now that I have it back, I want to get cracking. I’m tackling instrument panel stuff because I can do some of that indoors – and it is wicked cold right now. I’ve decided I’m just going to muscle the instruments I want into place. But before I do that, I have to do something about this nasty crystal – it is mostly scratches. I tried to polish it out – but it is actually old enough that the plastic has started to yellow.
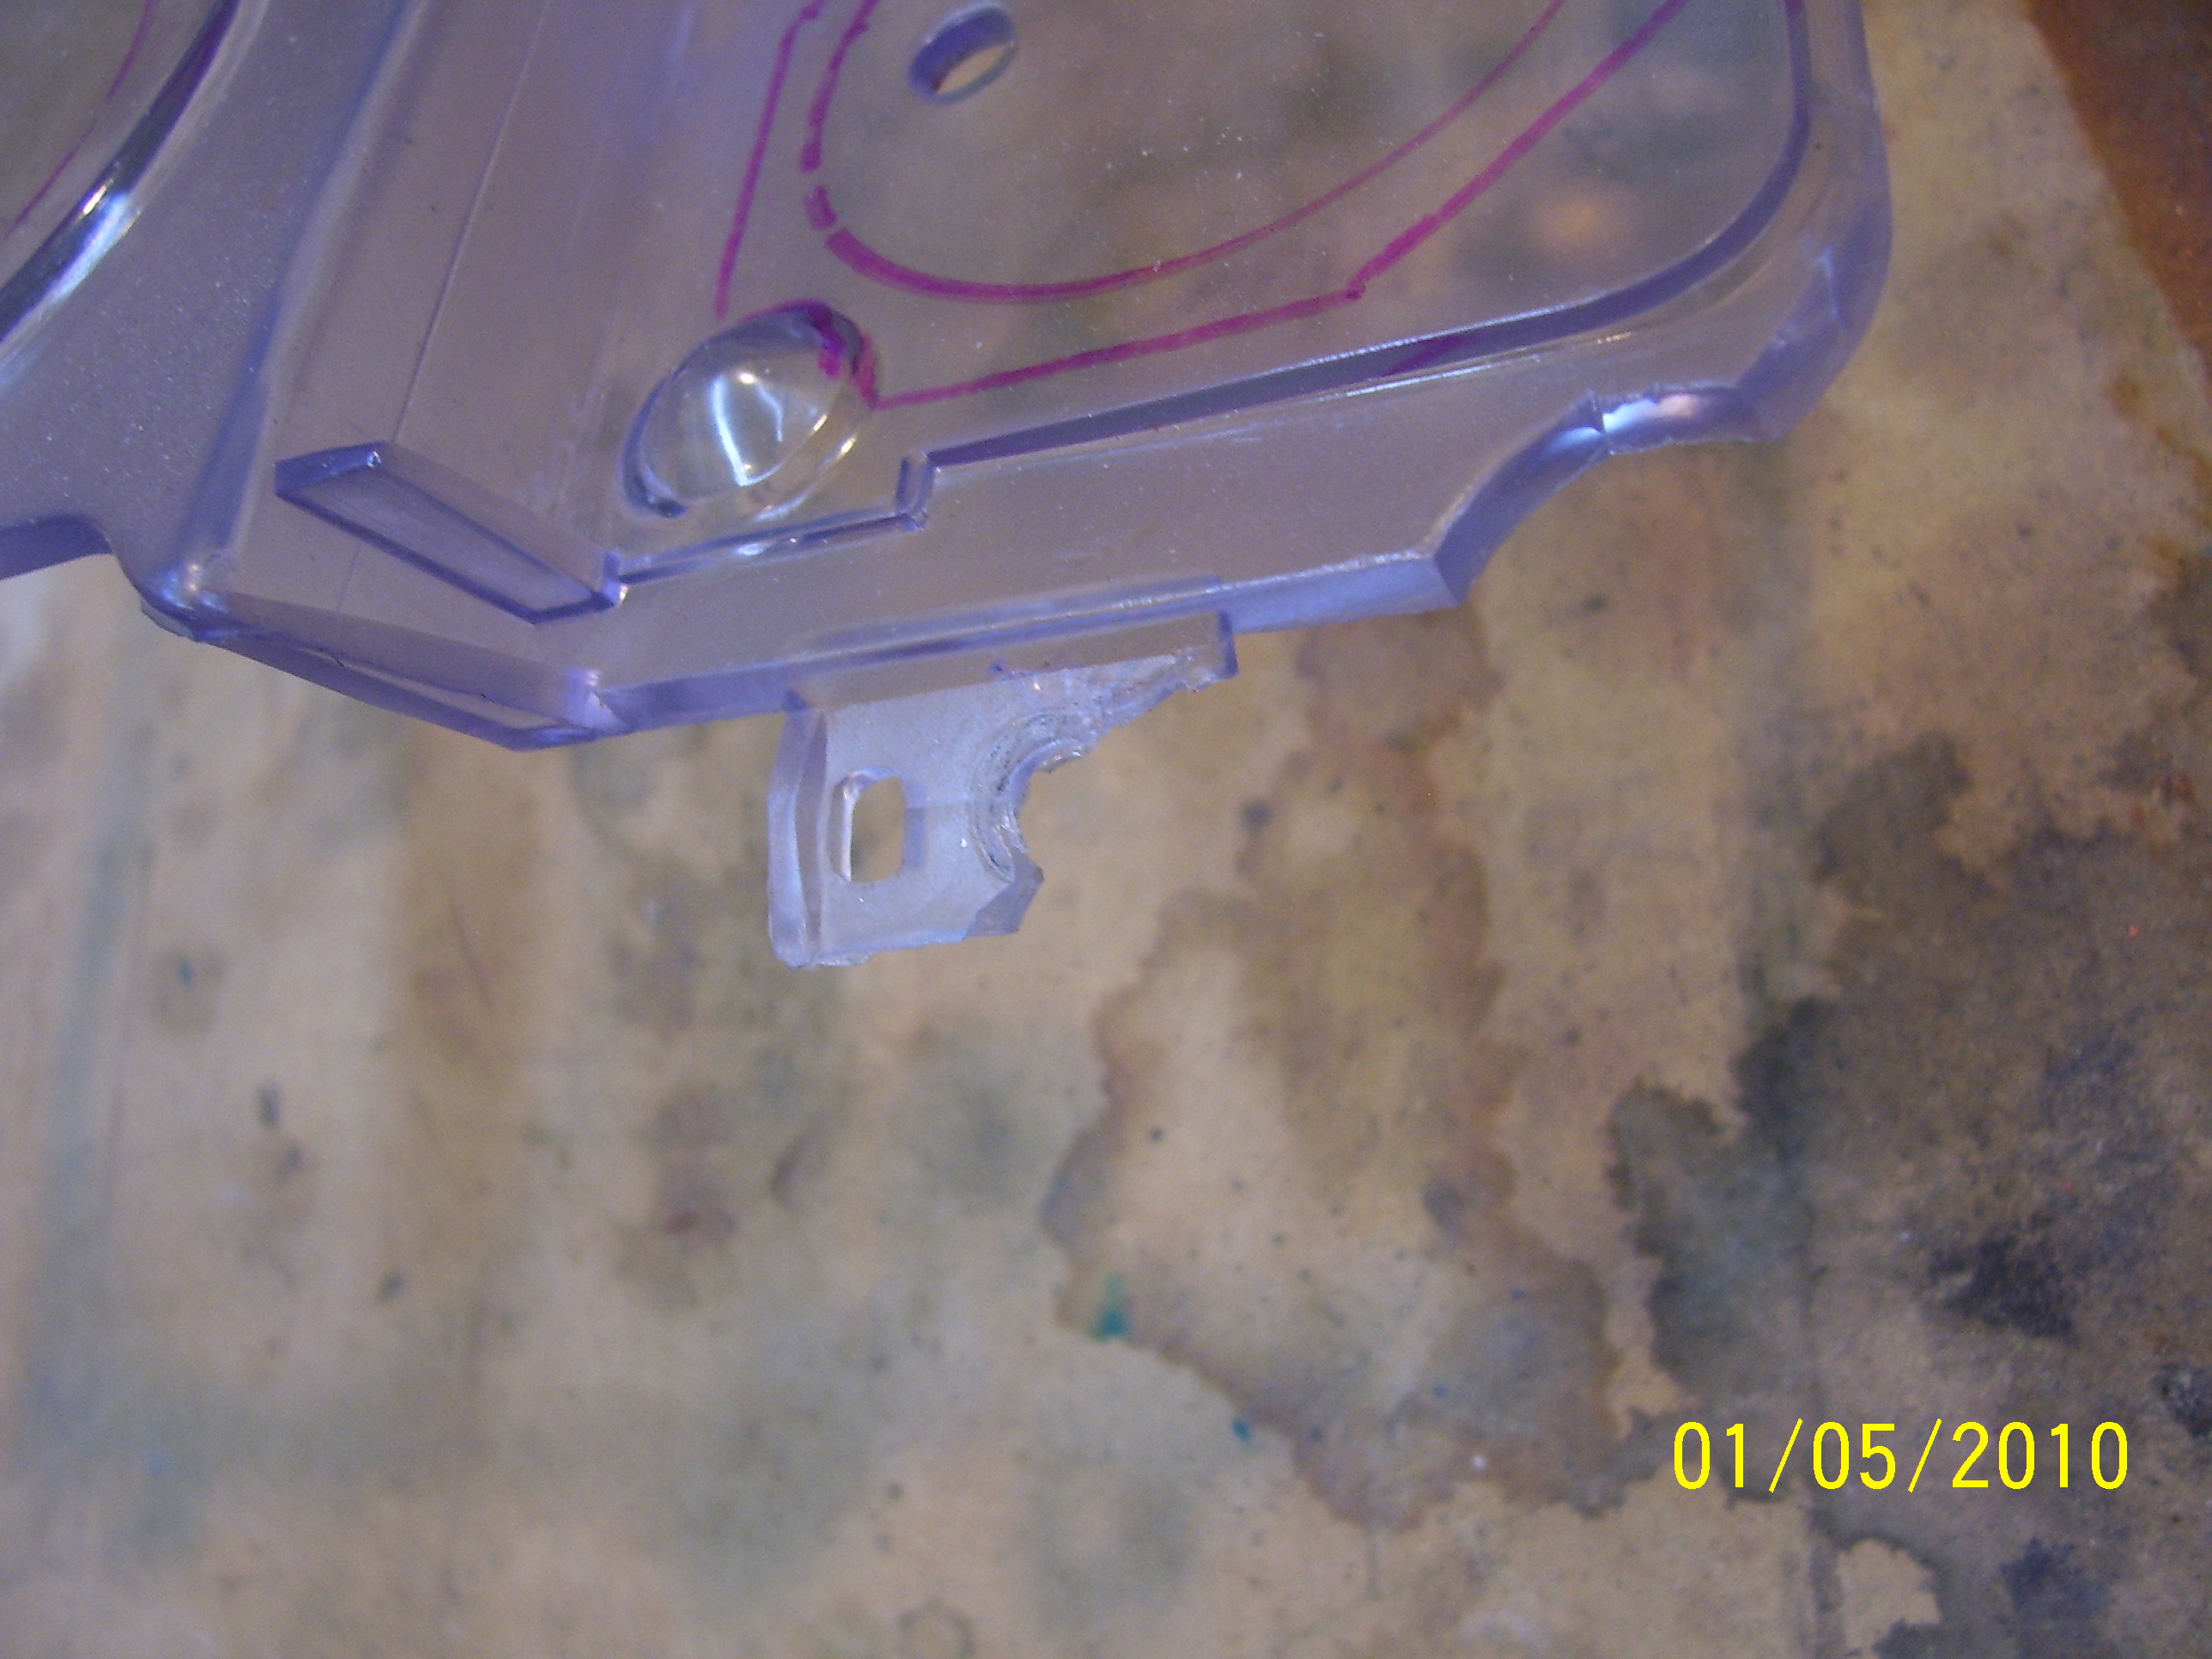
First problem – a vast majority of the tabs on it are broken off, which is pretty common on these trucks. I looked around, but it looks like most people are just replacing them. I don’t particularly want to spend any dough on it. And I already have some thin Lexan. and some brass sheet.
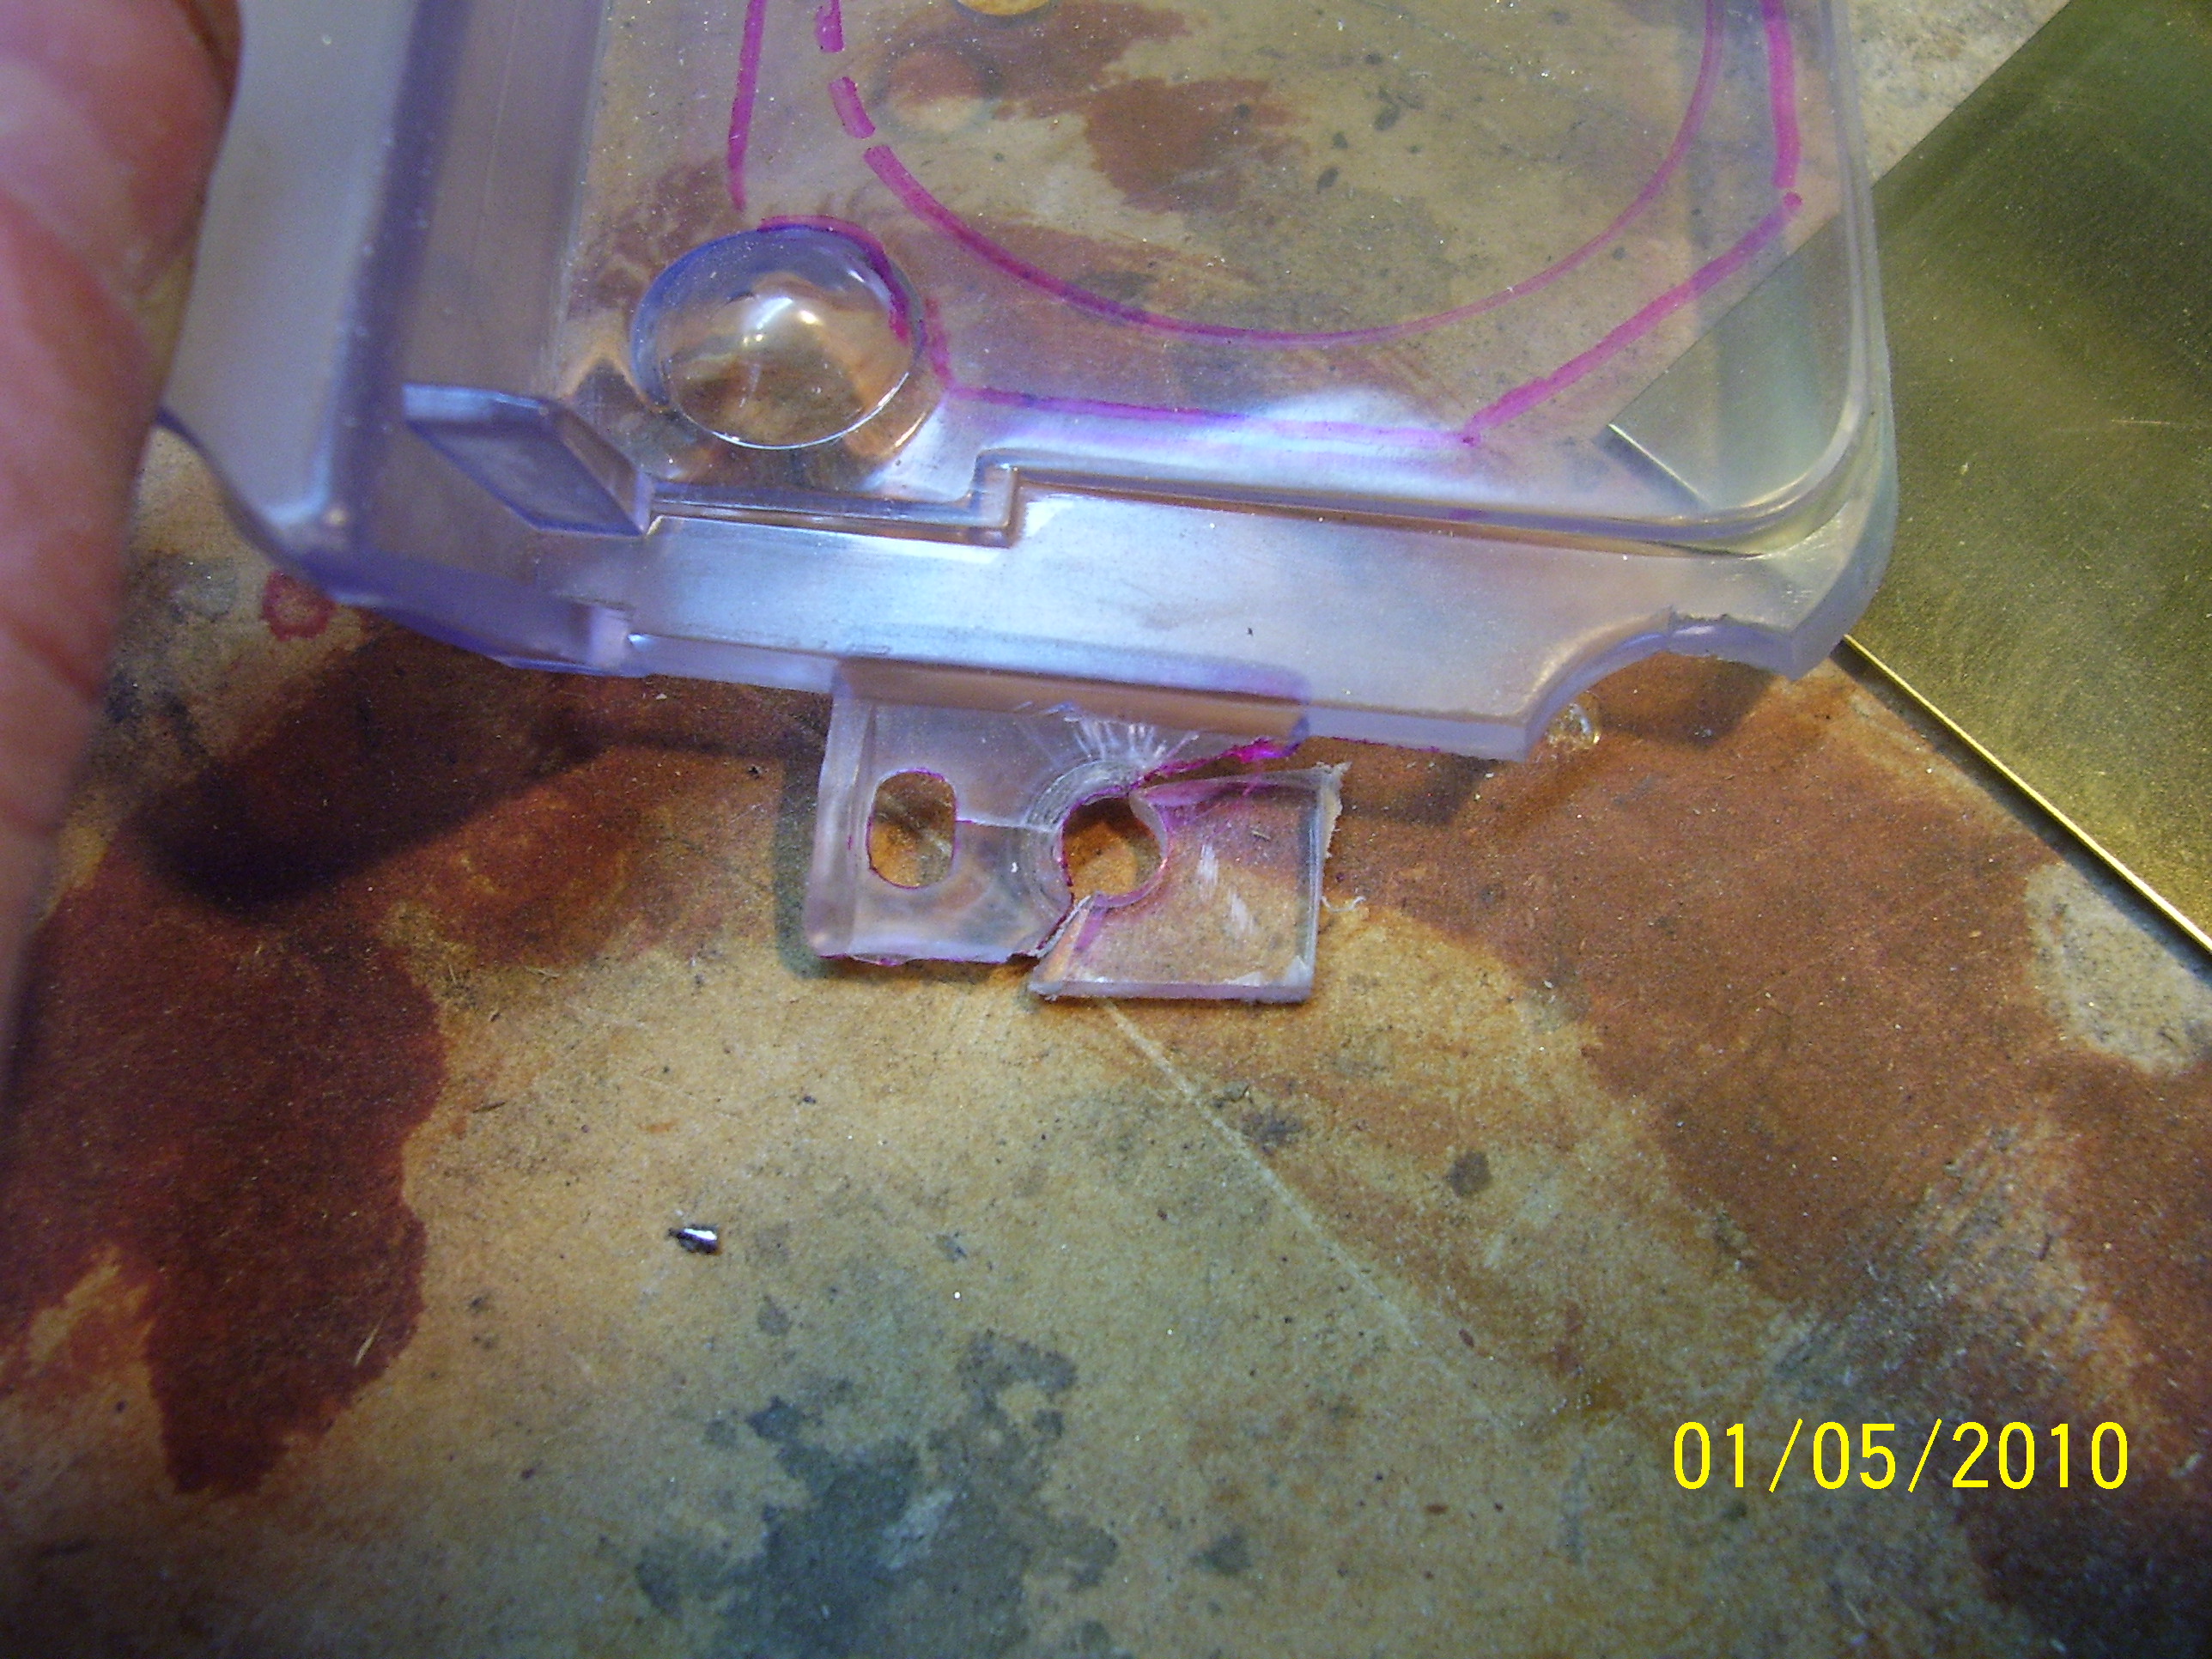
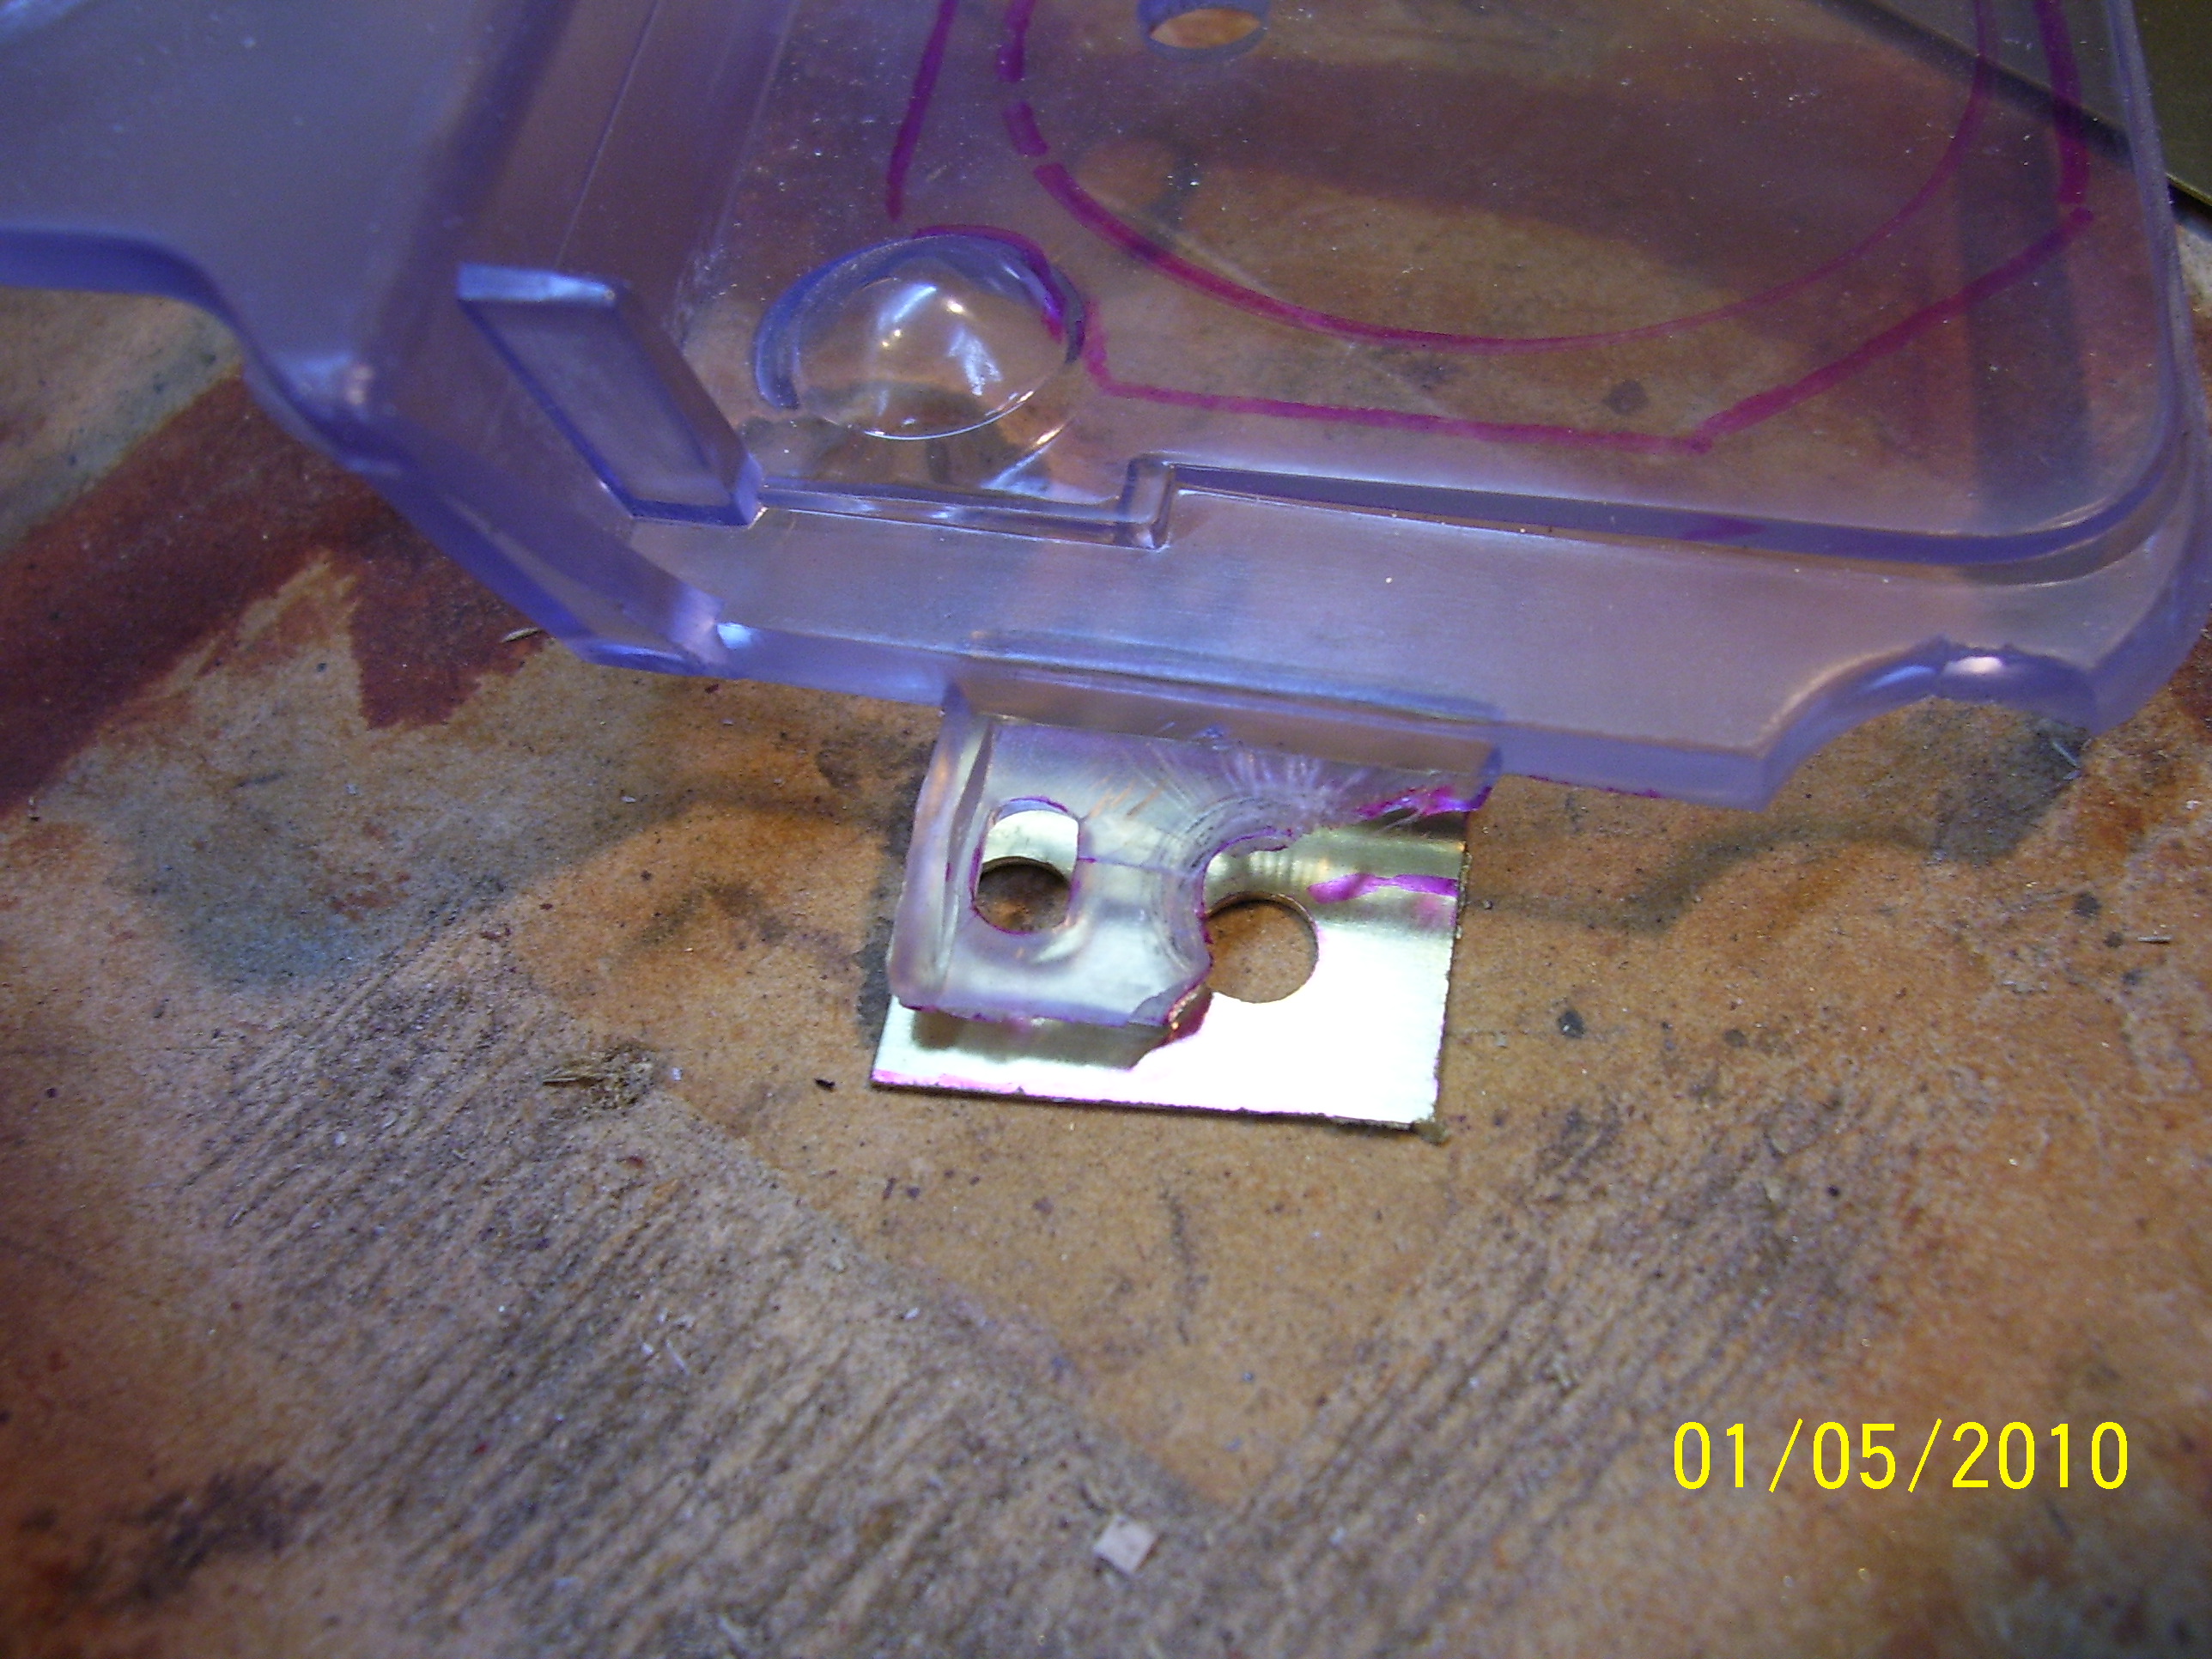
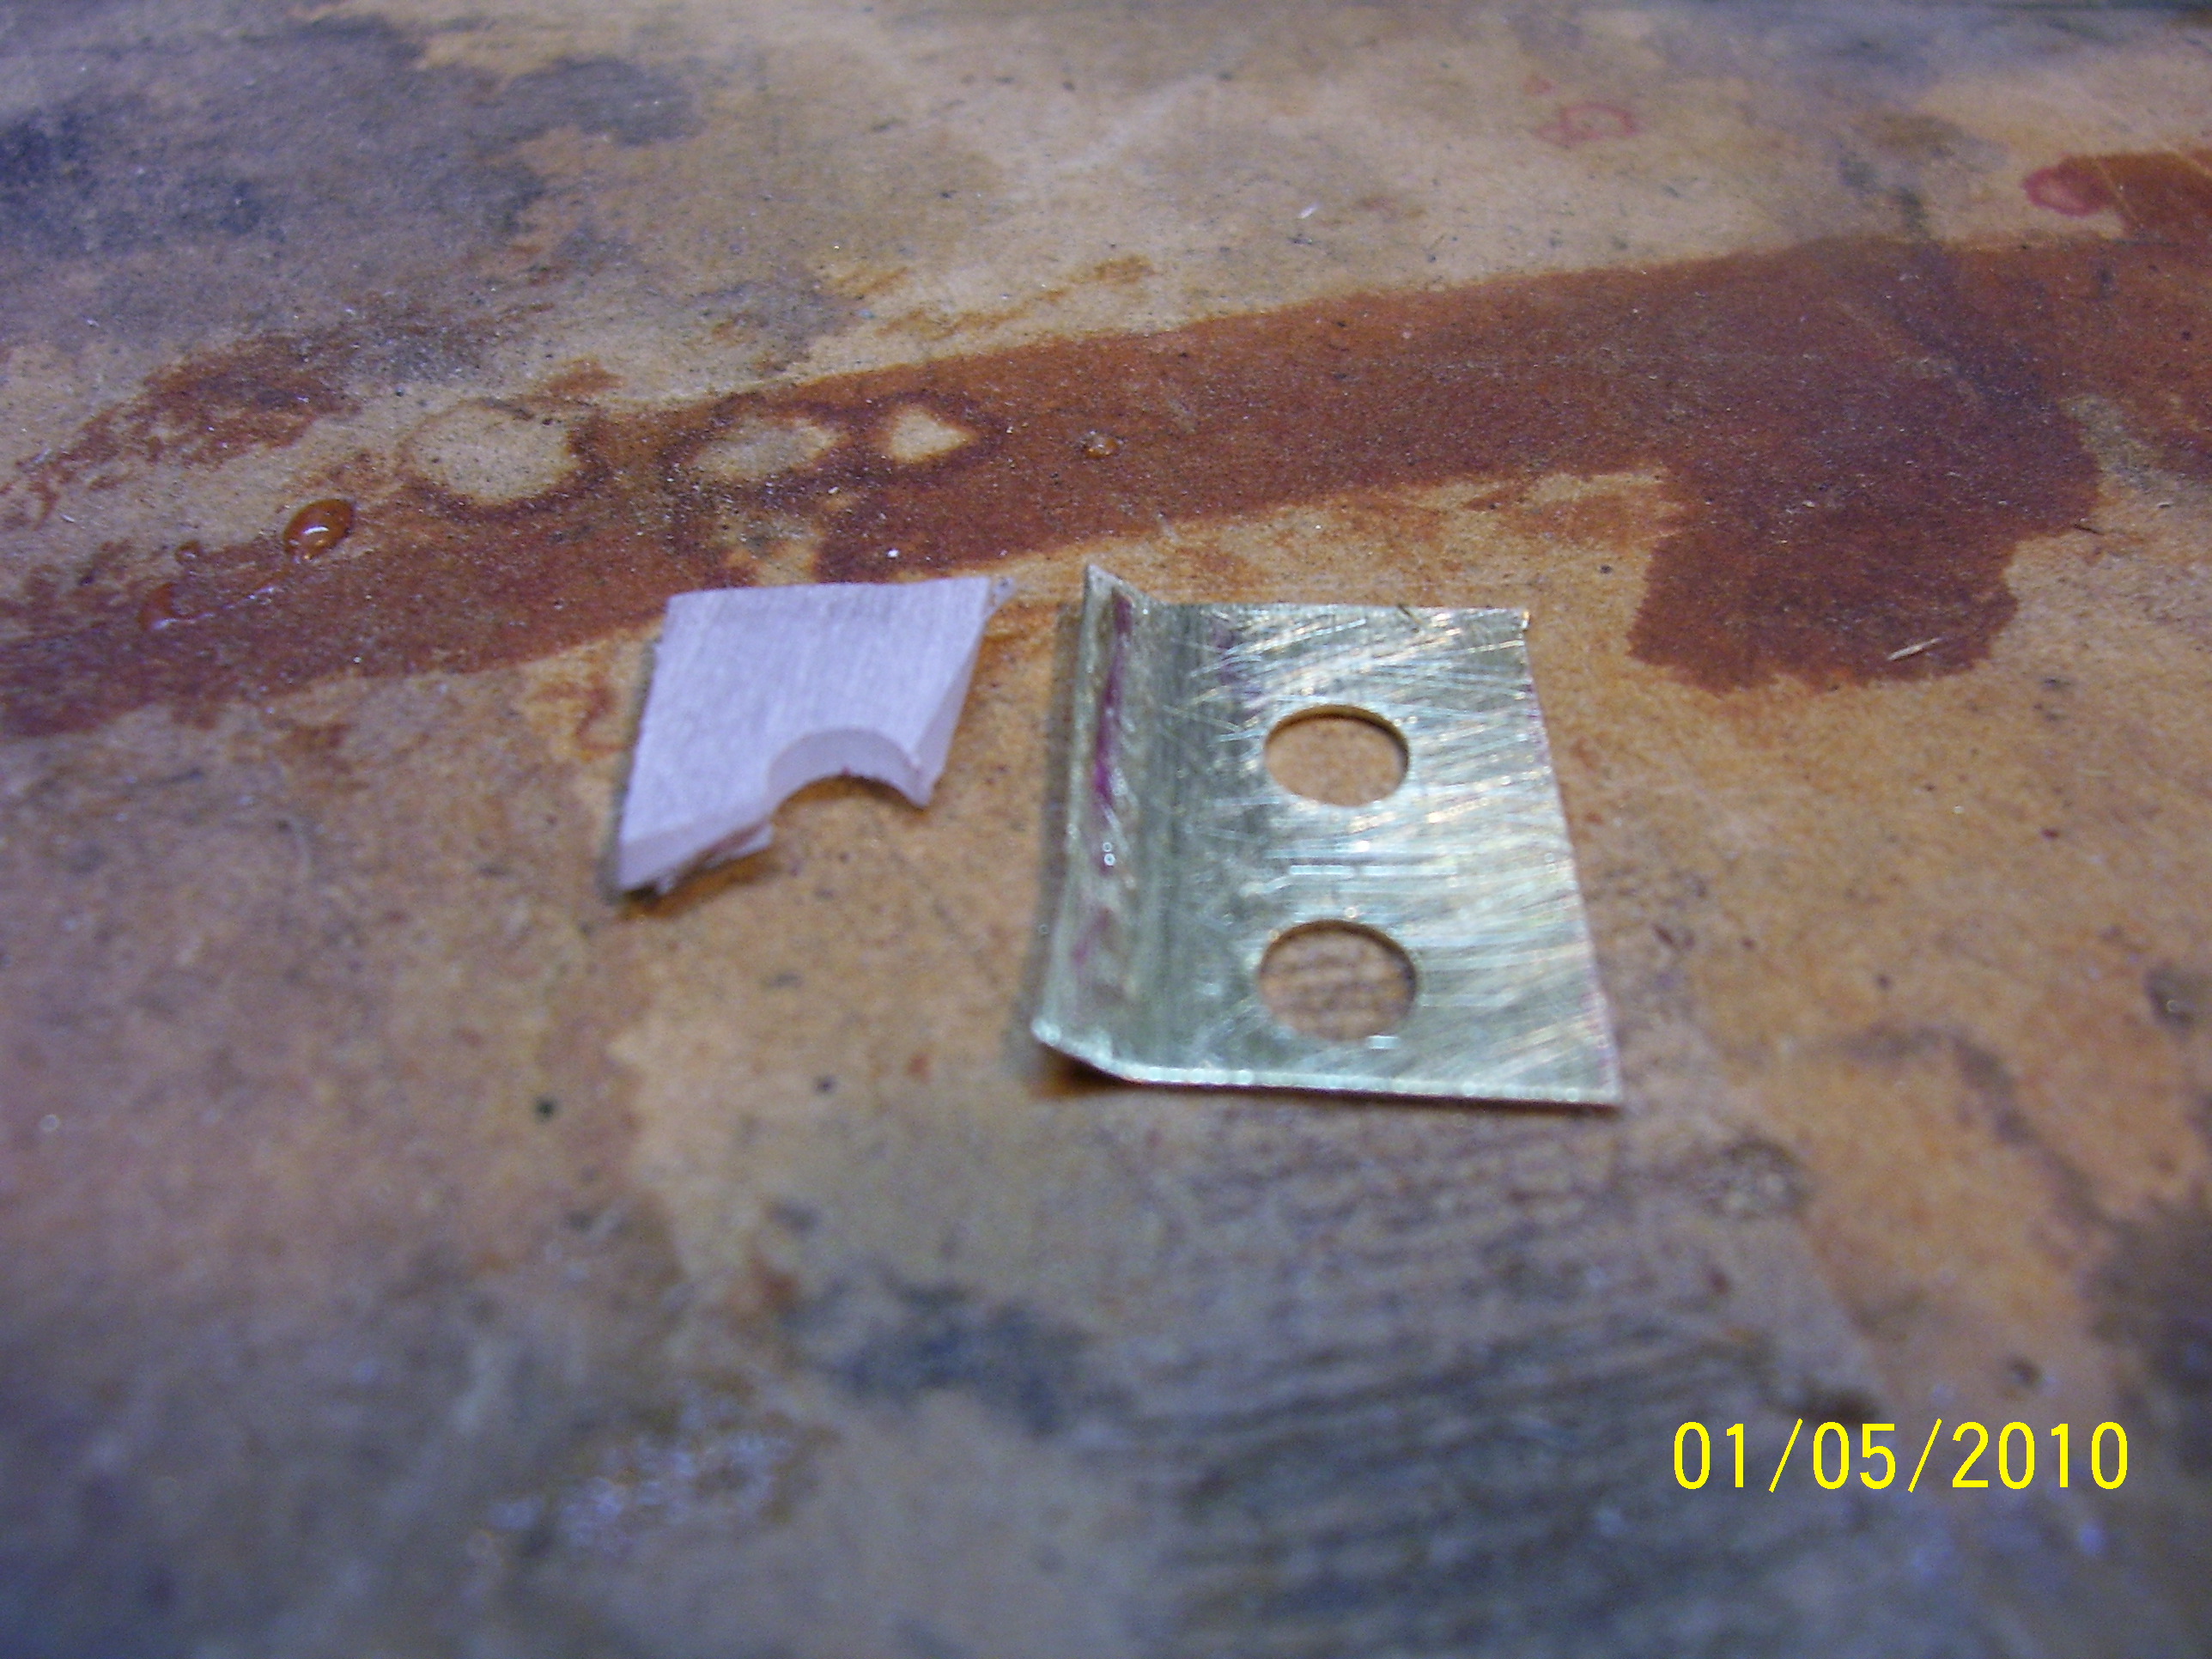
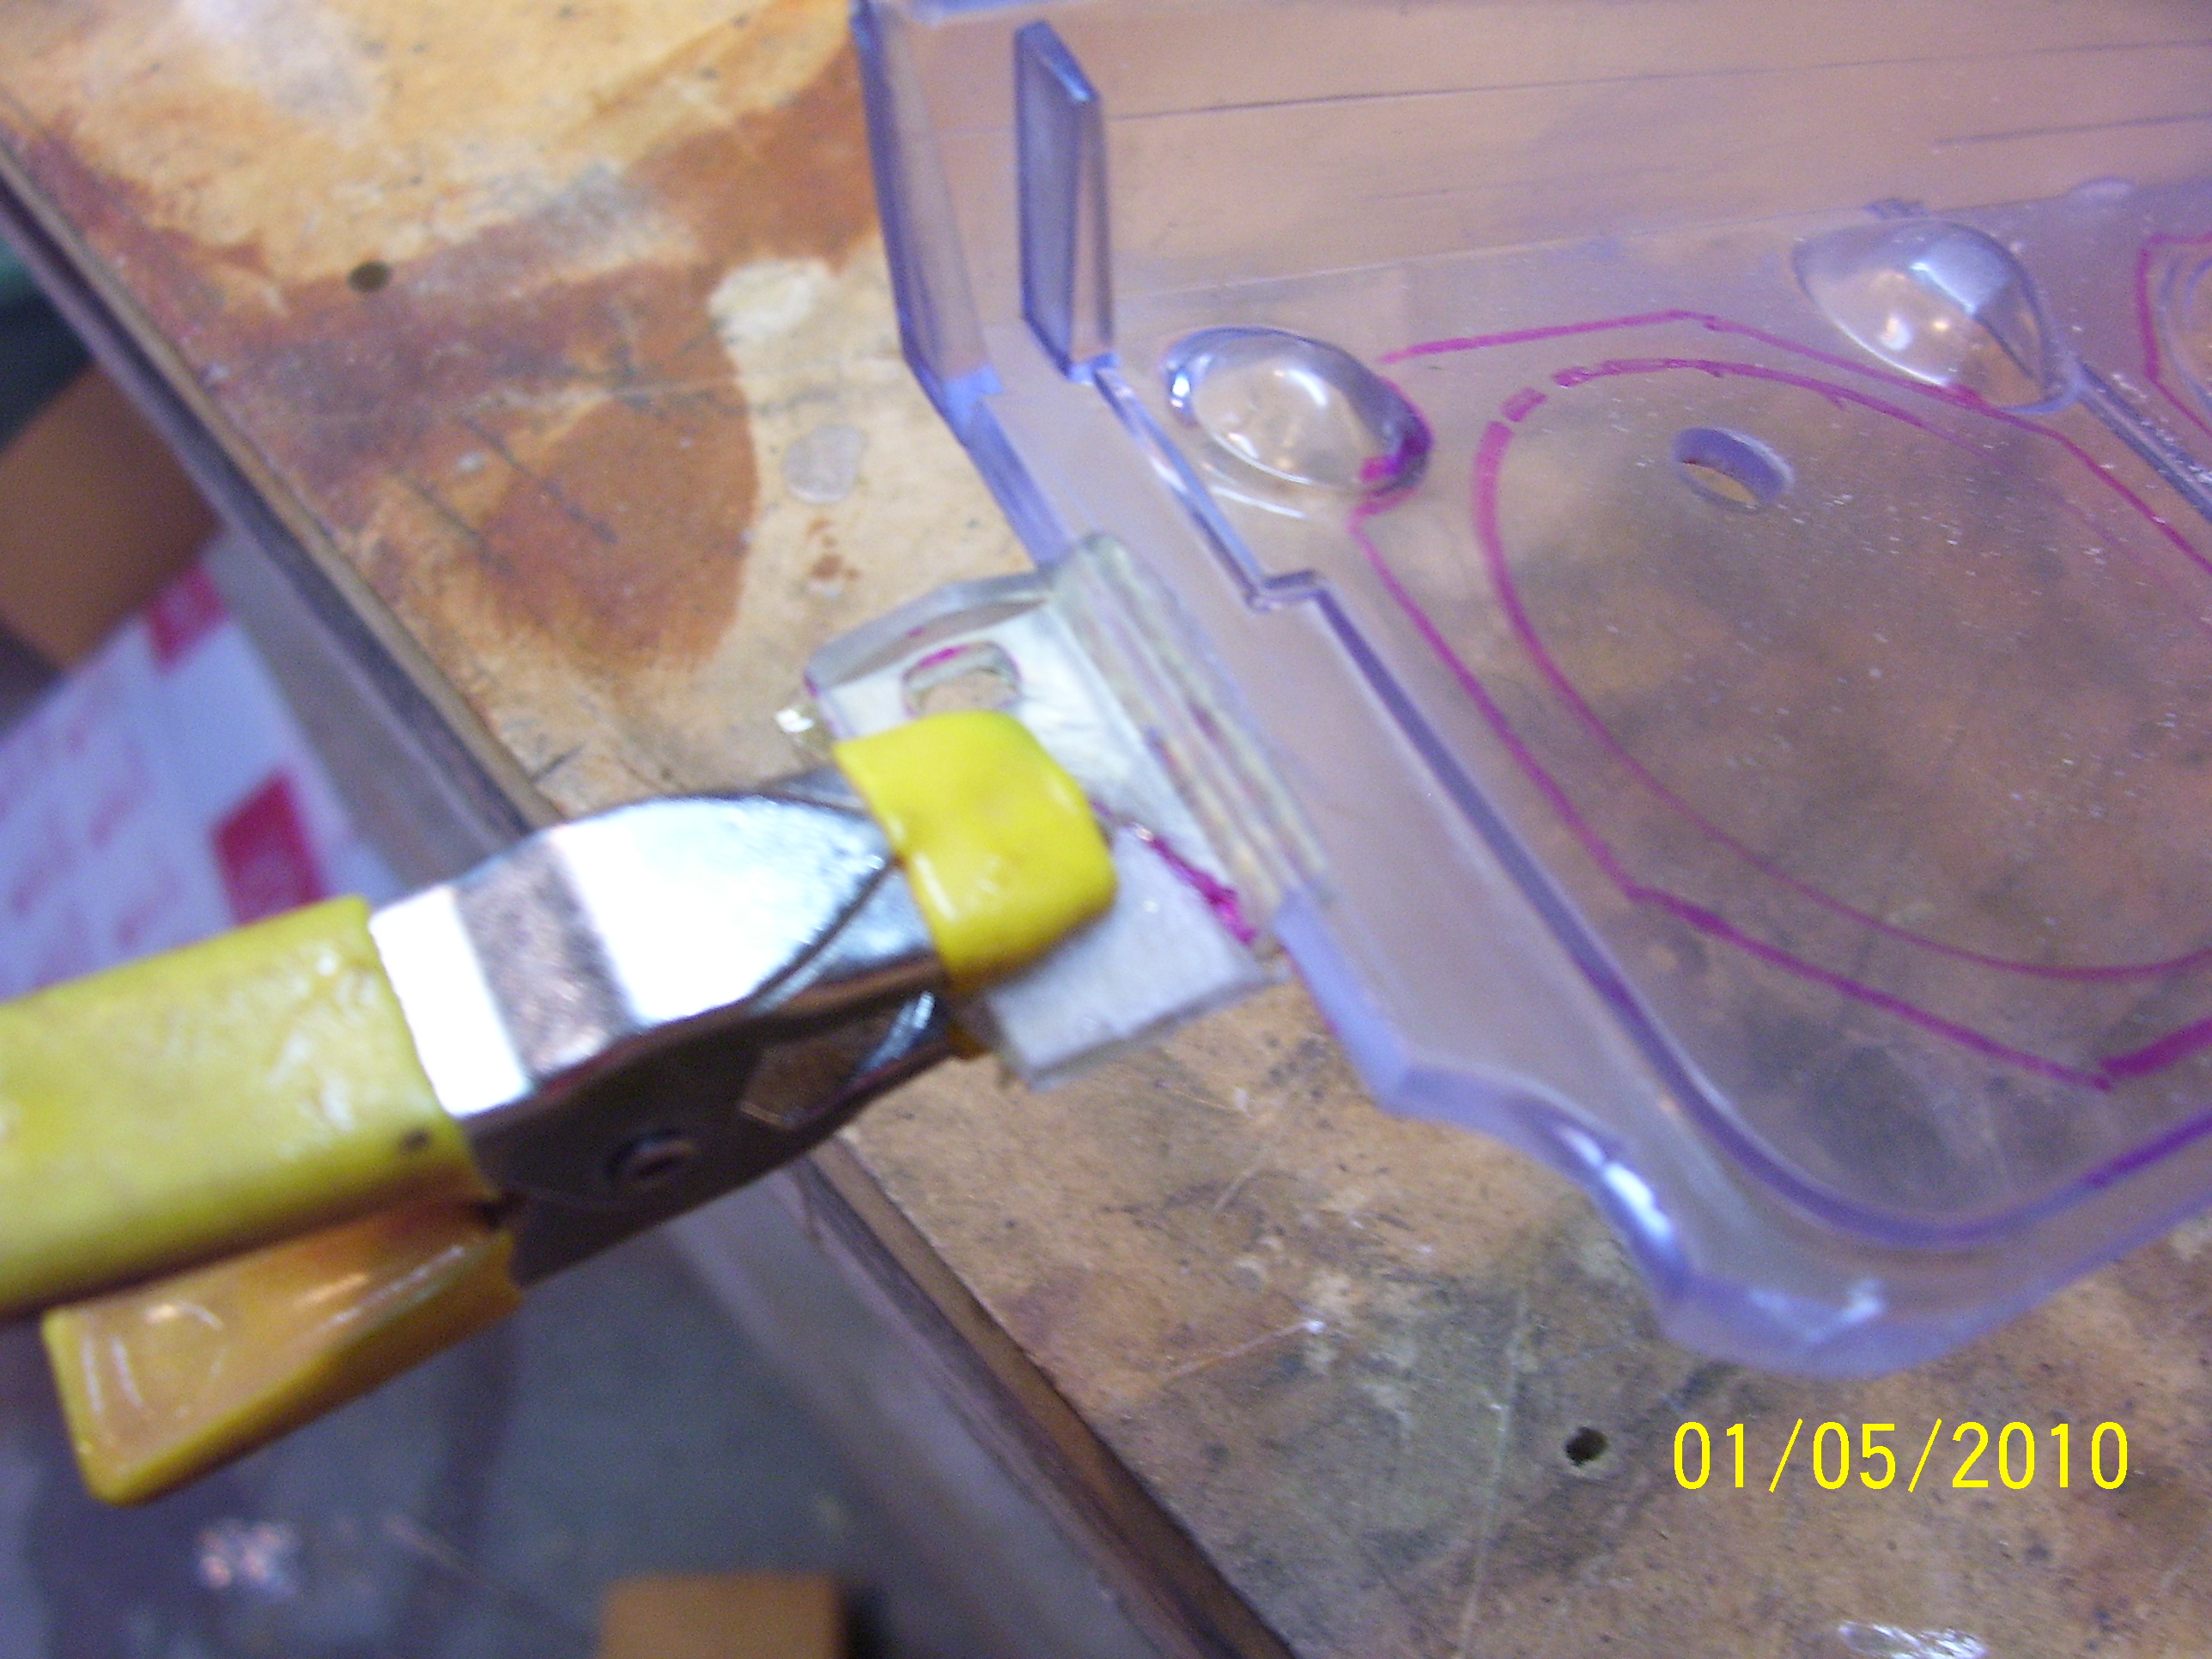
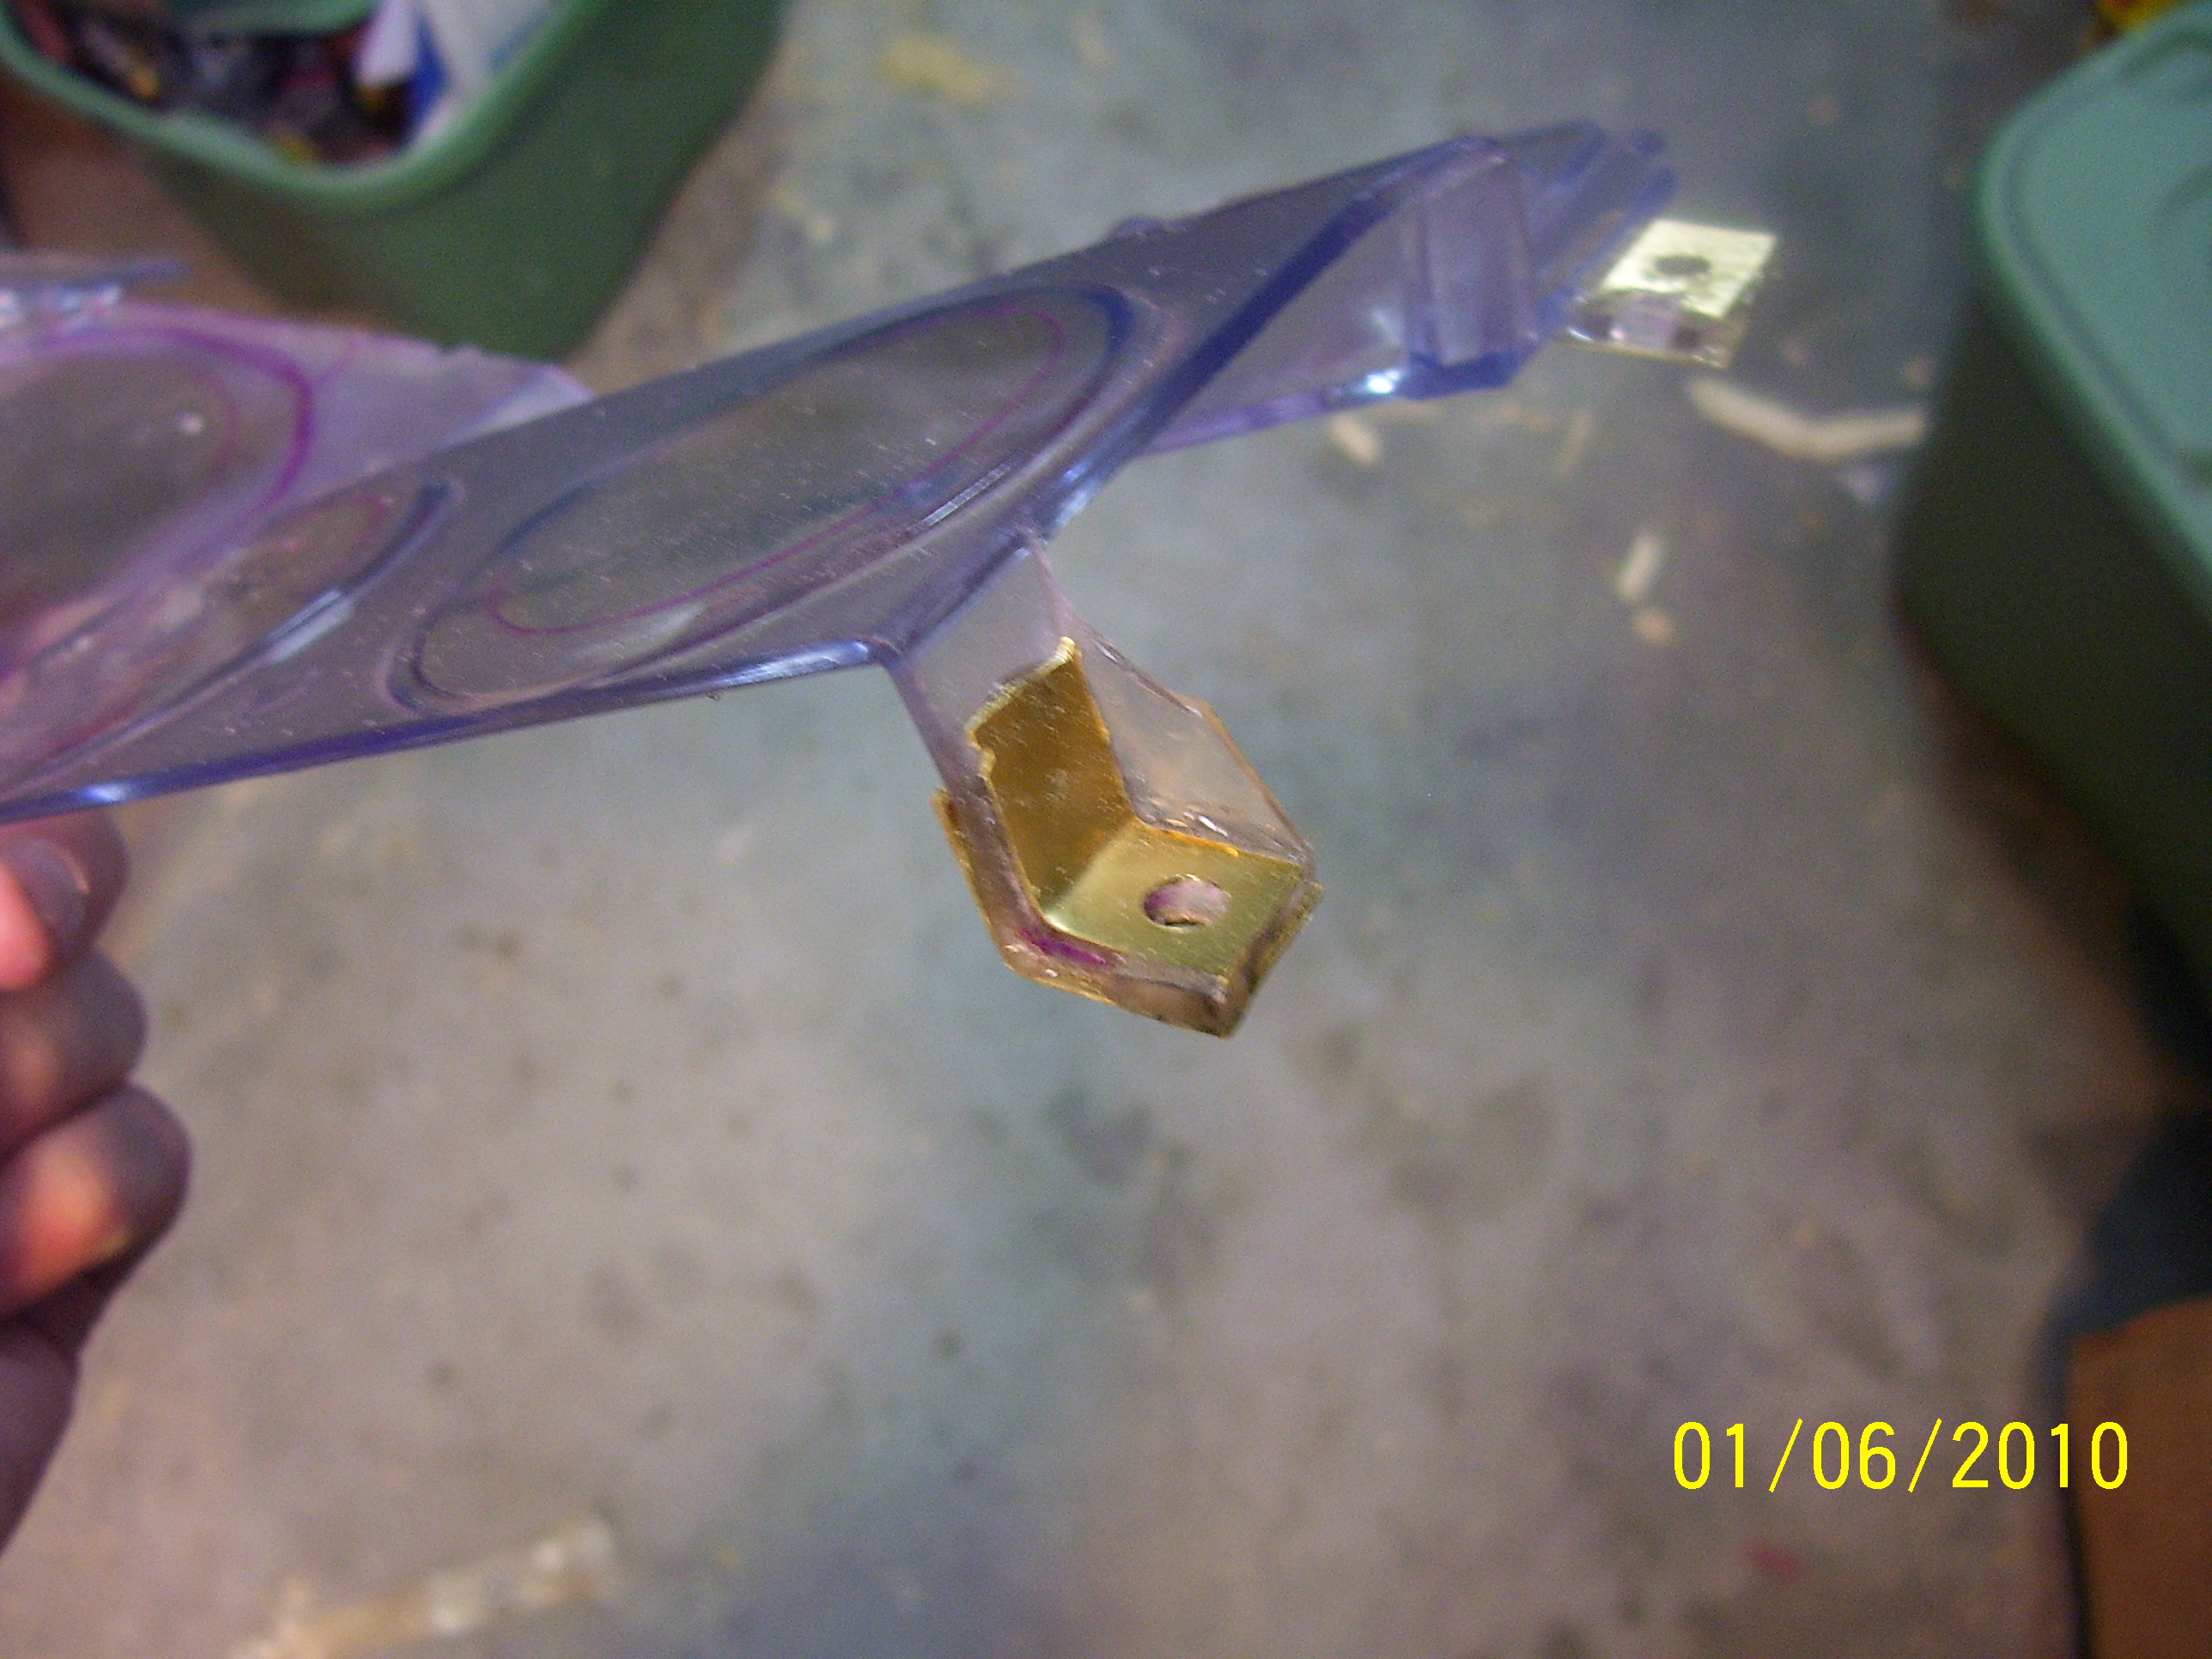
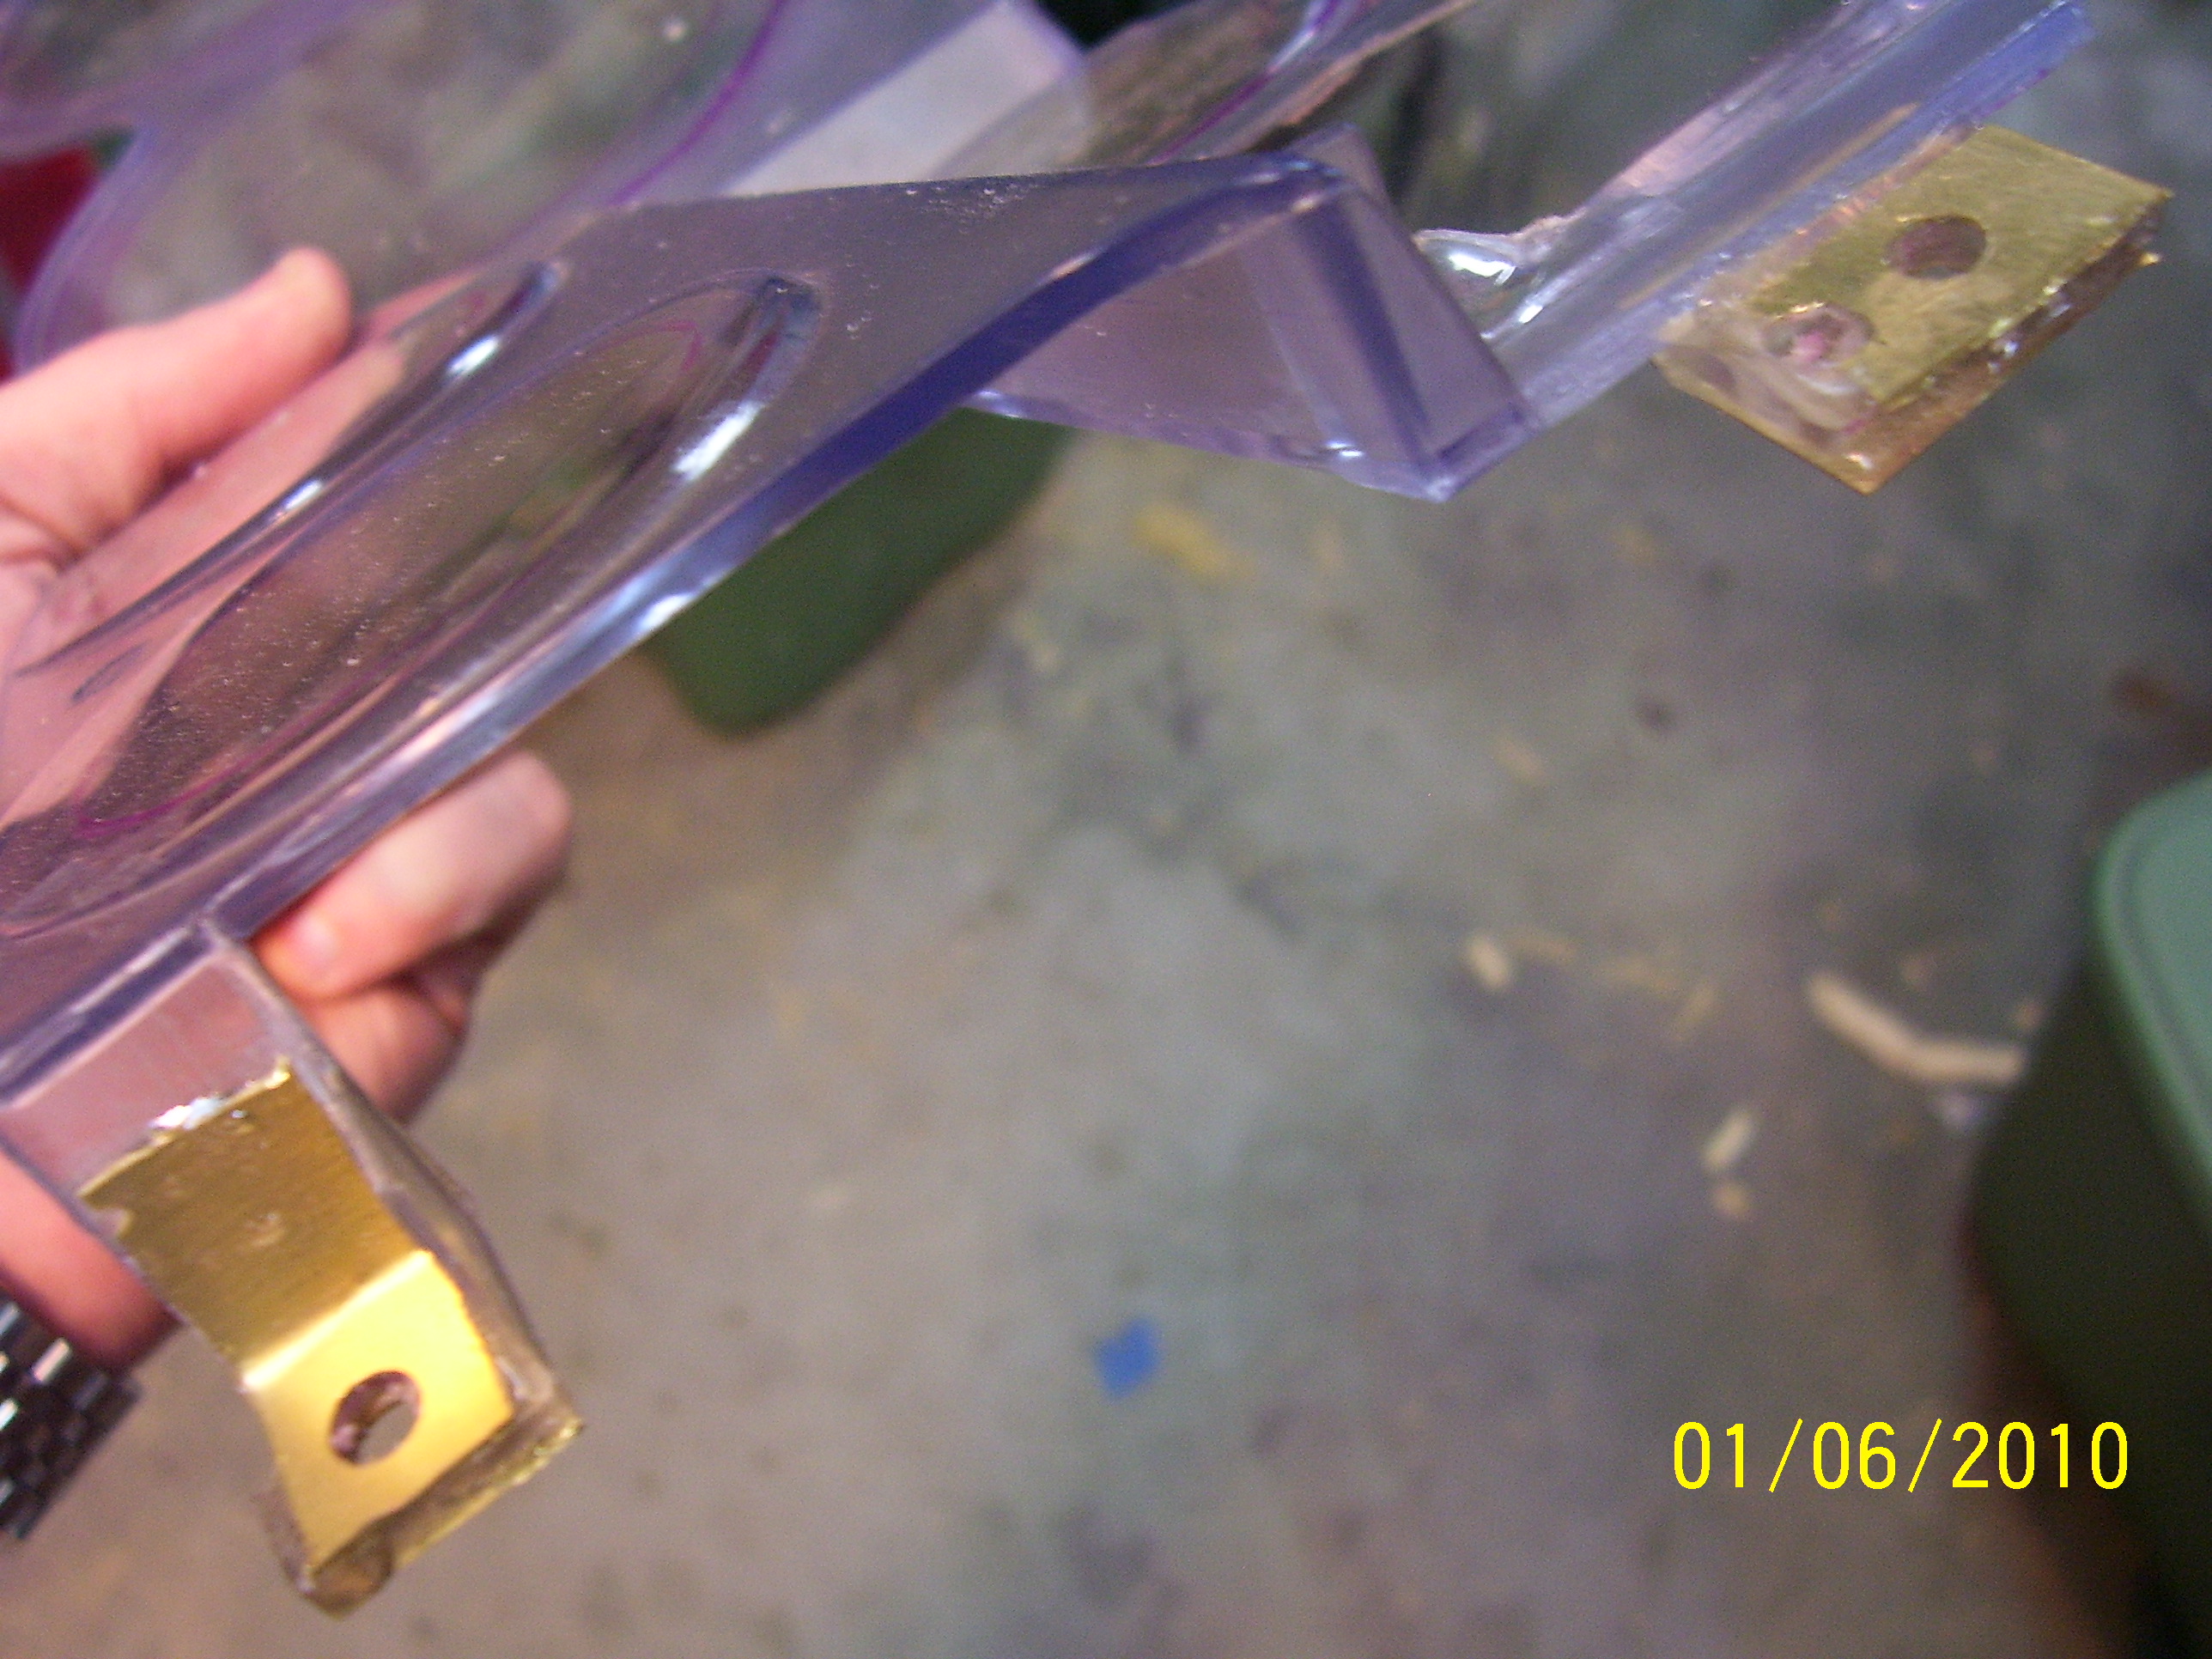
Each tab has a hole for a mounting screw in it. The failure usually results in part of the plastic surrounding the hole to break away, leaving a partial hole which is pretty useless. But it is enough to act as an anchor point! So I cut out some appropriately shaped brass reinforcements, carved out some Lexan bits to make up for the missing plastic that had long ago fallen away, scuffed up all the bits with sand paper for better adhesion, and put it all together with 2ton epoxy. The finished product is remarkably strong. Certainly stronger than the original plastic.
Next up: replacing the old nasty bits of foggy plastic with new crystal clear Lexan!