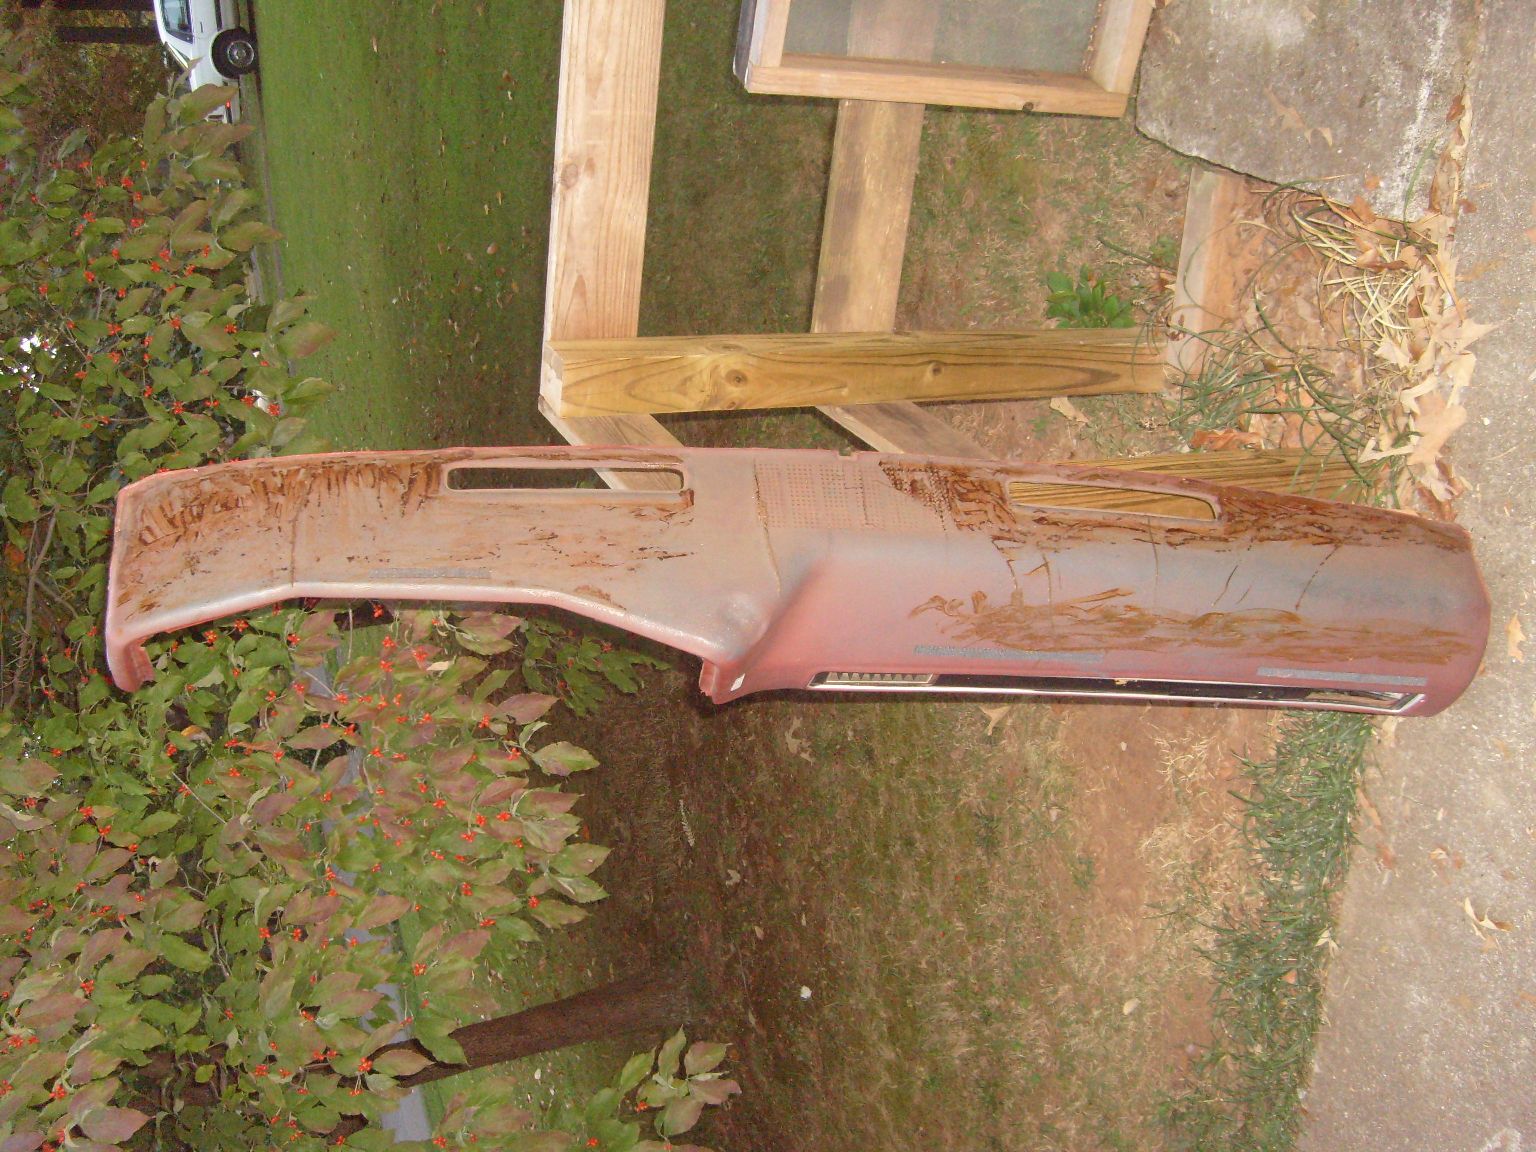
Dash Pad
I have lots of fun plans for the interior restoration. The grand scheme includes spraying the interior floor with bedliner, creating LED lighting (classic lighting – not like ground effects or anything), paint, gauges, and dashpad replacement. Lots of work.
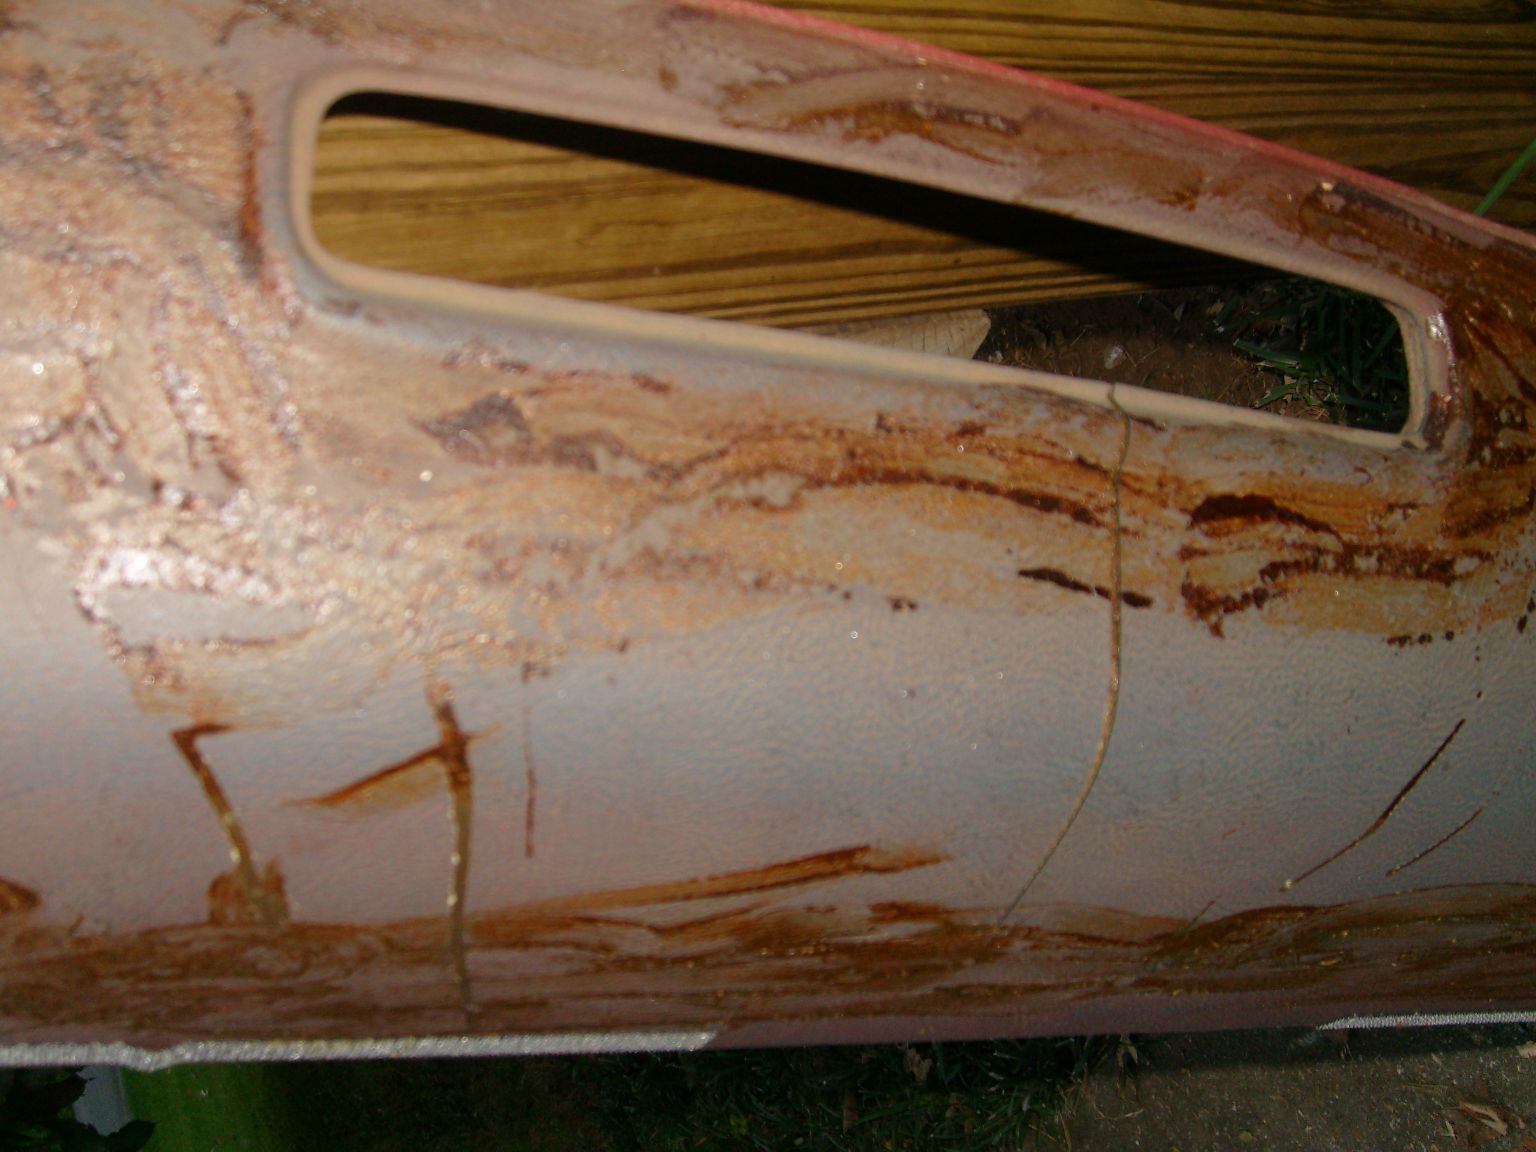
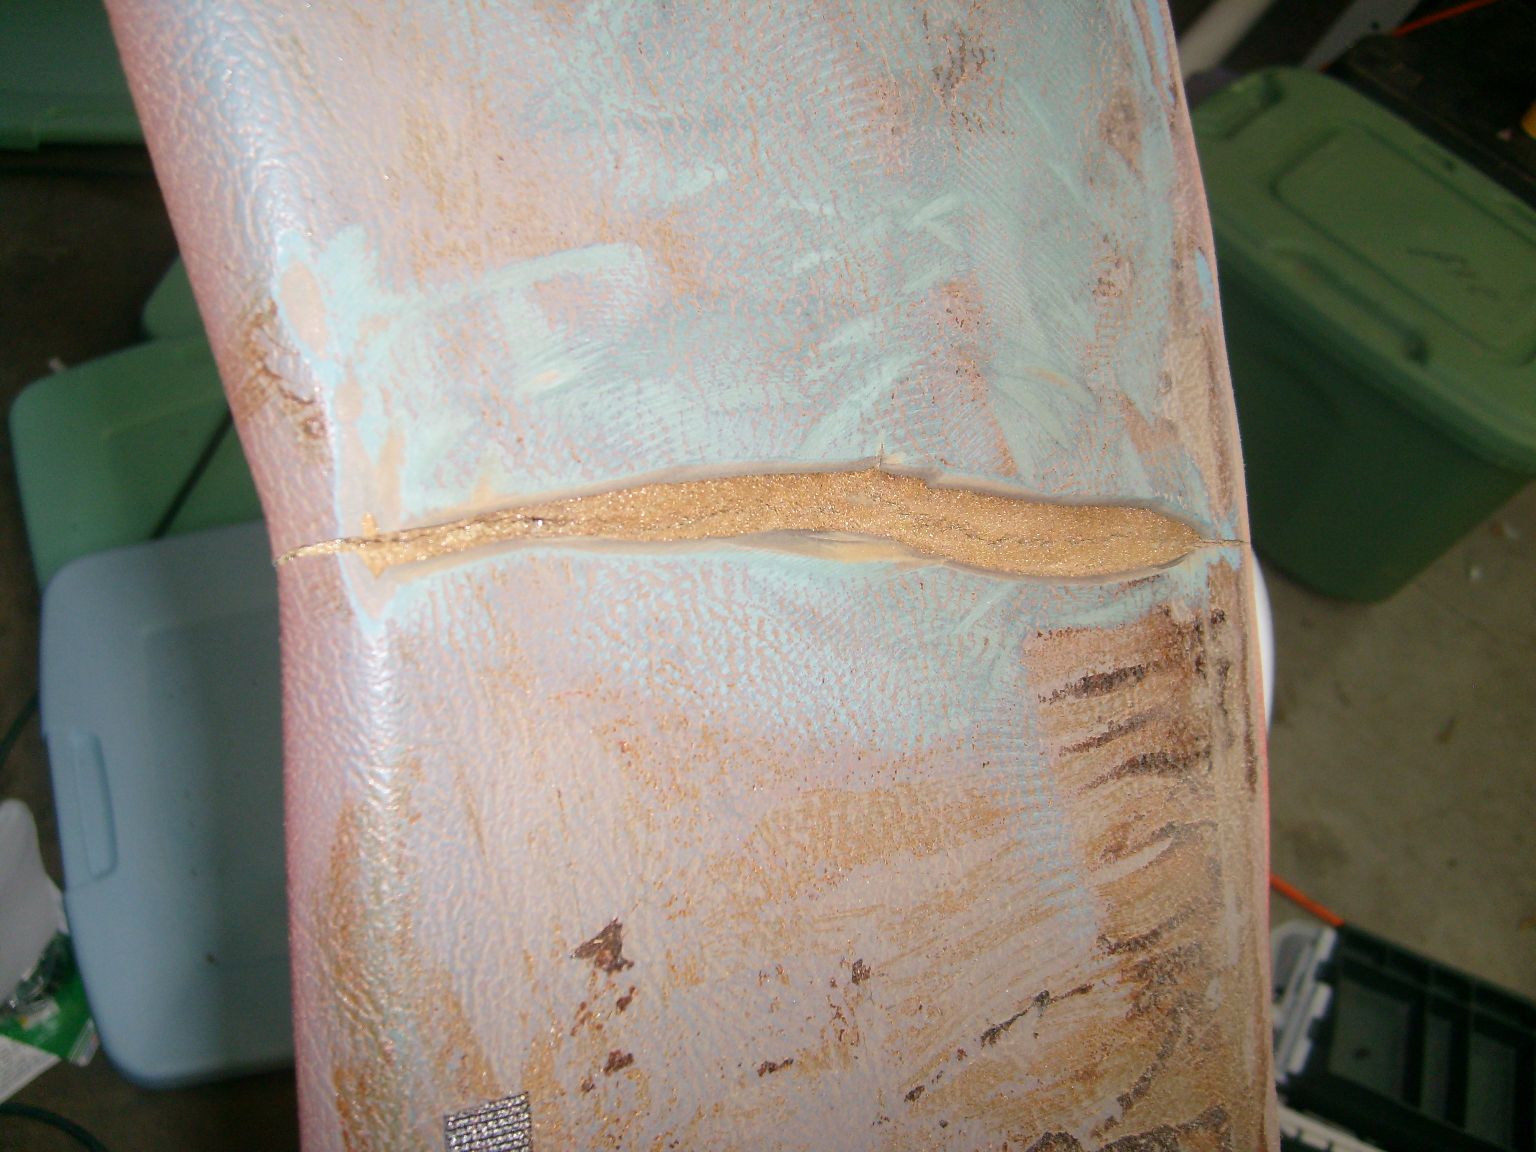
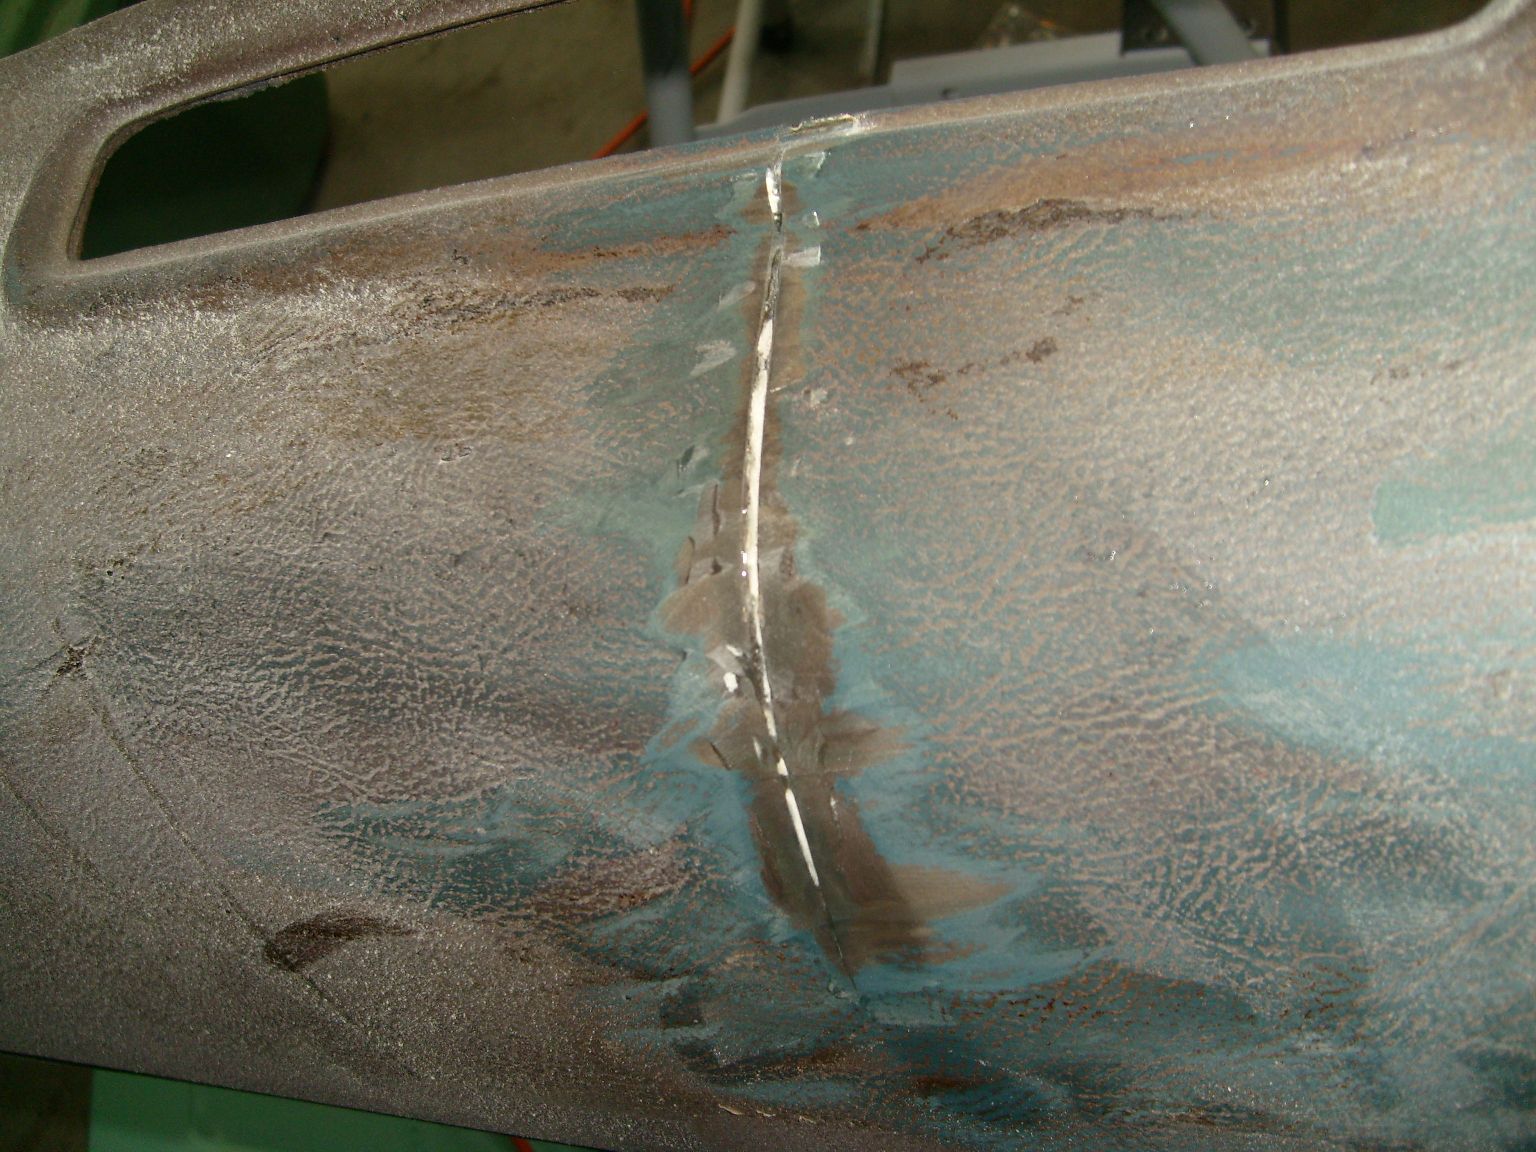
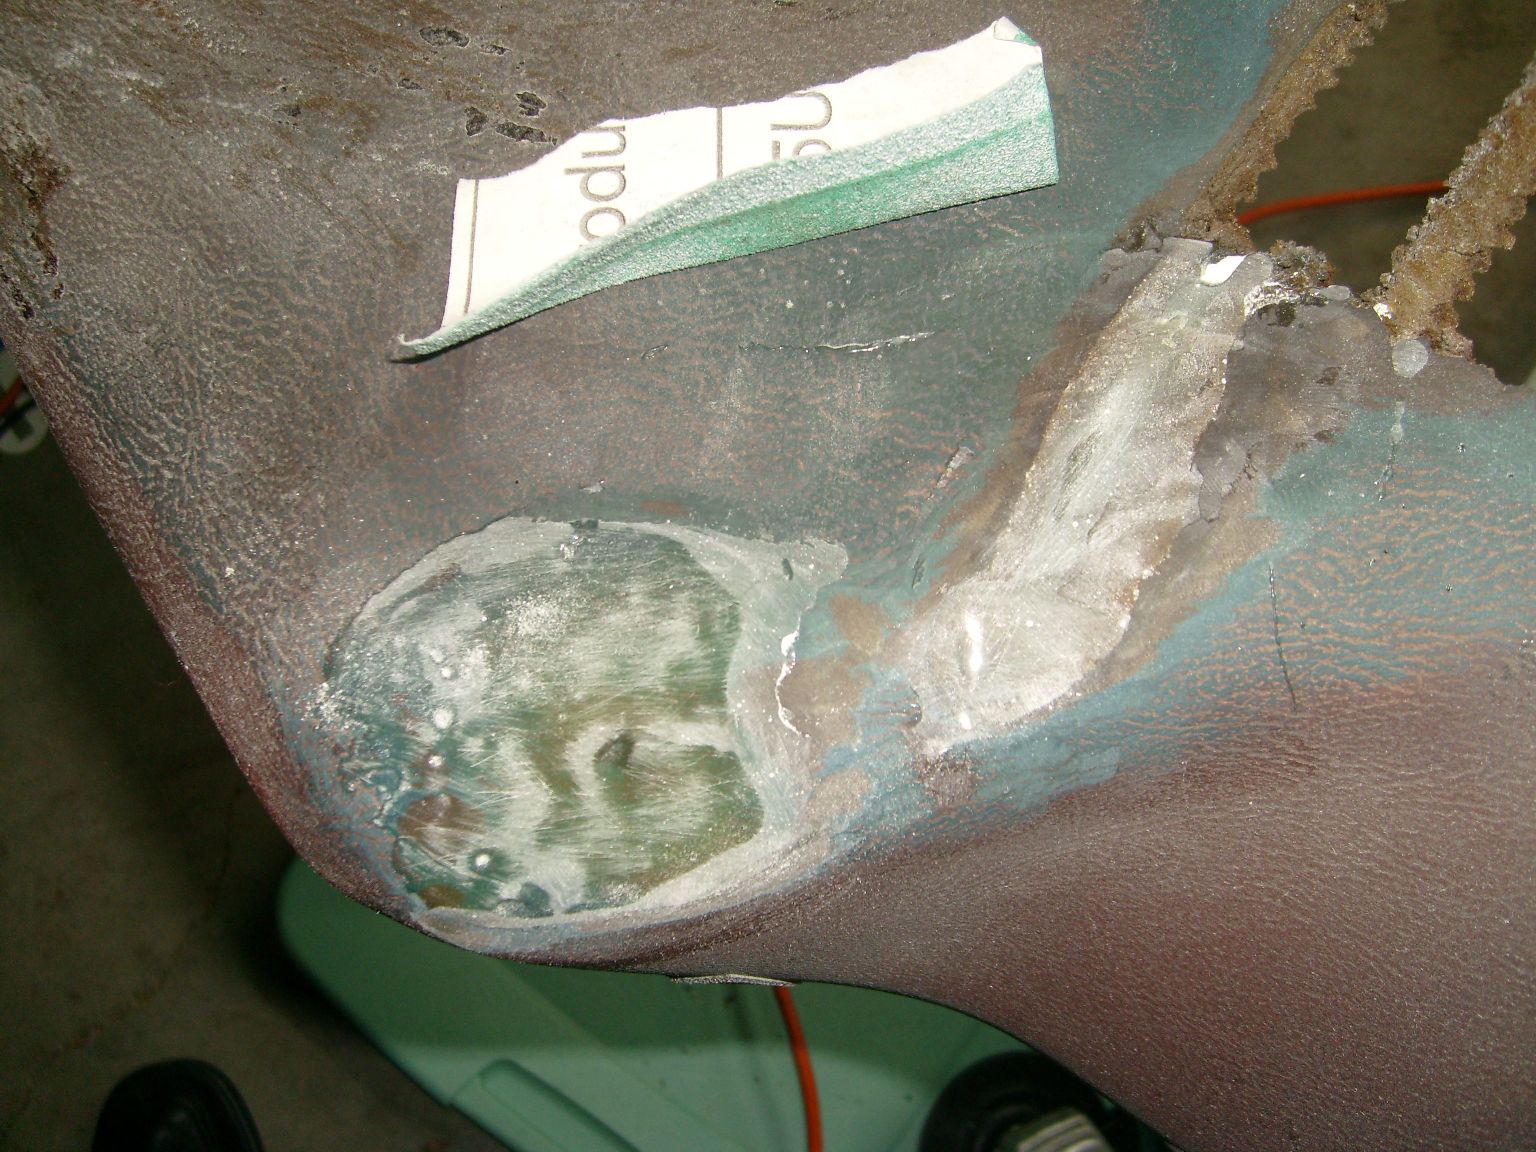
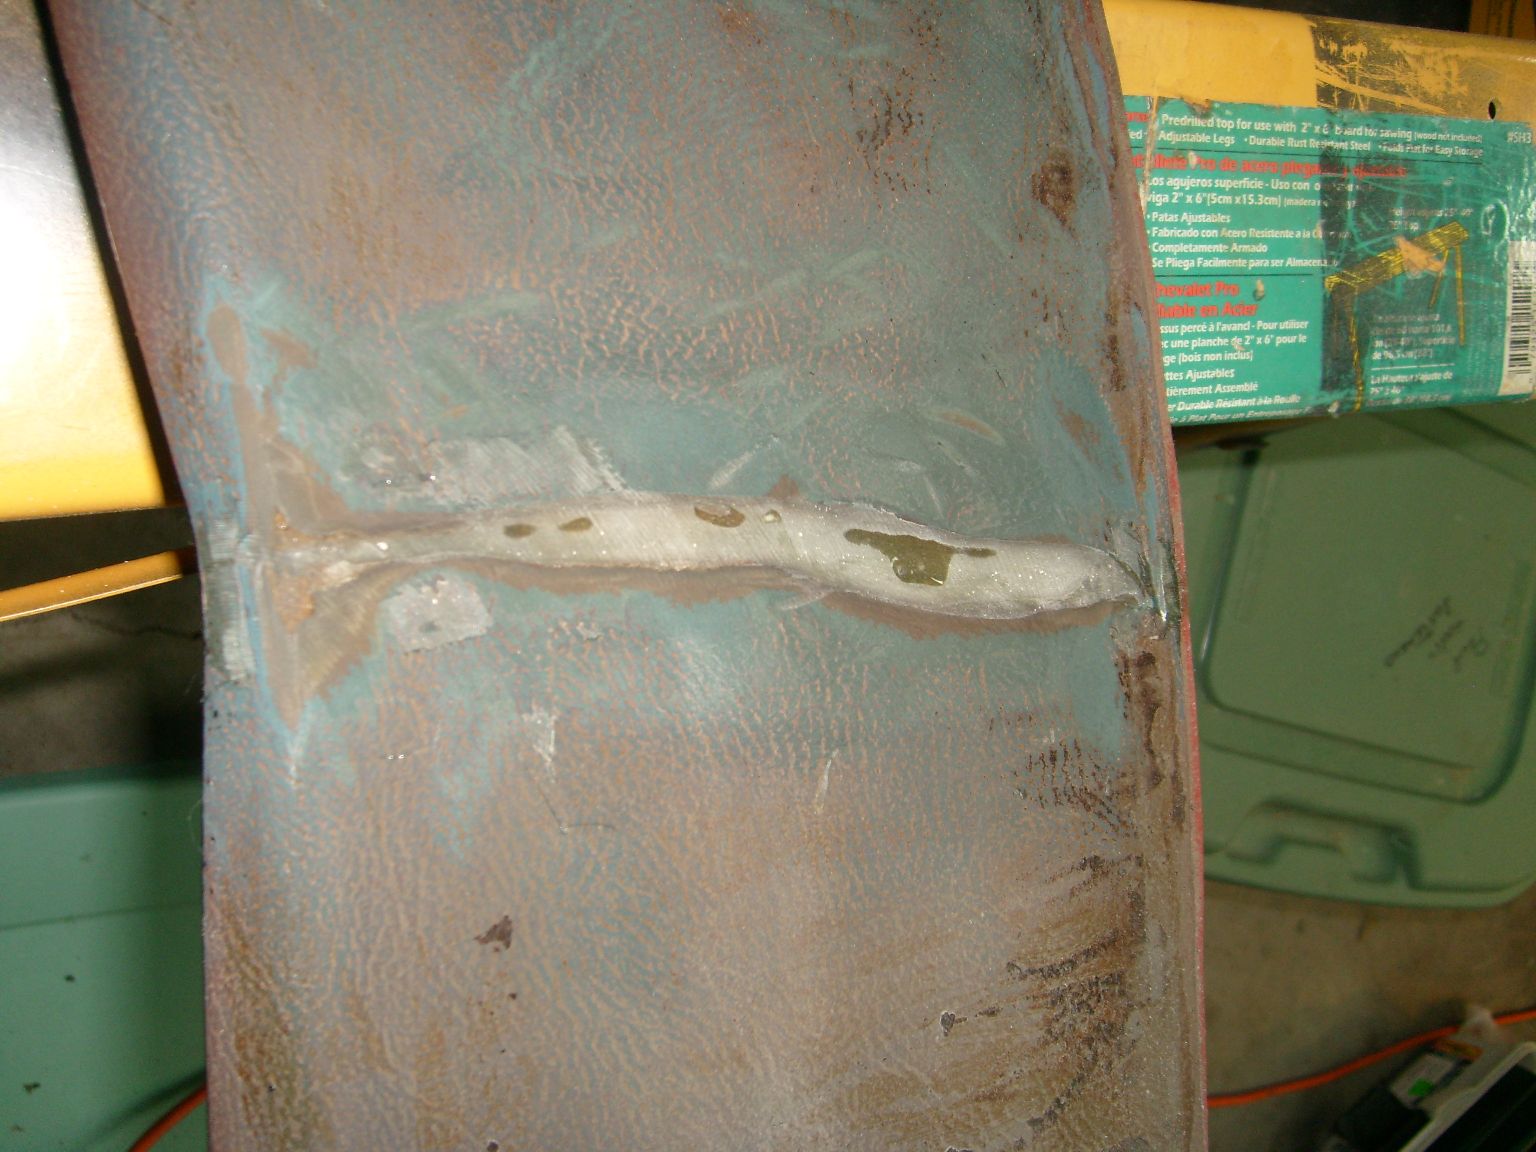
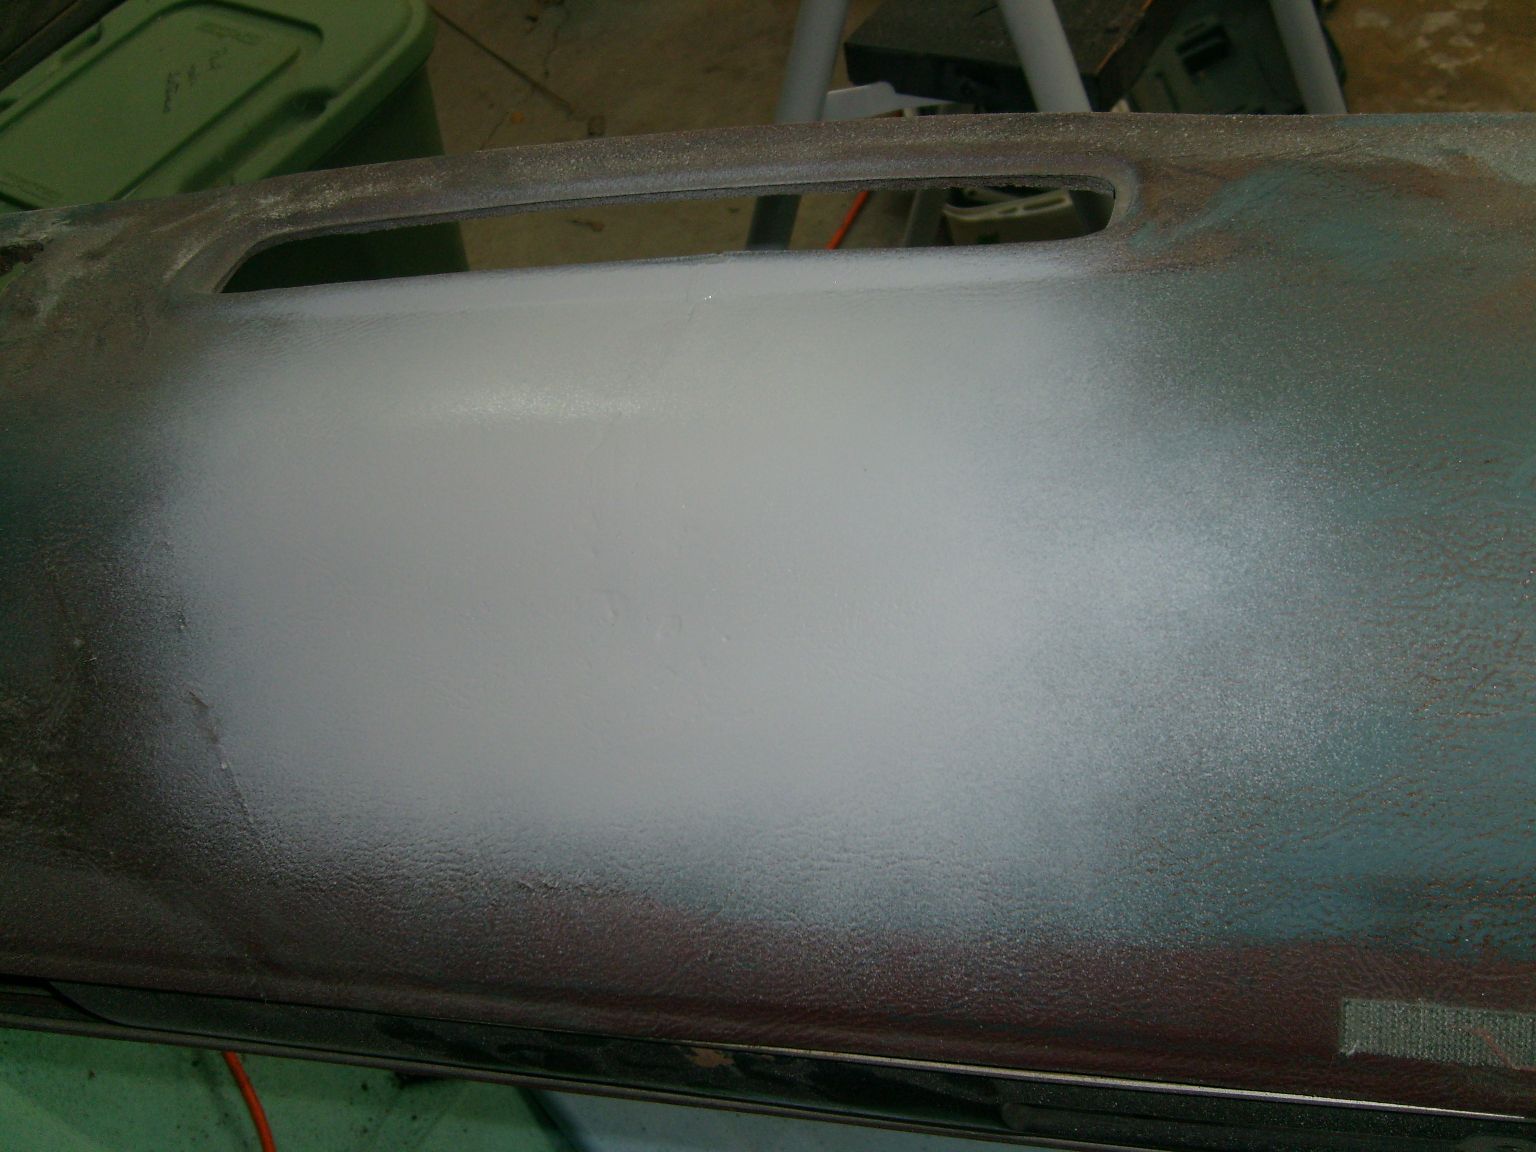
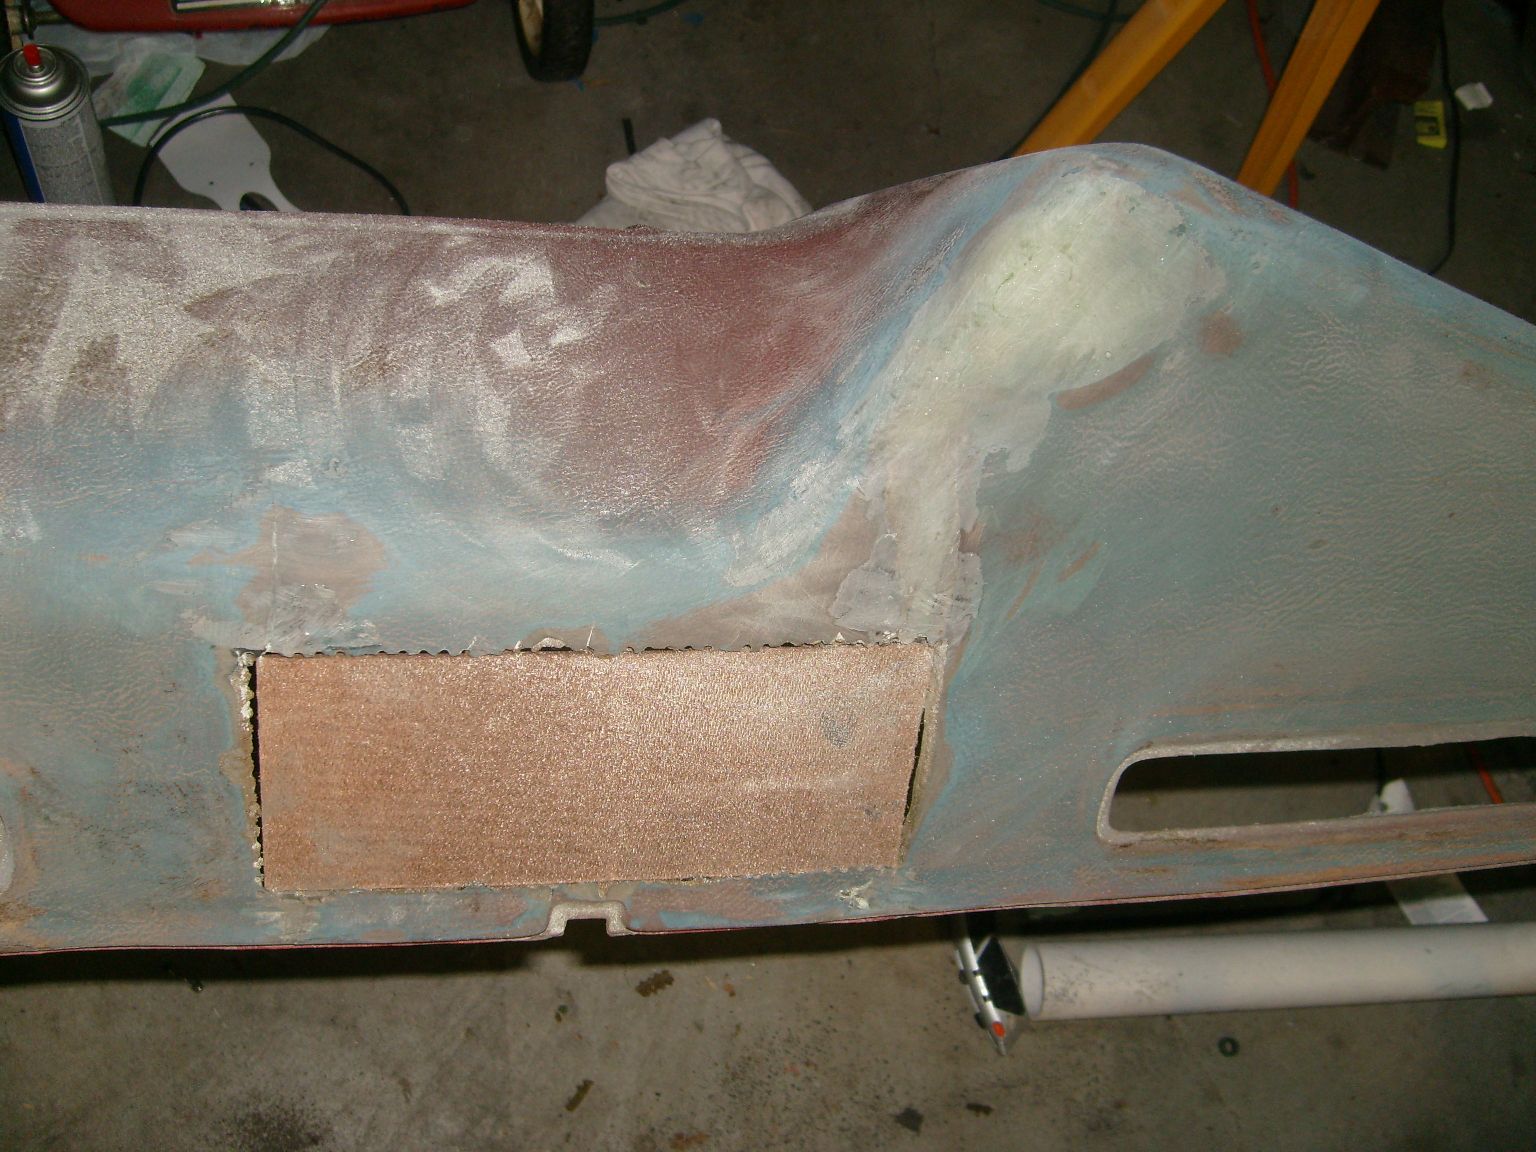
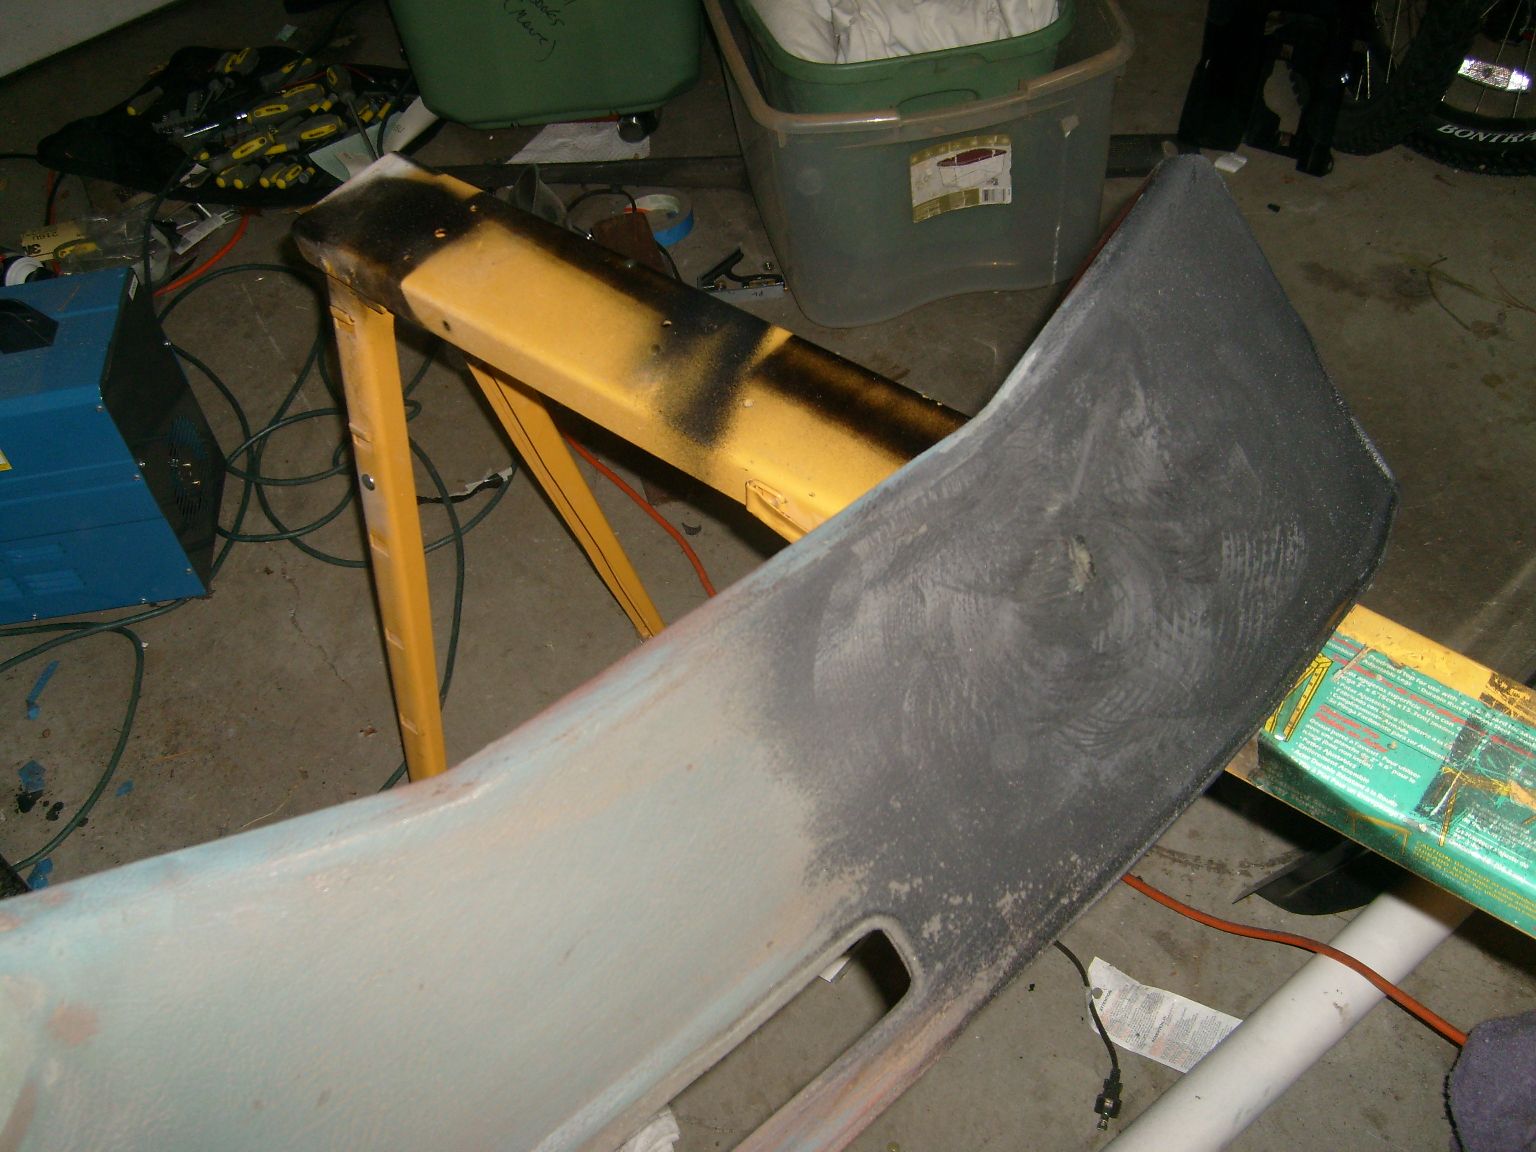
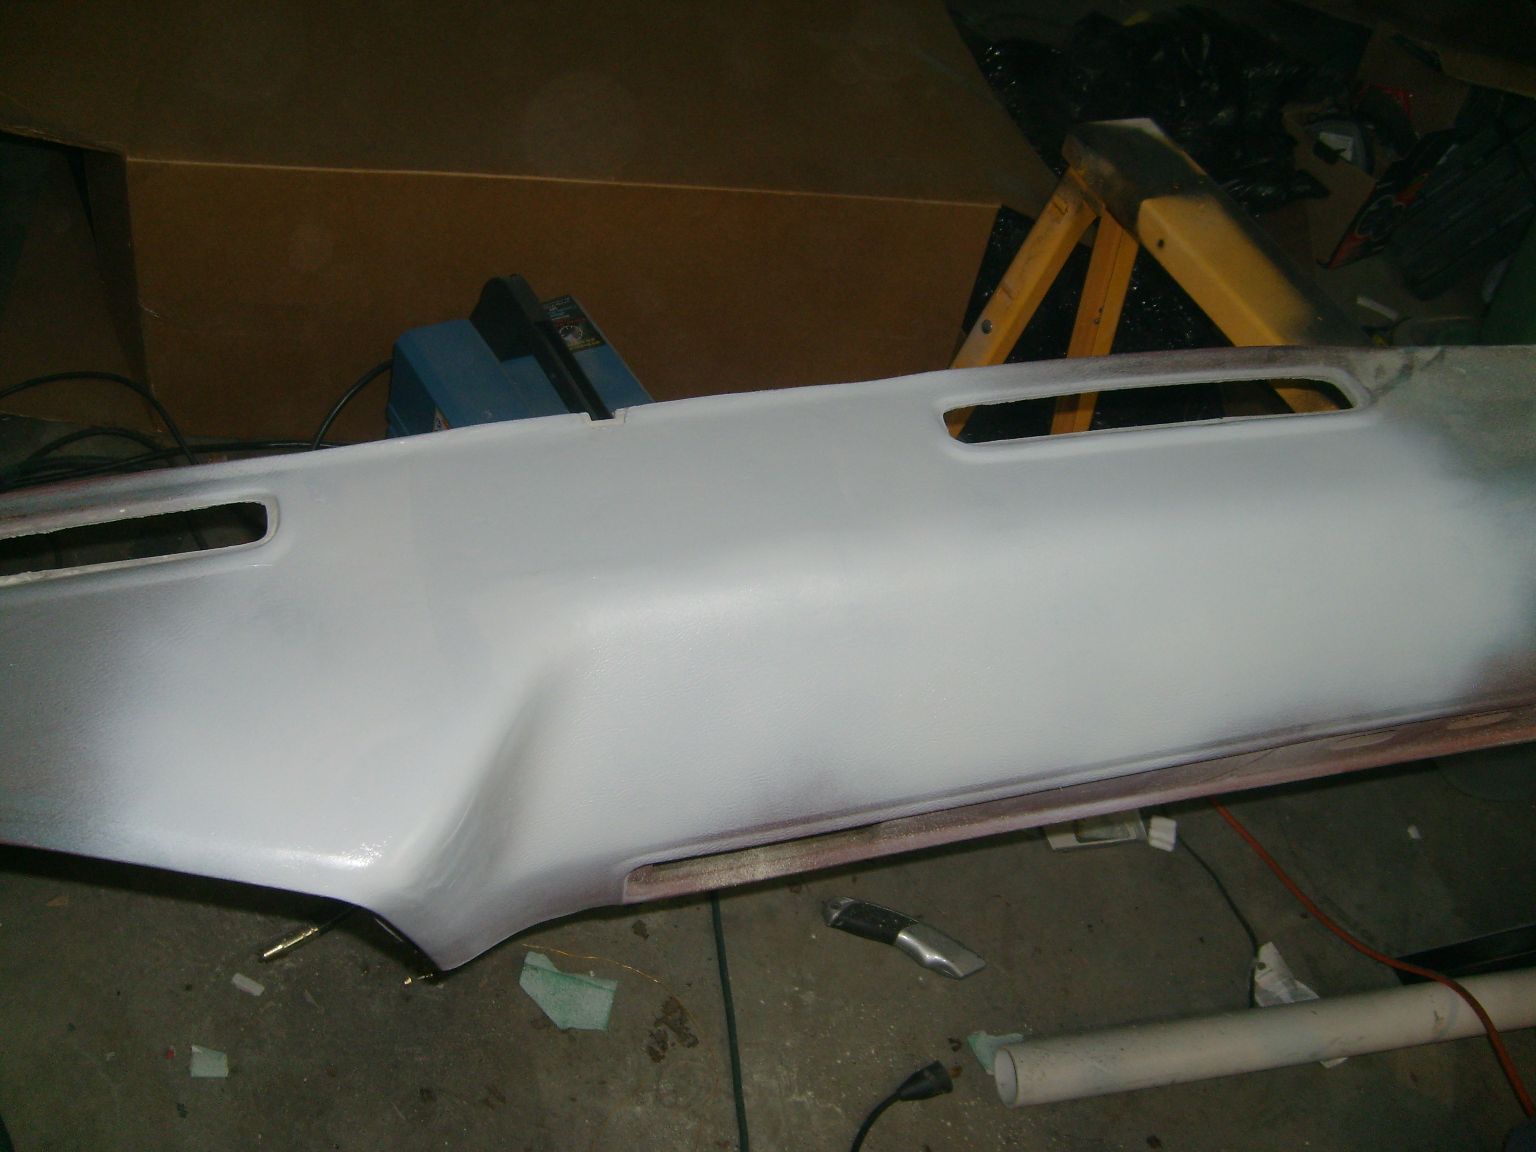
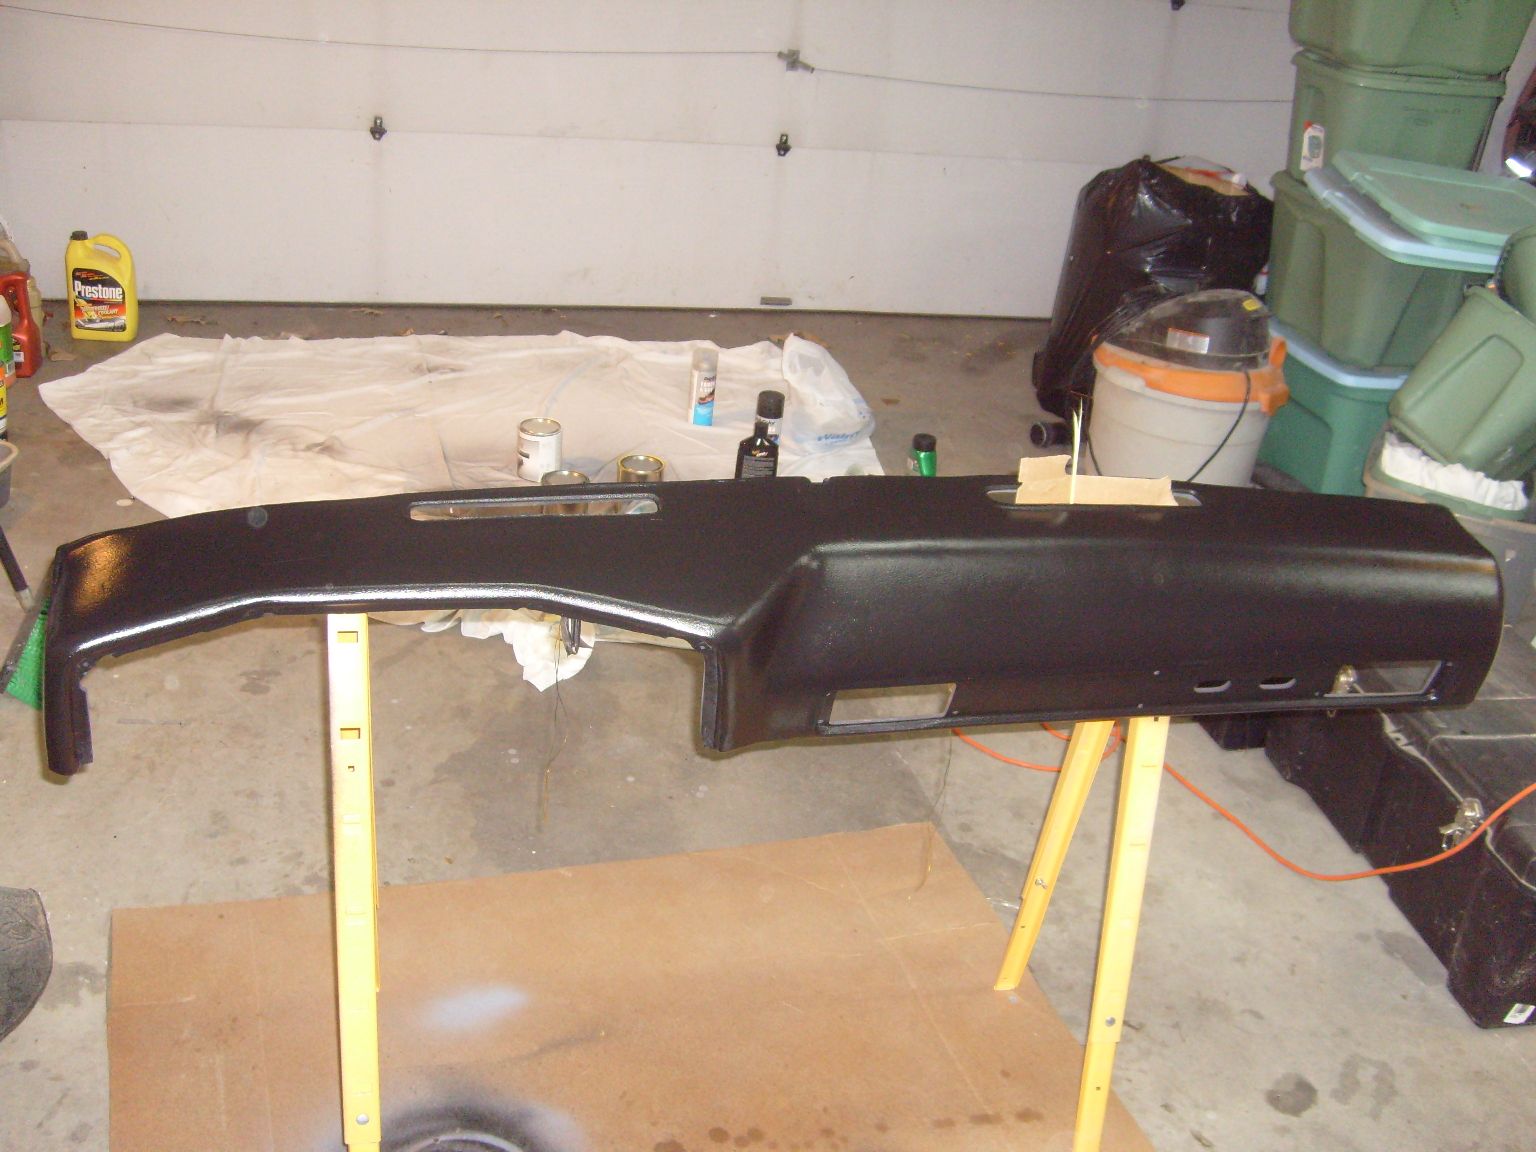
Eventually, I want to get an actual replacement for the dashpad, but for now I figured I would try to repair it. That turned into a huge process. After some experimentation, I finally ended up cleaning up the edges of the cracks, sanding the whole surface to get all the old dirt paint and grime off it, and then filling in the low spots with Loctite 5 minute epoxy. Why 5 minute epoxy? Because it always remains a little flexible. It never gets really really brittle. So I did it in thin layers. It took days. Lots and lots of mixing, leveling, and sanding. Then I sprayed the whole thing with truck bedliner. It ended up looking ok – not great, but much better. In retrospect what I should have done was get everything level, then cover all the surfaces with contact cement and rip-stop nylon. Then covered THAT with a heat resistance thick latex paint (or bedliner). The issue is that though the surface is very even now, the cracks most likely will reoccur on the edges of the epoxy repairs. A layer of rip-stop would prevent that.
If you are doing this kind of repair yourself, that is seriously what you should do. Level everything out with epoxy (or better yet, that rubber bumper repair stuff), then cover it. THEN spray it with bedliner or whatever.
Of course, for all I know this thing is going to turn into a cancer inducing gas emitter as soon as it gets hot in the cab. So do it at your own risk.
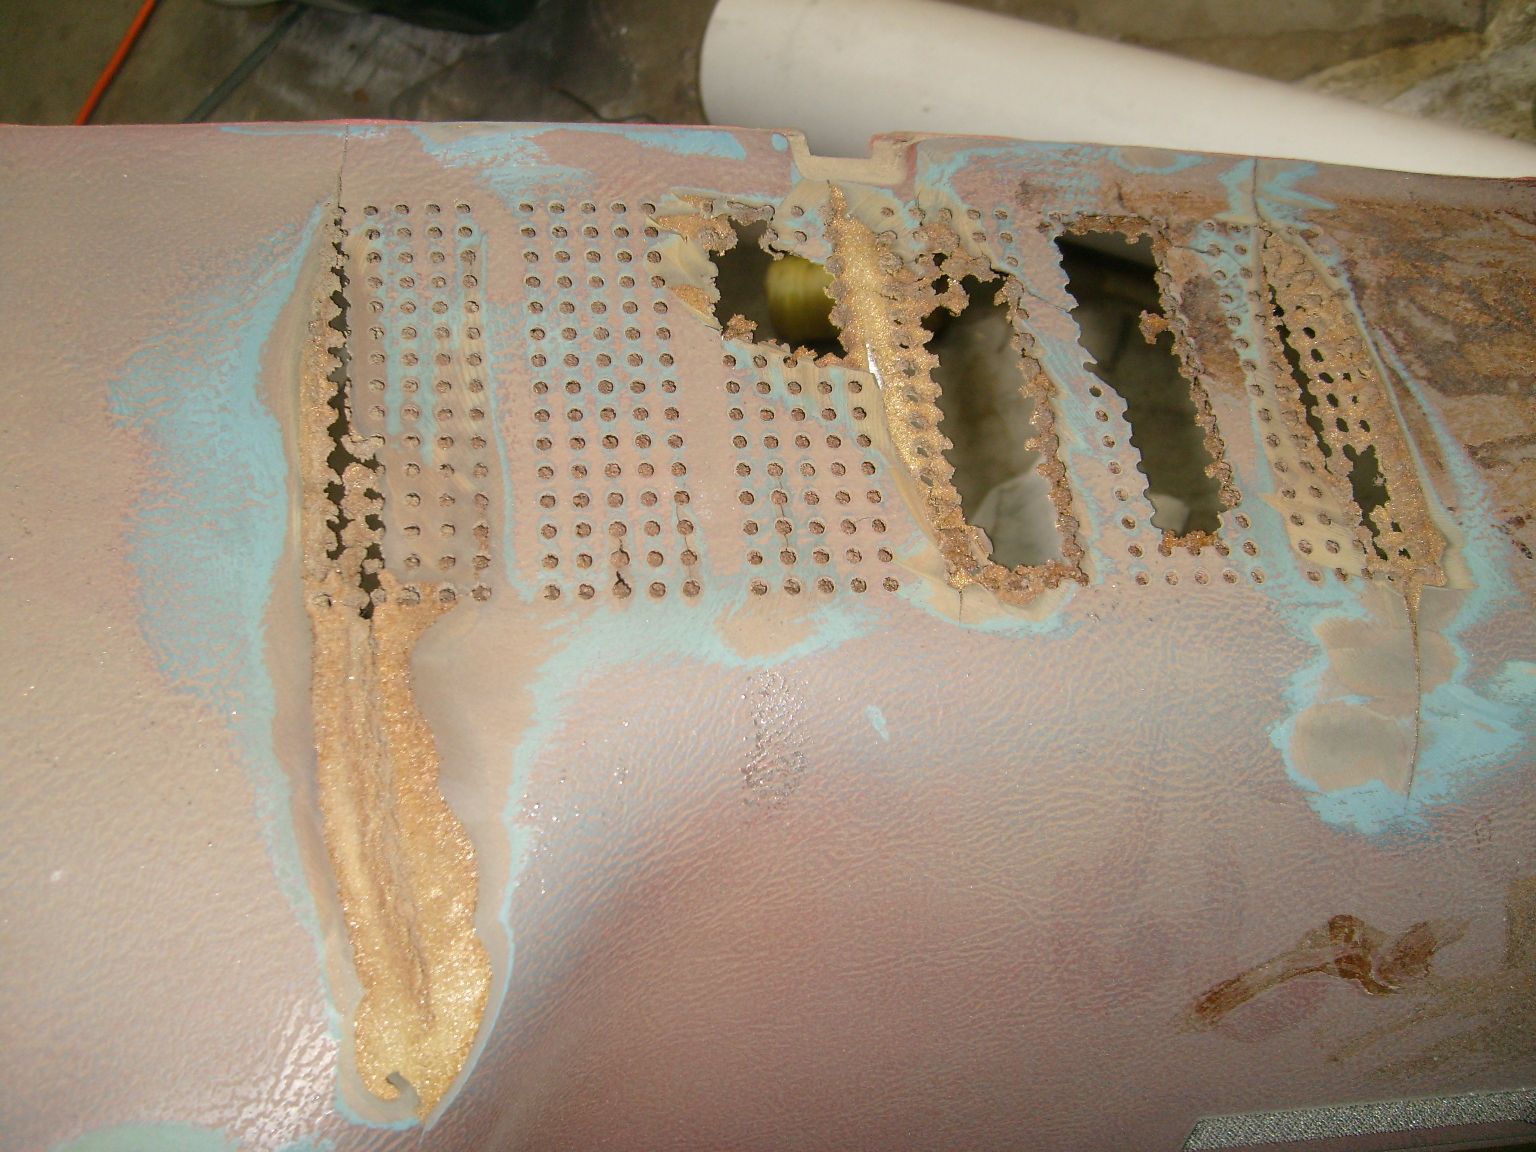
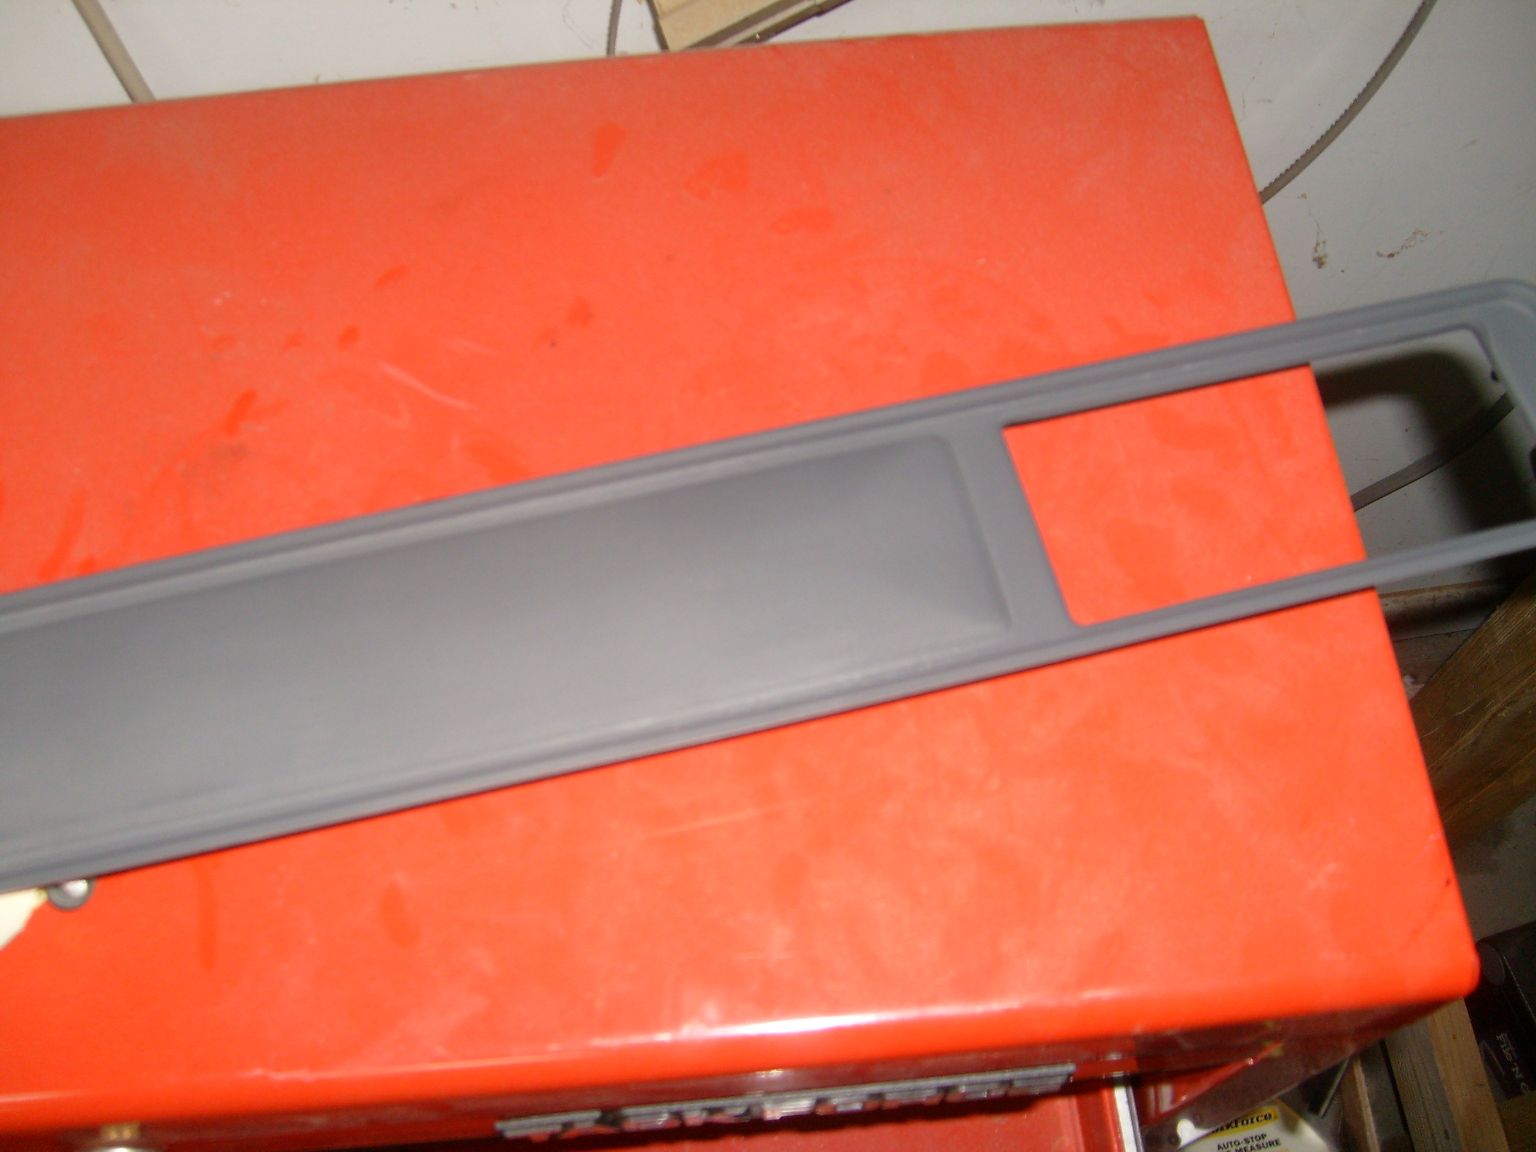
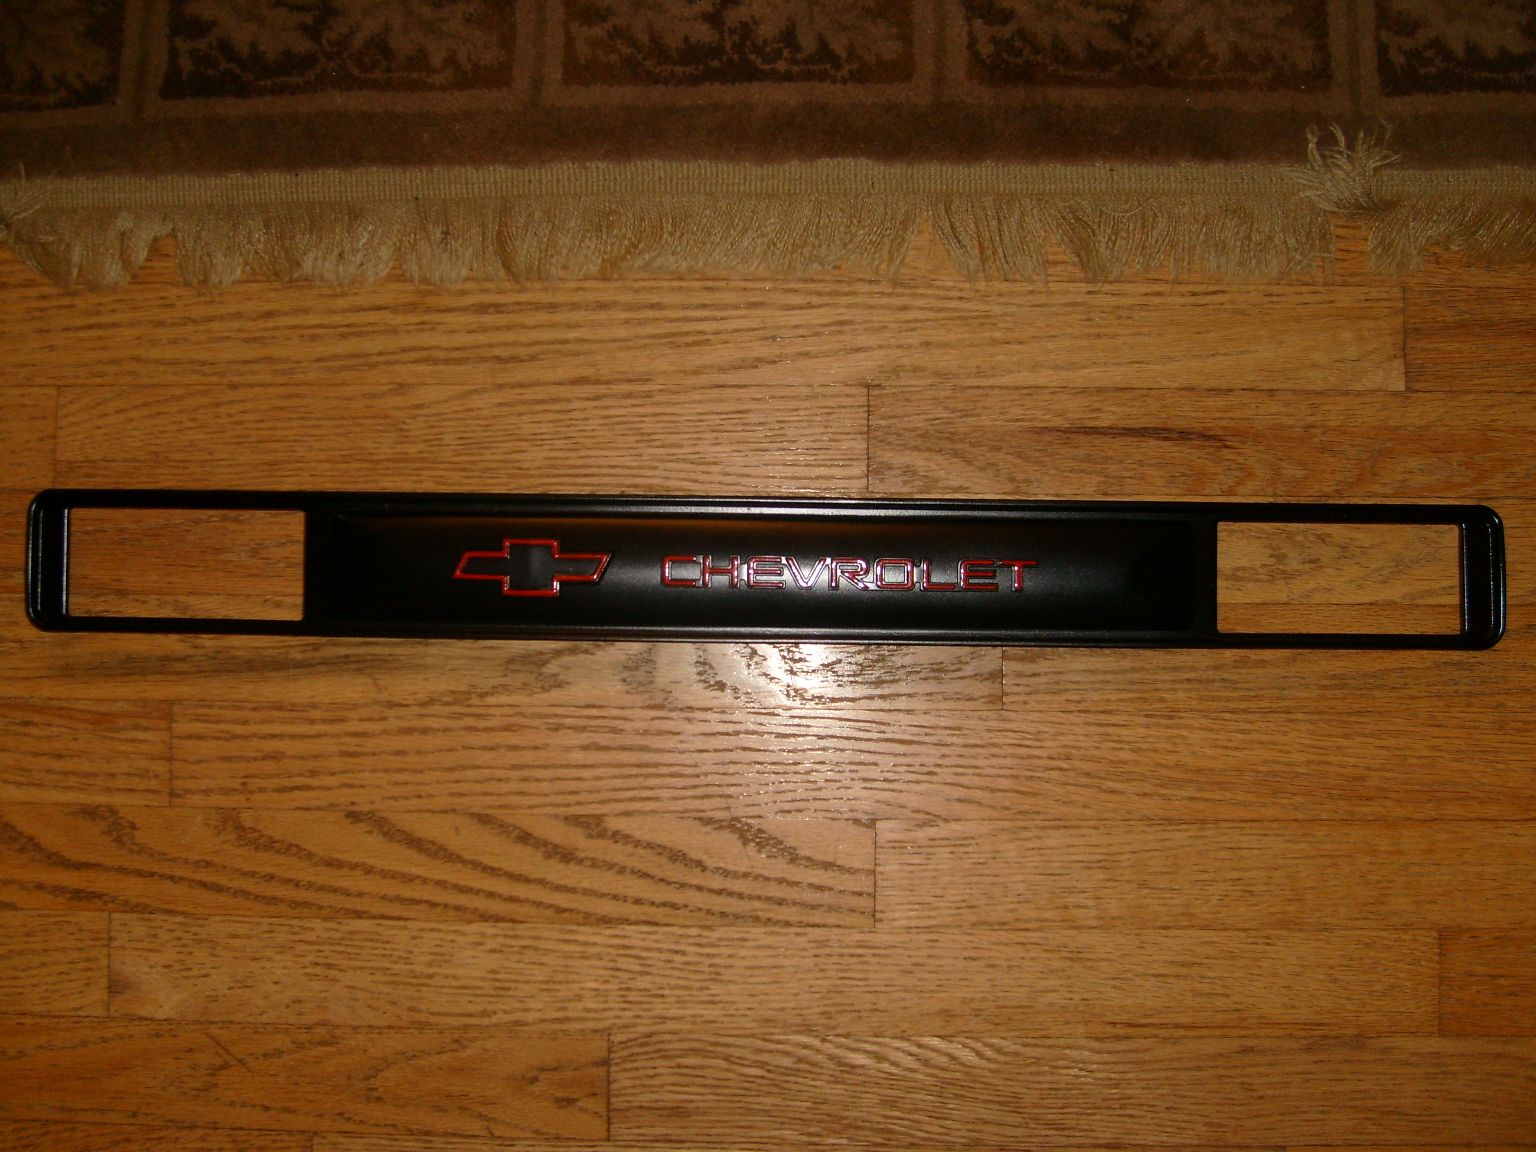
I also did some major changes to the vent and nameplate assembly that screws into the dash. The dash in my truck had been salvaged out of another truck – one that didn’t have AC. Mine does (and it will be made to work again some day!). So I needed a plate that had AC holes that weren’t cut out with a pair of tinsnips. So I got a donor from pullapart and used some body filler to fill in the old nameplate slot. I resprayed the AC vents, and resprayed the assembly (it still needs a couple of coats) Now for the cool bit – I got a bowtie off an old Lumina and a chevy nameplate off an old cavalier and repainted them – I’ll be mounting them on the assembly in lieu of the original Silverado nameplate!
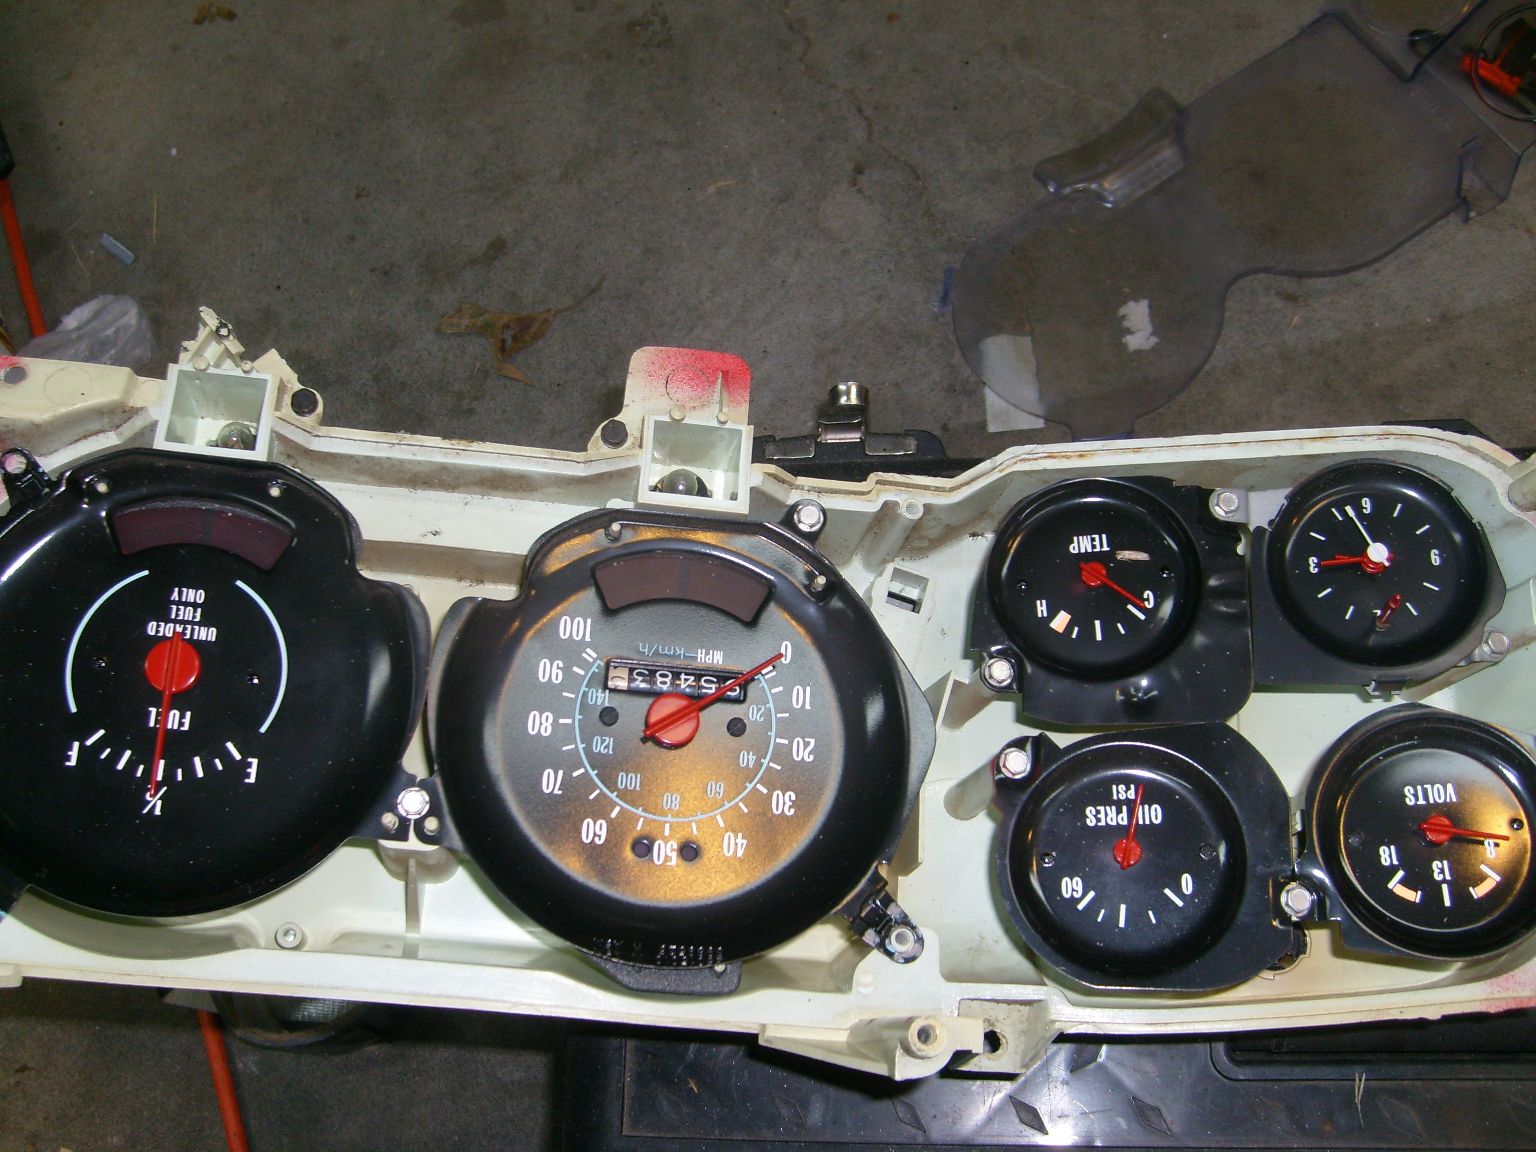
I also started the experiments with the instrument cluster. I think I will most likely repair and replace the original gauges rather than try to create a whole new cluster. But I do plan on two major modifications. I am going to remove the leftmost gauge mounting locations (the non-working clock and the voltmeter). I’m going to then use that space to mount the tach, which is currently mounted on the dash. I’ll also replace the non-working temp gauge. It will involve some fabrication, but not too much – most of it will be wiring. I’m not going to keep the voltmeter. I’ll throw a multimeter into the glovebox or something. I’d also like to keep the oil pressure gauge if I can somehow, but I’m not sure how I’ll do that yet.
I already started by cleaning the gauges up and repainting the needles. I will be replacing the plexiglass face also.
I will also be redoing all the dash lighting with LEDs (I ordered over 200 from China for like $4 – high intensity red and high-intensity white).
I’m going to try a new gallery out with this post. I’m including images from the various things I’ve been working on…


EDIT 2014 Update:
This approach didn’t actually work. The epoxy cracked almost immediately. I ended up sanding it and fiberglassing the whole thing. I think it would have come out really cool, but unfortunately it is still MIA at the painter’s. So instead I’m just going to order a new one. At the original time of this post, they were about $500 but since then they have come down to $180.